
This post may contain affiliate links. Please read my disclosure policy.
All recipes on Doggone Baking are intended for humans — the dogs are just our enthusiastic photo assistants and taste-test spectators.
Easy Oreo Pie Crust Recipe (with Vegan and Gluten-Free Options)
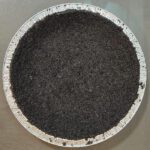
Just like graham cracker crust, an Oreo pie crust is quick, easy, and irresistibly delicious. Because it’s a crumb crust, there’s no tricky rolling or shaping to worry about. You just have to crush, mix, and press. Even though it’s quick and easy to make, the result is a crisp chocolatey base that pairs perfectly with creamy fillings, no-bake cheesecakes, or frozen pies. Whether you’re making a Valentine’s day pie, a spooky Halloween dessert, or a simple weeknight treat, Oreo pie crust recipe makes a versatile and foolproof pie crust that comes together in minutes.

The History of Oreo Pie Crust
Oreos have been a household name for generations, but they weren’t actually the first mass produced chocolate sandwich cookie. Nabisco introduced Oreos in 1912 to compete with Hydrox, a nearly identical sandwich cookie that was first sold in 1908. While Hydrox slowly faded into obscurity, Oreos quickly rose in popularity.
At the same time, pie-making was evolving. Graham cracker crusts first appeared in the 1930s as an easier alternative to pastry dough, paving the way for other crumb-style variations called crumb crusts. Recipes for “chocolate cookie crust” began showing up in cookbooks in the 1950s. These were especially popular during the rise of “icebox pies” and other no-bake desserts that were popular in the mid-20th century.
In the 1960s, Nabisco began selling pre-made Oreo pie crusts in grocery stores (you can still find these today), making Oreo crusts an instantly recognizable staple in American baking.
Best Pies to Make with an Oreo Pie Crust
An Oreo cookie crust works anywhere you want a chocolatey base to pair with a creamy filling. It’s especially popular for no-bake pies and frozen desserts, but also works well with baked cheesecake and custard pies. Here are some of the most common pies that bakers use an Oreo crust for:
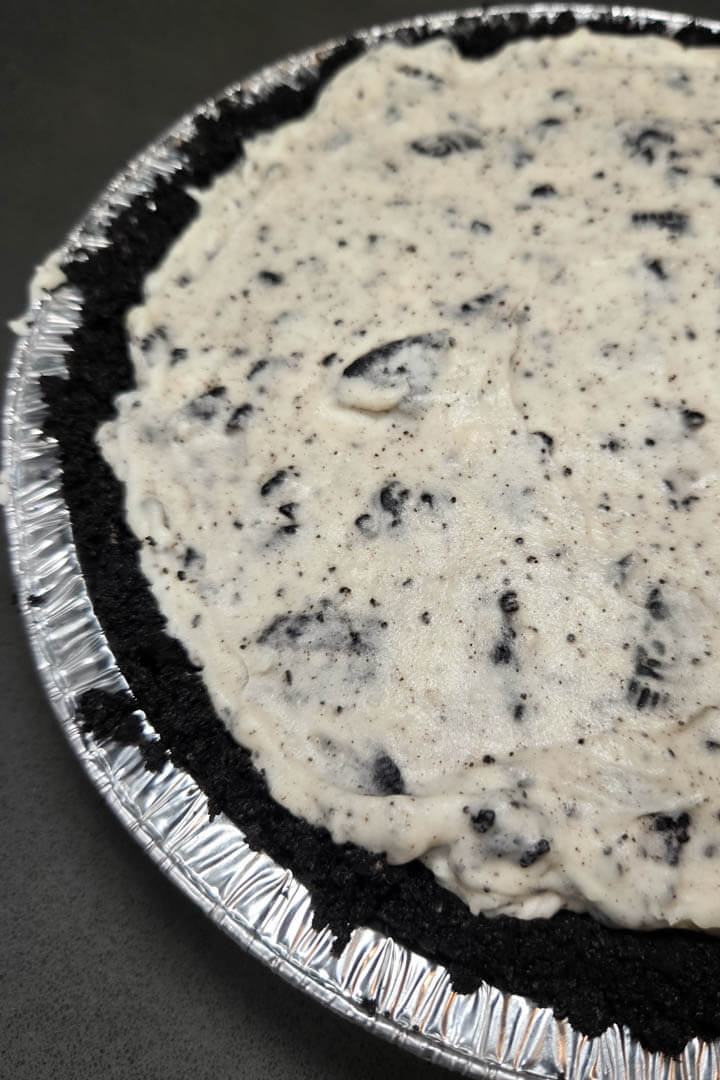
- Cookies and Cream Pie: a no-bake pie that incorporates chopped Oreos right into the filling
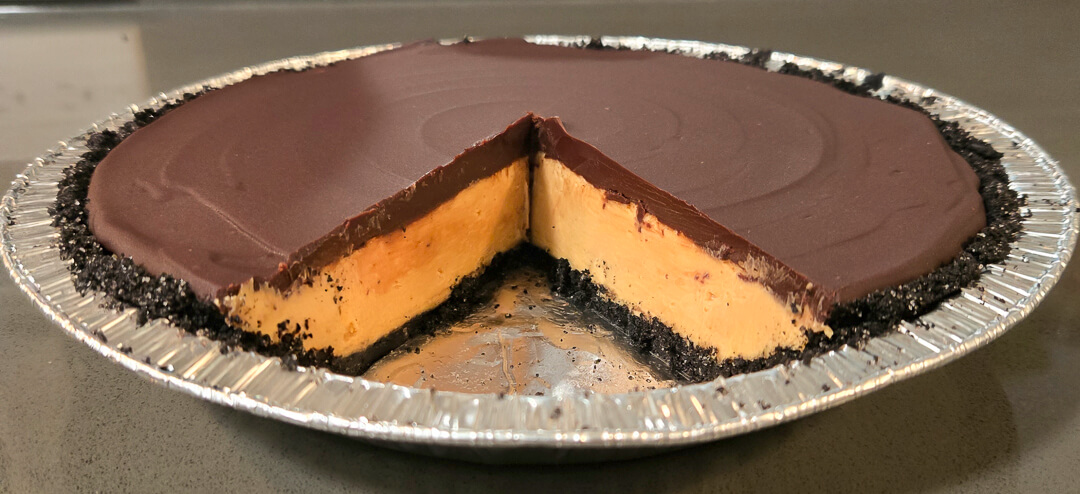
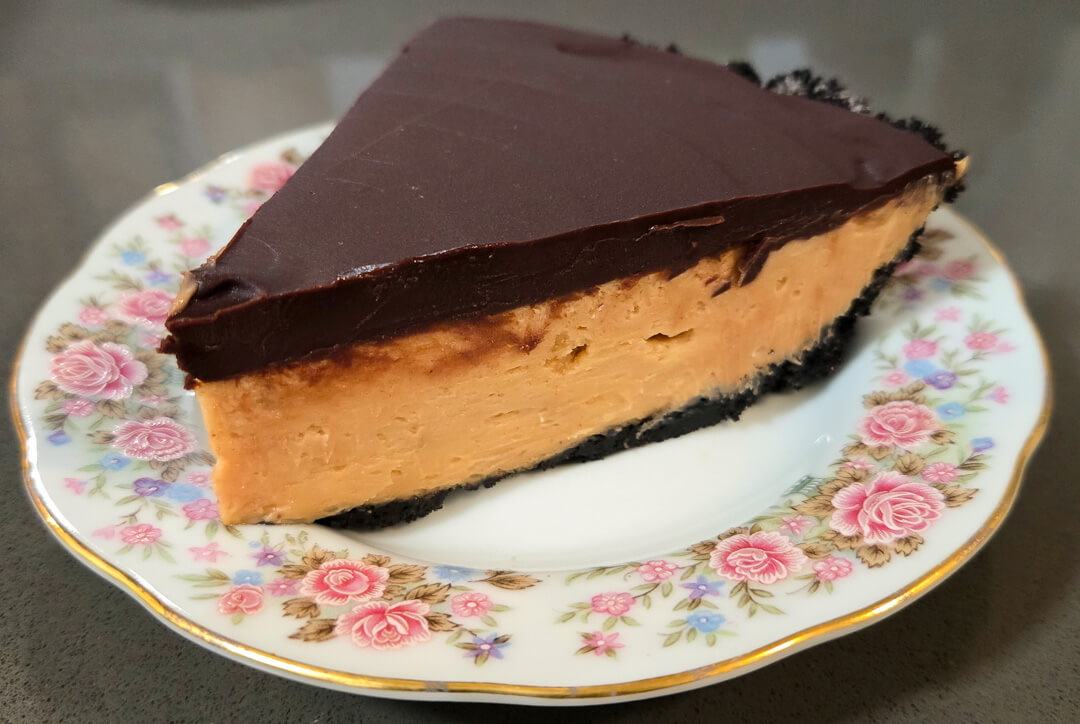
- Peanut Butter Pie: A no-bake cheesecake pie with a rich, creamy peanut butter filling. It’s popular to use an Oreo crust and a chocolate ganache topping to make one giant peanut butter cup in pie form.
- Cheesecake Pies: Oreo crusts pair beautifully with chocolate-friendly flavors of cheesecake pies like pumpkin, strawberry, chocolate, and even classic vanilla.
- Grasshopper Pie: a retro no-bake pie with a mint-flavored mousse filling that was especially popular in the 1950s, 60s, and 70s, it’s usually made in an Oreo crust.
- French Silk Pie: A light, airy, chocolate mousse pie. Oreo pie crust is a popular choice for French silk pie.
- Mocha Cream Pie: Chocolate cream pie but add a coffee twist. Mocha pie is a chocolate-espresso flavored cream pie. An Oreo cookie pie crust pairs naturally.
- Mudslide Pie: similar to mocha cream pie, but with a stronger emphasis on coffee and occasionally omitting chocolate altogether
- Mississippi Mud Pie: Mississippi mud pie is a chocolate lover’s dream and is chocolate on chocolate on chocolate. There are many variations, but popular versions include an Oreo crust, brownies baked into the base of the pie, topped with chocolate pudding and chocolate whipped cream.
- Pumpkin Pie Variations: especially chocolate pumpkin or pumpkin cheesecake pies
- Banana Cream Pie: Banana cream pie is a classic pie with vanilla custard and sliced bananas. Adding chocolate is a classic pairing
Do You Remove the Filling for Oreo Pie Crust?
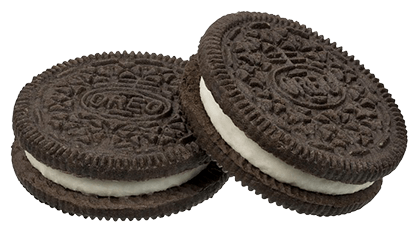
The short answer: Taking out the filling gives the crust a deeper chocolate flavor and tones down the sweetness. This option is great if your pie filling is already very rich or sugary, since it prevents the crust from overpowering the dessert. This method results in a more balanced, slightly less sweet final pie.
Removing the Filling Before Making Oreo Crust: Removing the filling gives you a much more balanced flavor, and the sweetness is less likely to overpower your pie. I prefer removing the filling for a more balanced final flavor.
Using Whole Oreo Cookies for Oreo Crust: Most recipes recommend using the entire cookie, filling included. It’s quicker, less fussy, and less wasteful. The filling also helps bind the crumbs together, which means you don’t need to add extra sugar to the mixture. If convenience is your priority, or if you’re making a pie that isn’t overly sweet, using whole Oreos is the easiest option.
Vegan and Gluten-Free Oreo Pie Crust Options
One of the best things about an Oreo cookie crust is how simple it is to adapt for different diets. Because Oreos themselves are already dairy-free, you don’t need to overhaul the recipe to make a crust that’s vegan, gluten-free, or even both at the same time.
Vegan Oreo Pie Crust: Since classic Oreos are already vegan, the only swap you need to make is with the butter. Just sub out the melted butter for an equal amount of melted coconut oil or melted plant-based butter. Both options create a tasty crust that’s dairy-free.
Gluten-Free Oreo Pie Crust: Nabisco and several other brands make gluten-free versions of Oreos and similar chocolate sandwich cookies. Simply swap in gluten-free Oreos for the regular cookies, and follow the recipe as usual. The texture and flavor are nearly identical.
Gluten-Free and Vegan Oreo Pie Crust: It can be difficult to adapt some pie crust recipes to be both vegan and gluten-free, but that’s not the case for an Oreo cookie crust. To make Oreo crust both vegan and gluten-free, combine the two adjustments: use gluten-free Oreos and sub in an equal amount of melted coconut oil or plant-based butter in place of the butter. Both adjustments create minimal changes in texture and flavor, and the final result tastes just as good as the classic version.
Step-by-Step Oreo Pie Recipe
Ingredients
- 20 Oreo Sandwich Cookies (or similar chocolate sandwich cookies)
- 3T Unsalted Butter, melted
- ¼ cup Granulated Sugar* (optional, see note)
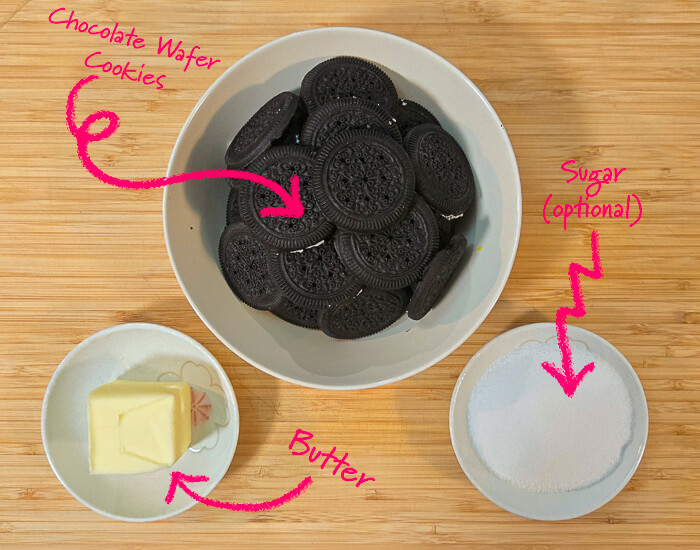
Note on Sugar: If you choose to use whole Oreo cookies (cream filling included), you can skip the sugar. If you scrape out the filling, add in the sugar to help balance flavor and sweetness.
Optional Prep Step: Remove the Filling
Oreo crust can be made with or without the Oreo cream filling. Leaving the filling in makes the crust sweeter and easier to press, while removing it creates a deeper chocolate flavor that’s not quite so sweet. If you prefer the latter, twist each cookie apart and scrape out most of the filling with a butter knife.
1.
Crush the Oreo cookies:
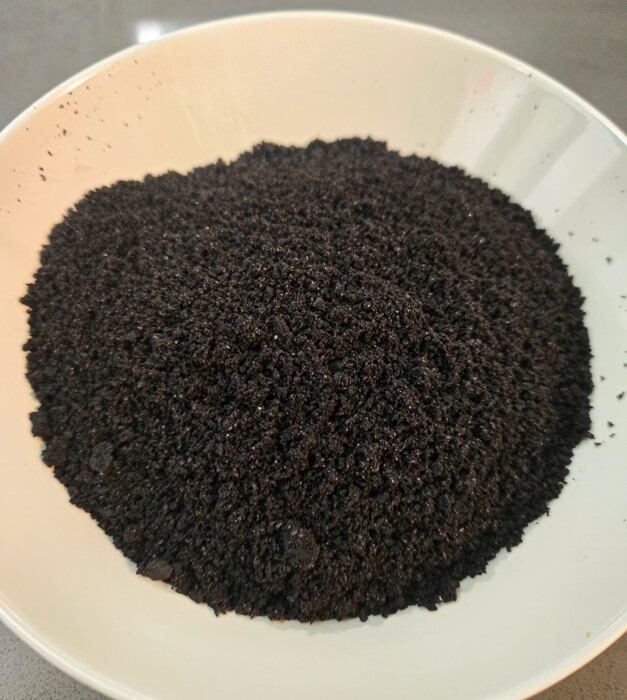
Using a food processor, pulse the cookies until they’ve been crushed into fine crumbs. If you don’t have a food processor, you can also put the cookies in a heavy duty ziploc bag, or between two sheets of parchment paper and crush them with a rolling pin. This method can be a bit messier and result in slightly bigger crumbs.
2.
Mix in butter (and sugar, if needed).
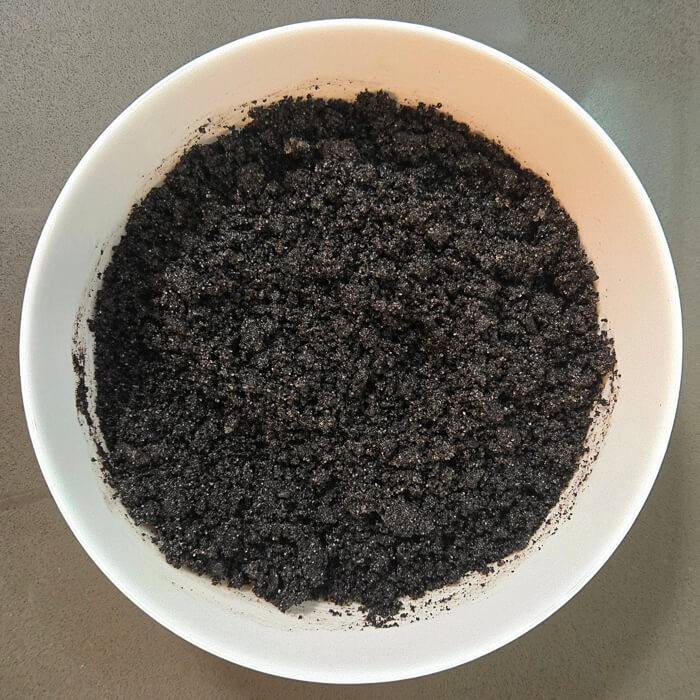
Transfer the cookie crumbs to a bowl. Add the melted butter and stir with a fork until the crumbs are evenly coated. If you removed the cream filling earlier, also stir in the ¼ cup of granulated sugar.
3.
Press the mixture into your pie pan.
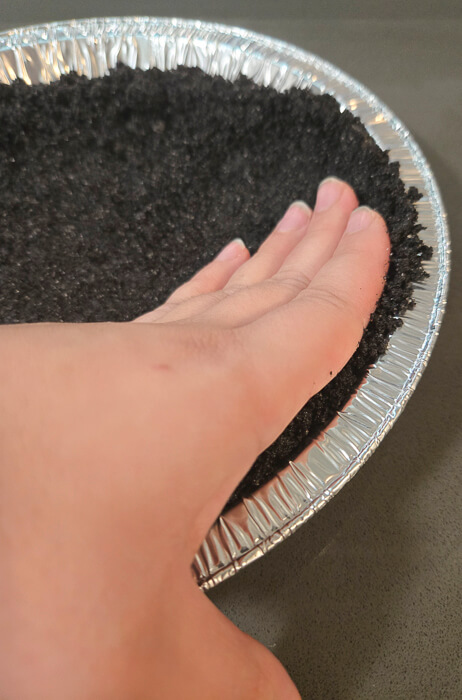
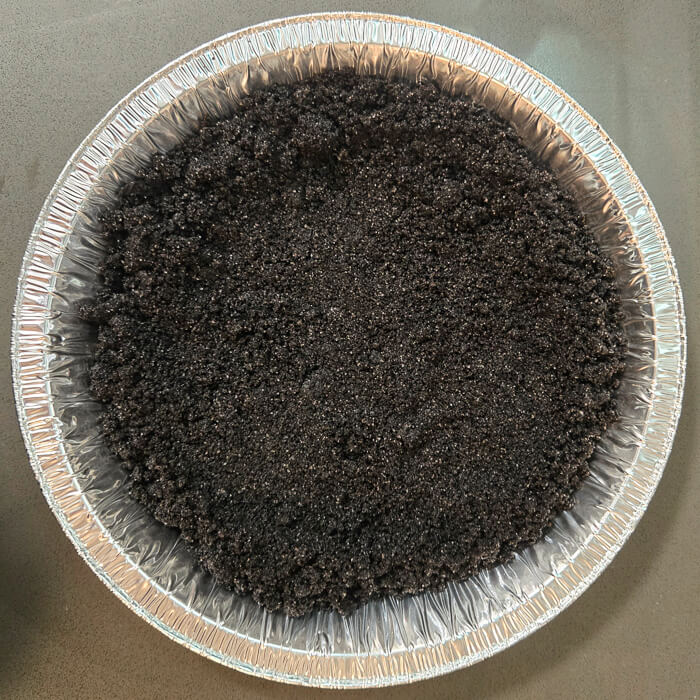
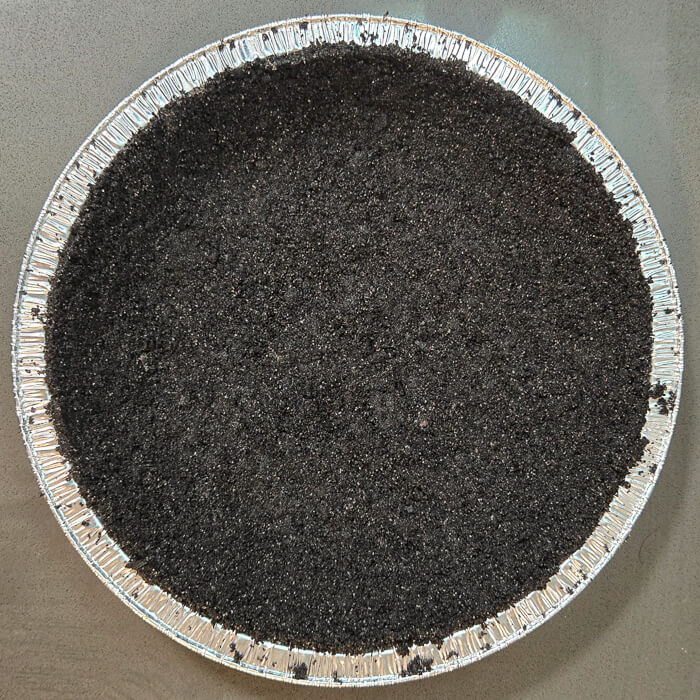
Pour the crumb mixture into a 9-inch pie pan. Using your hands, press the crumbs firmly into the bottom and up the sides of the pan. Be sure to press evenly all the way up to the edges.

Storing and Baking Oreo Pie Crusts:
Baking Oreo Pie Crusts:
One of the perks of an Oreo crust is that it doesn’t have to be baked – all of the ingredients are shelf-stable. If you plan to fill the crust with a baked filling (like cheesecake or brownie pie), you can simply freeze the crust until you’re ready to add the filling.
For pies with a stovetop or no-bake filling, you have the option to bake the crust on its own before adding the filling. To do this, place the empty crust in a 350°F (175°C) oven for 7–8 minutes. This step is optional, but baking gives the crust a slightly crisper texture, which can be especially nice for creamy or mousse-style pies.
Storing Oreo Pie Crusts:
Oreo crusts are also easy to make ahead. Once pressed into the pie tin, wrap the crust tightly in plastic wrap or slide it into a large freezer bag to prevent freezer burn. Store in the freezer for up to 3 months. When ready to use, just pull it out of the freezer. You do not need to wait for the crust to thaw before filling it.
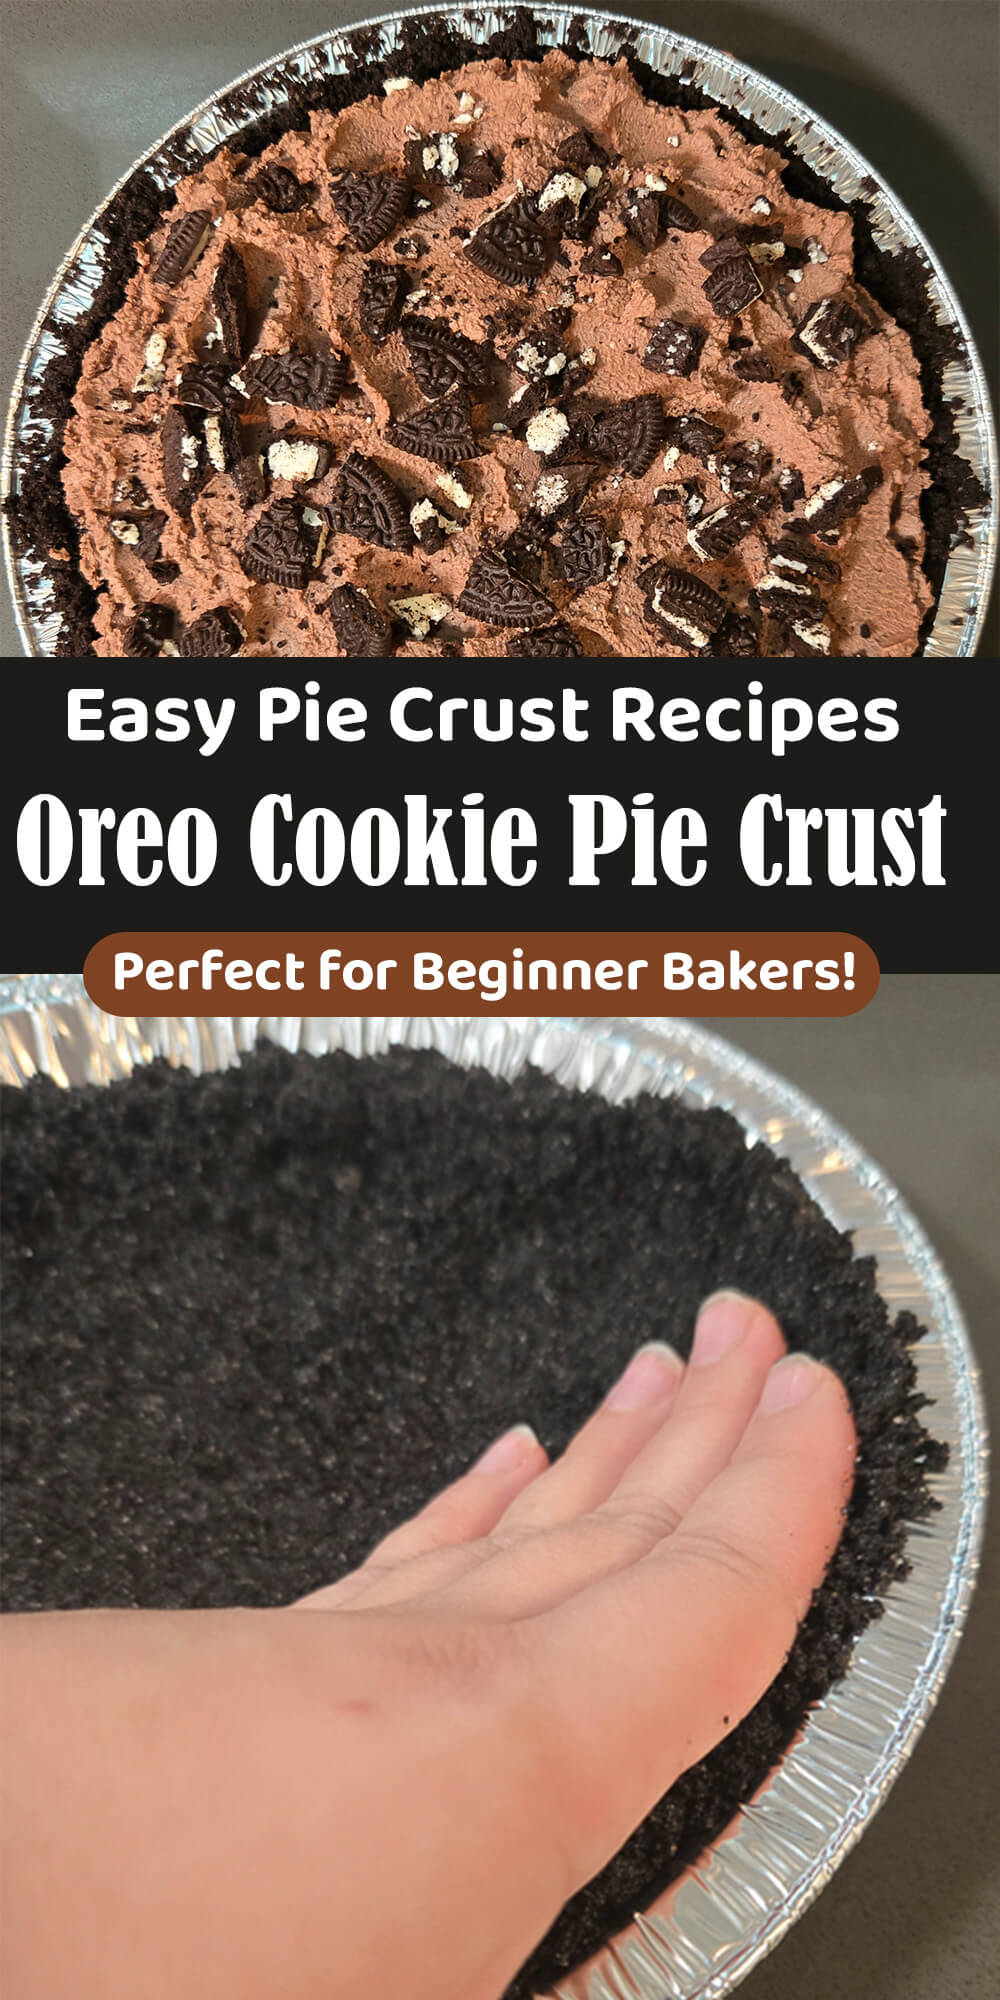
We’d love to see the pies you make with an Oreo pie crust! Tag us on social media @doggone_baking so we can share in the baking fun!
Easy Oreo Pie Crust
Ingredients
- 20 Oreo Sandwich Cookies (or similar) (GF Substitution: gluten-free Oreos)
- 3 tbsp Unsalted Butter, melted (Vegan Substitution: plant-based butter or coconut oil)
- ¼ cup Granulated Sugar* (optional) Sugar is only necessary if you choose to remove the cream filling.
Instructions
- (optional) Remove cream filling from cookies for a less sweet crust.
- Preheat oven to 350℉ (175℃).
- Crush the cookies into fine crumbs using a food processor or rolling pin.
- Stir together cookie crumbs, melted butter, (and sugar if filling was removed) until evenly coated.
- Press the mixture firmly into a 9-inch pie pan, covering the bottom and sides.
- Bake for 7-8 minutes.



About Me
In 2016, I left my office job and became a professional baker. These days I spend my days testing recipes and baking pies while my two dogs snooze happily nearby.
Leave a Reply