
This post may contain affiliate links. Please read my disclosure policy.
All recipes on Doggone Baking are intended for humans — the dogs are just our enthusiastic photo assistants and taste-test spectators.
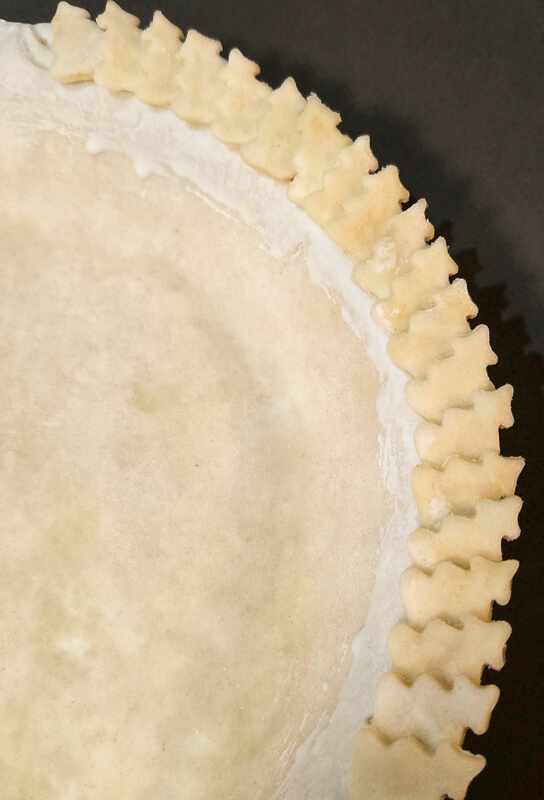
Using Pie Crust Cutouts to Make Pie Crust Designs
It’s easier than it looks to make a fancy looking pie crust using cookie cutters. By rolling out some extra dough, and cutting out cute shapes with small cookie cutters, you can affix pie crust cutouts along the edge of your pie crust to create a custom, homemade design.
To follow this guide, you’ll want two batches of pastry-style pie crust such as a flaky all-butter pie dough, and you’ll want to have one batch rolled out and ready to fit into your pie tin for shaping.
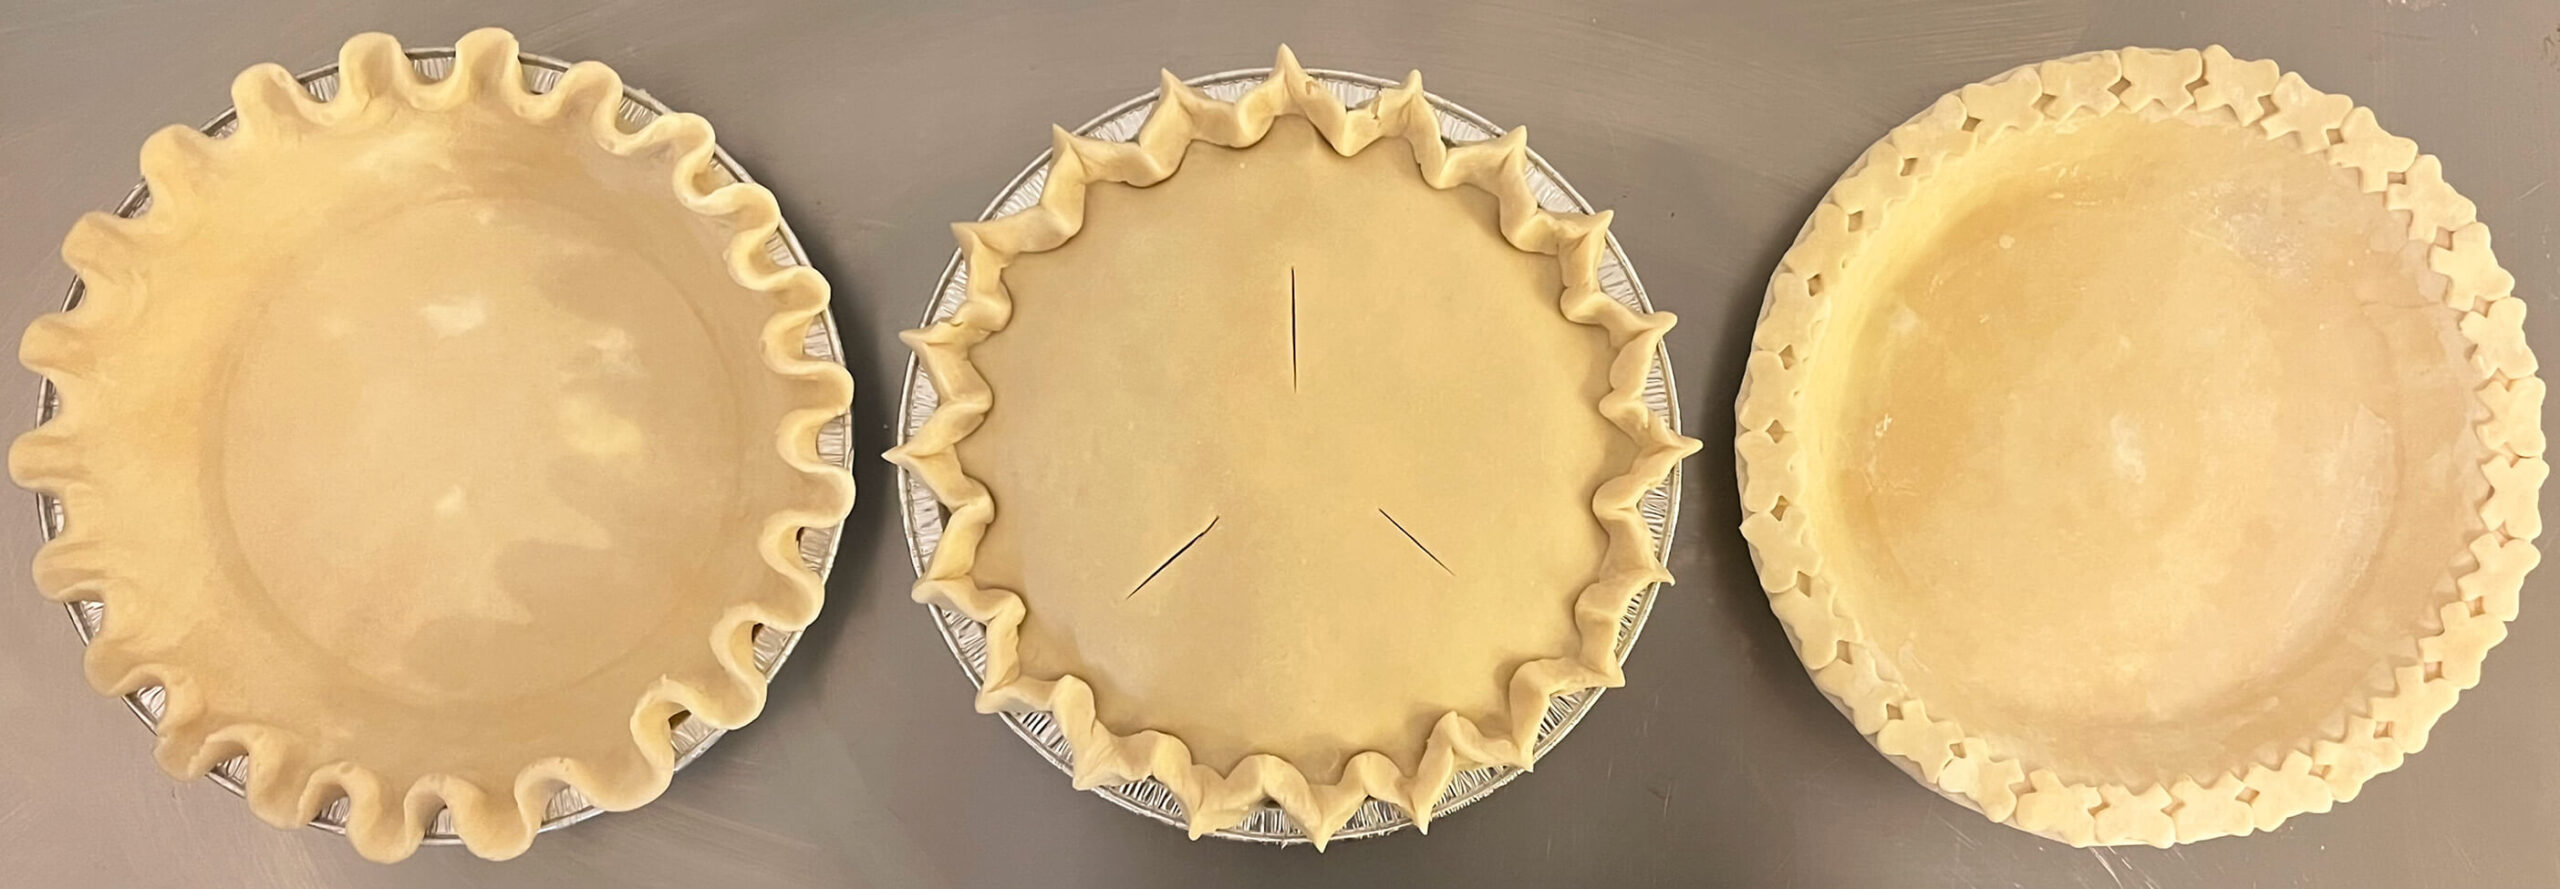
This guide is for how to use cookie cutters to make decorative pie crust edges. If you’re looking for something else, here are other pie crust edges we have guides for:
- Easiest Ways to Finish a Pie Crust (Beginner)
- Leaf Edge (Advanced)
- Rolled, Fluted, or Crimped Pie Crust (Advanced)
- Braided Pie Crust Edges (Expert)
Note: This post covers how to form pie shells (think pumpkin pie or pecan pie) for pies without a top crust.

What Will I Need to Make a Pie Crust Decorated with Cutouts?
- 2 batches of All-Butter Pie Crust: You’ll need enough pie crust to fit pie dough into your pie tin, and also have enough left over to make the pie dough cutouts.
- 1 Egg: To make the cutouts stick to the pie crust, you’ll need some egg wash. To make egg wash, whisk together 1 large egg and 1 tablespoon of water.
- Pastry Brush (optional): A pastry brush will make it easier to apply the egg wash to the pie dough. However, if you don’t have one, you can use a finger dipped in the egg wash.
- Extra Small Cookie Cutters: You’ll want some extra small cookie cutters so that the shapes you cut will fit on the edge of your pie tin. Generally, cookie cutters that are used to cut vegetables for children’s lunches work well such as these ones.
Quick Tips on Forming Pie Crusts
There are a few general tips that make shaping pie crusts a little bit easier.
- Exaggerate the Shape of the Crust: Pie crust almost always loses some of it’s shape as it bakes. As the pie bakes, the crust begins to revert back towards its original shape. Exaggerating the shape, more defined flutes, deeper ridges, etc., while forming the crust helps it retain its shape after baking. If you’re baking a pie where the intricacy of the design matters, you can help the crust retain its shape better by reducing the proportion of butter in the pie dough. However, you’ll be trading some of the flakiness for detail.
- Freeze Your Pie Crust: Freezing your pie crust before baking and baking the pie crust from frozen helps it retain its shape better while baking as well. Freezing the pie dough before baking it keeps the butter solid until it’s baked creating flakier layers. Additionally, pastry dough shrinks less when it’s baked from frozen.
Fitting Pie Dough Into a Pie Tin
Before following this tutorial, you should already have rolled out a batch of pie dough. If you haven’t, you can follow my recipe for all-butter pie dough here, or my tutorial for rolling out pie dough here. You should also have a second batch of pie dough ready to go for the second part of this tutorial.
Start by taking your round of rolled pie dough out of the refrigerator. It should feel cool to the touch but still flexible; it should be fairly firm but not so cold that it cracks when bent. If you chose to freeze our pie dough in advance, let it rest until it becomes malleable, either at room temperature or in the refrigerator.
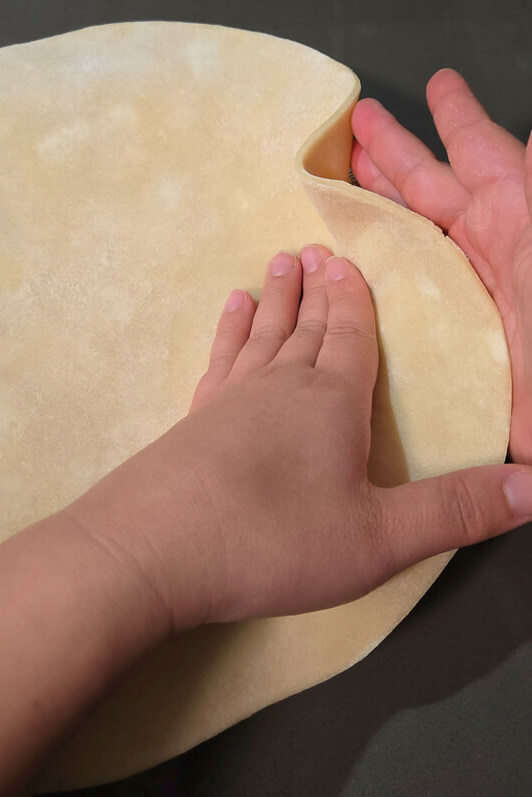
Once the dough is at a good temperature, center the round of dough over your pie tin and adjust it until it’s evenly positioned. Some tutorials suggested wrapping the dough around your rolling pin to transfer it, but if the dough is at the right temperature, it should be sturdy enough to pick it up and move it directly.
Once centered, gently guide the dough into the corners of the pie tin. Lift the edges slightly with one hand while sliding the dough downward. Avoid stretching or pulling the dough. This will cause the dough to contract while baking and cause the crust to slump into the tin. After fitting the dough fully into the tin, run your fingers along the inside to smooth out the inner crease.
Now your crust is ready to be formed! If the dough has softened while fitting it into the pan, return it to the refrigerator for a few minutes to firm back up before forming.
How to Use Pie Dough Cutouts to Decorate Pie Crust
1.
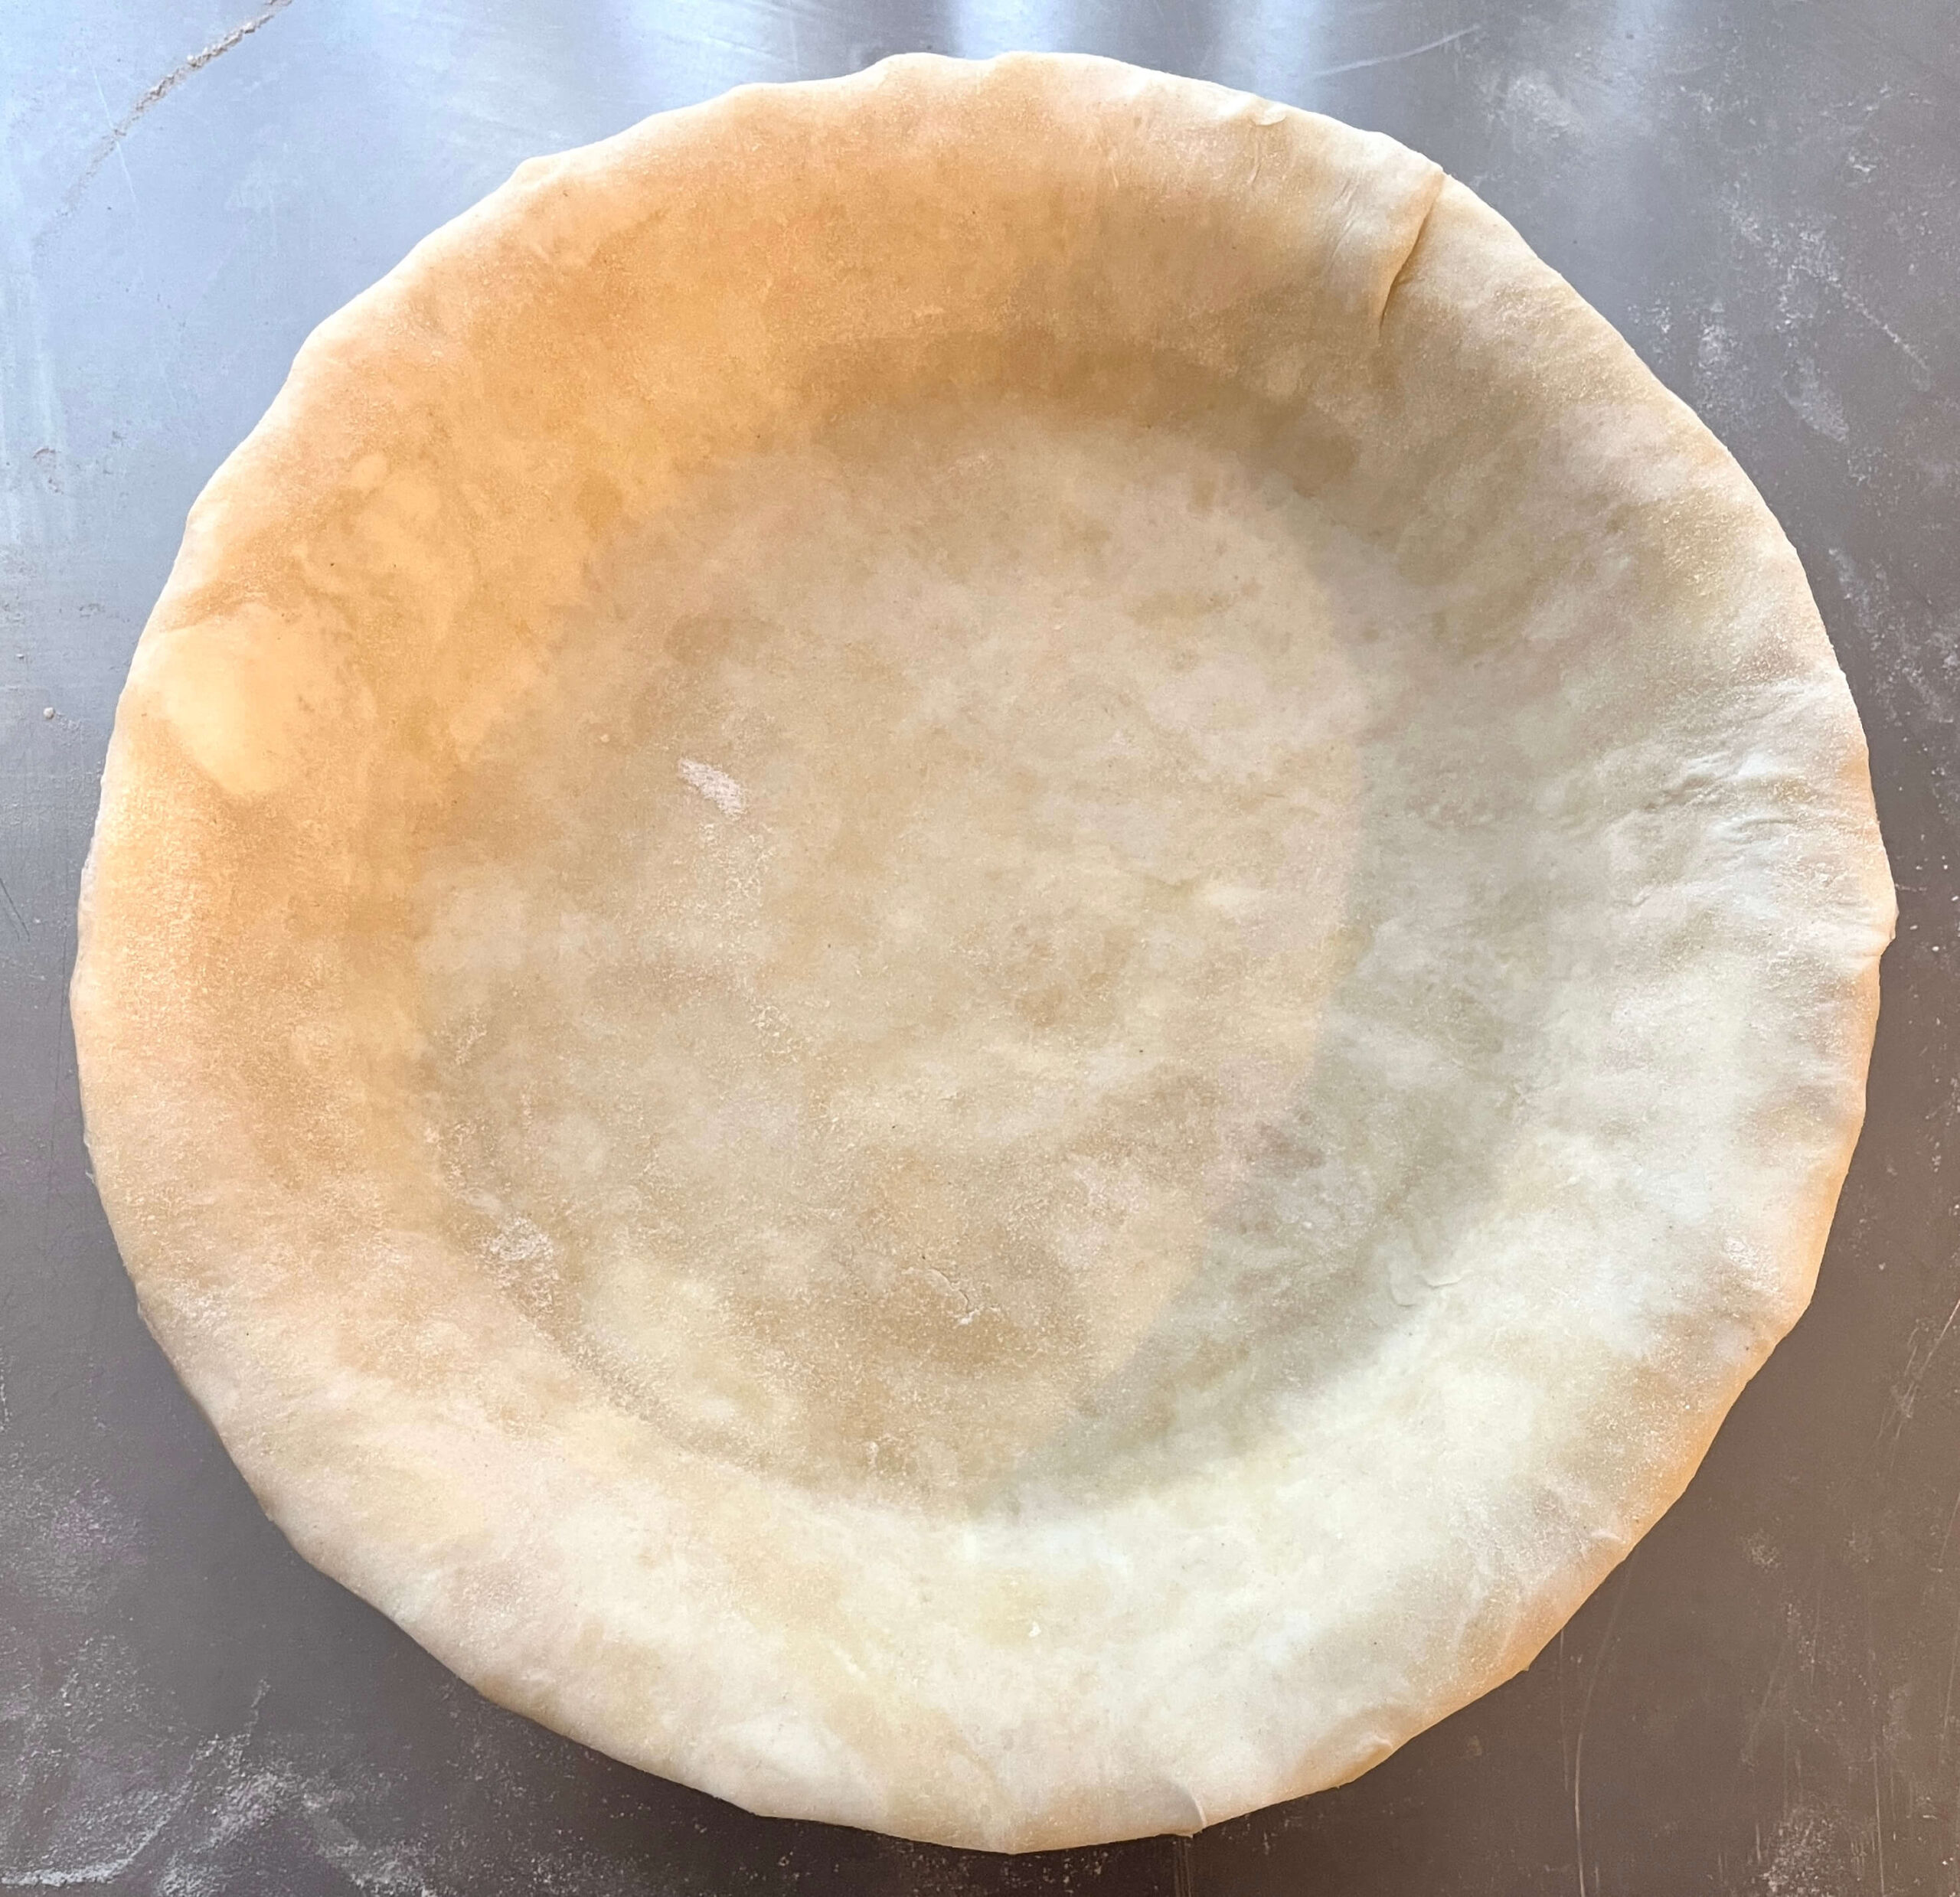
Trim the overhang of pie dough over the edge of the pie tin using kitchen scissors, so that the pie dough is flush with the edge of the pie tin.
2.
Whisk one egg with 1 tablespoon of cold water to make egg wash.
3.
Roll out your second batch of pie dough. This time it does not need to be round.
4.
Transfer your rolled dough to a flat surface such as a parchment-lined cookie sheet, and let chill for 15-30 minutes.
5.
Take your chilled dough and place it on a floured work surface.
6.
Using extra small cookie cutters, cut out shapes of your choice.
7.
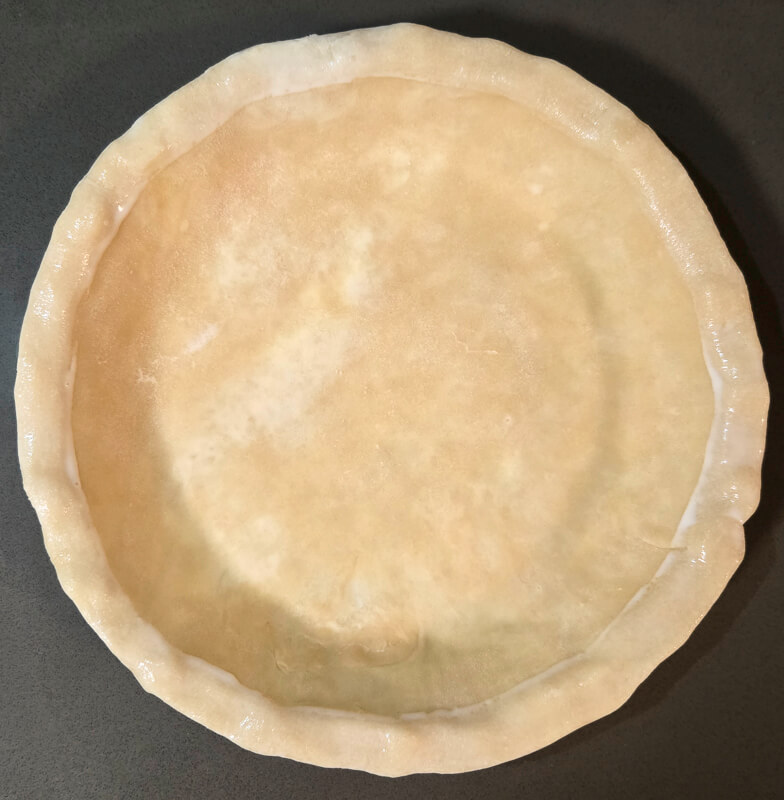
Remove the fitted crust from the refrigerator. Brush the edge of your pie crust lightly with egg wash.
8.
Arrange the dough cut-outs along the rim of the pie tin in your desired pattern. For overlapping designs, brush the backs of the cut-outs with egg wash as well.
9.
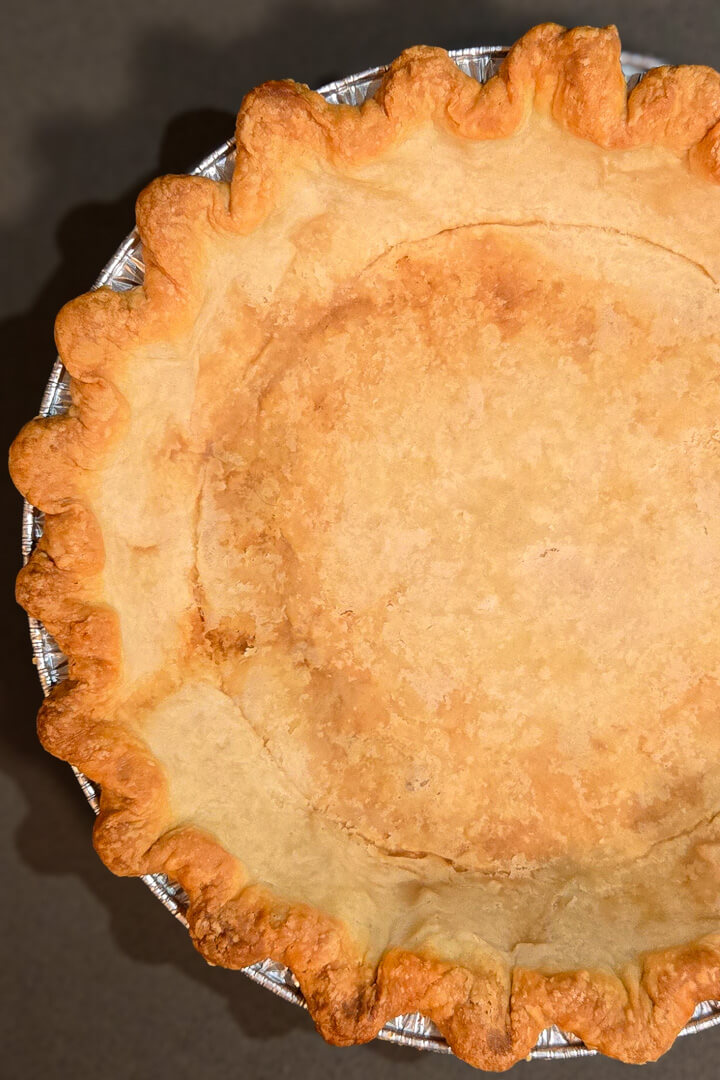
Transfer your completed pie crust to the freezer until you’re ready to blind bake.
How to Bake a Pie Crust
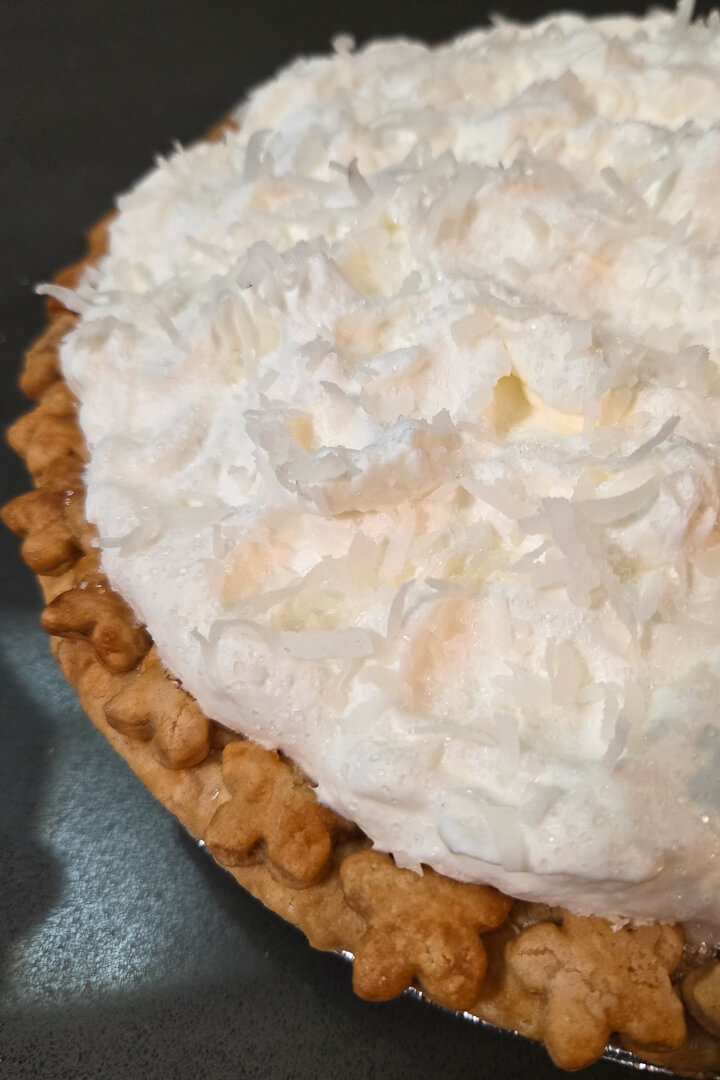
Once you’ve formed and frozen your pie crust, depending on what kind of pie you’re making, you may need to bake your pie crust. If you’re making any kind of pie that doesn’t need to be baked in the oven, you’ll need to bake your pie crust first. Some classic examples are chocolate cream pie or banana cream pie. Even if you’re making a pie that does need to go back into the oven, like a pecan pie or a pumpkin pie, you might still want to blind-bake your pie crust for an extra crispy crust.
The process for baking a pie crust without any filling inside of the crust is called blind baking. You can find my guide to blind baking pie crust here!

About Me
In 2016, I left my office job and became a professional baker. These days I spend my days testing recipes and baking pies while my two dogs snooze happily nearby.
Leave a Reply