
This post may contain affiliate links. Please read my disclosure policy.
All recipes on Doggone Baking are intended for humans — the dogs are just our enthusiastic photo assistants and taste-test spectators.
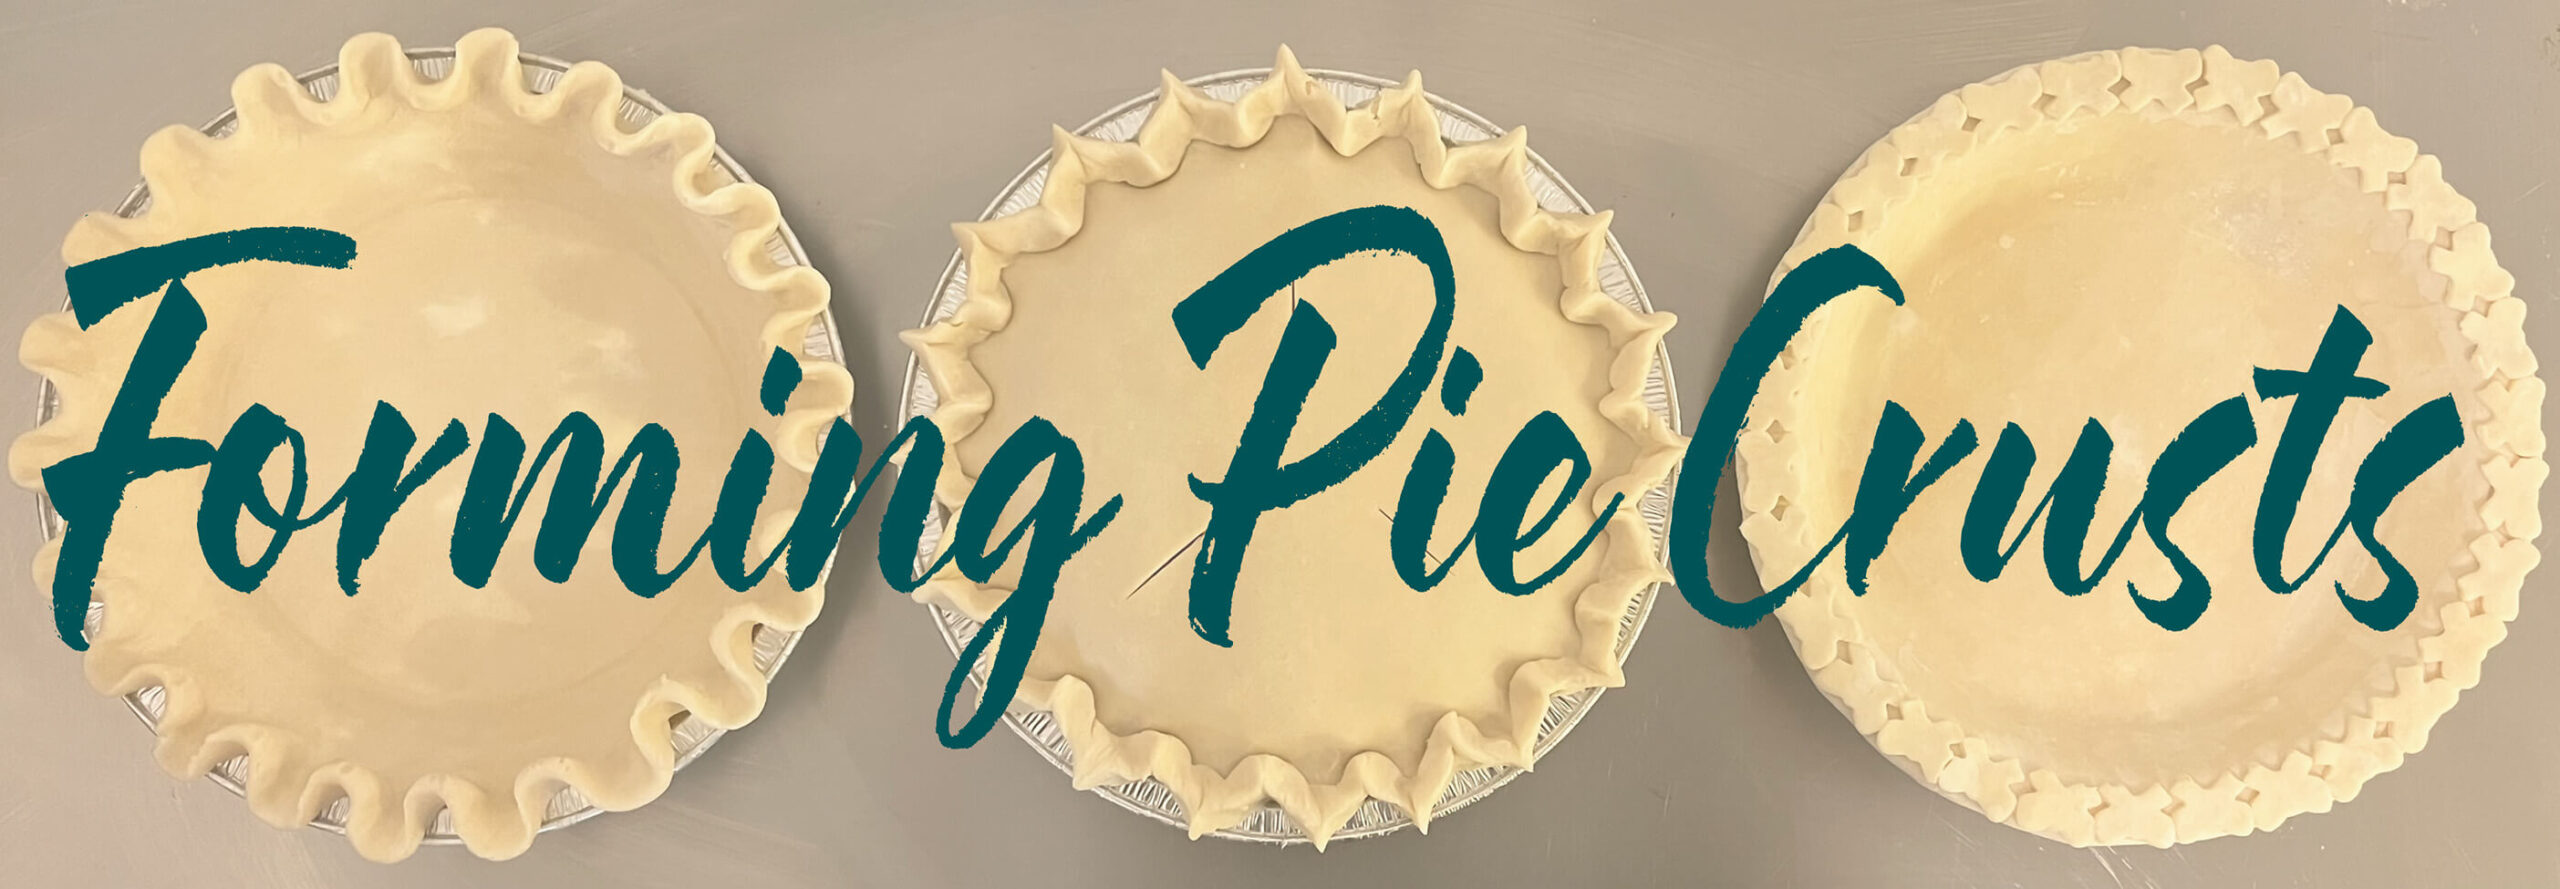
How to Form a Pie Crust | The Ultimate Guide to Pie Crust Part 2
So you’ve made your all-butter pie dough, and now you have to transform that cold disc into a beautiful pie crust. For many bakers (myself included), this step is the hardest part to learn. This guide will walk you through how to form a pie crust and various techniques for pie crust designs – from extra simple to very fancy.
Pro Tip: For best results, freeze your pie crust after forming and before baking!
This is Part 2 of my Ultimate Guide to Pie Crust series. Part 2 discusses how to roll out pie dough and how to shape and decorate your pie crust. Part 1 goes into the science and recipe for an all-butter pie crust. Part 3 explains the how and why behind the process called blind baking.

Best Tools for Rolling Out Pie Dough
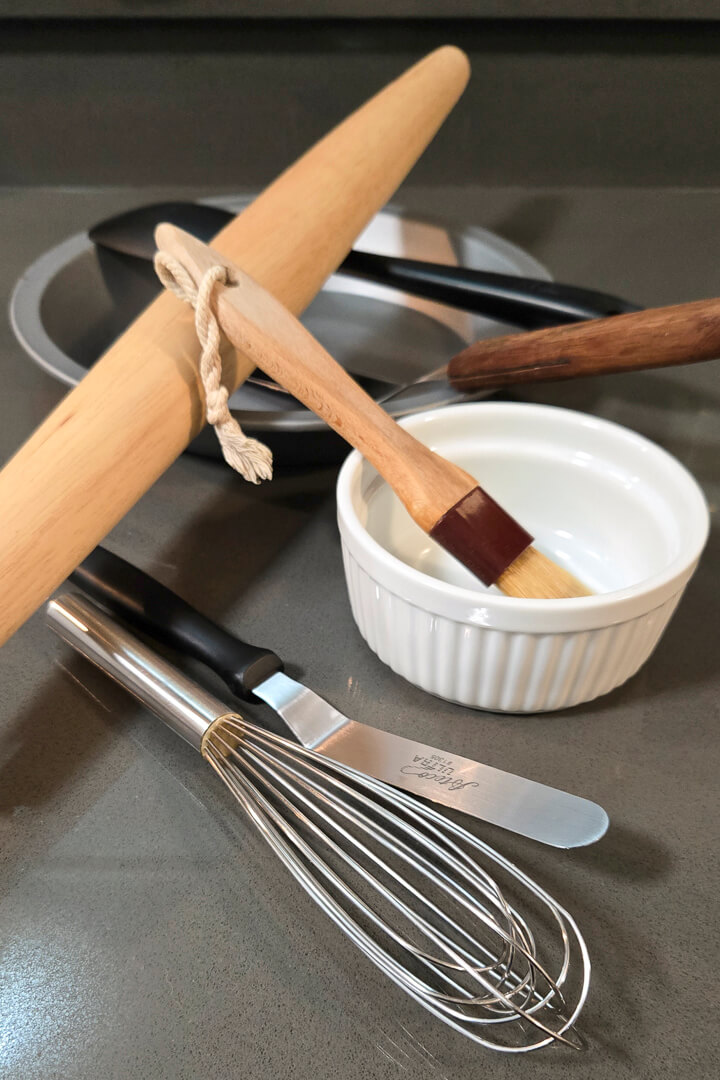
To roll out pie dough thinly and evenly, a few key tools are necessary. You probably have most of them in your kitchen already.
- Pie Tin
- Rolling Pin
- Pastry Wheel (or pizza wheel)
- Kitchen Scissors
- A large, clean, flat work surface
- All-Purpose Flour for dusting
Depending on the pie crust design you choose later (like a braided pie crust or decorative cut-outs) you may also need extra tools like a 5-wheel pastry cutter, cookie cutters, and a pastry brush.
Pie Tins
You can’t make pie without pie tins (unless you’re making turnovers, pasties, or another kind of hand pie). Pie tins come in two main types: reusable pans and disposable tins, and a few standard sizes. In the US, a 9” pie tin is the most common, but you’ll also find 10” and 6” tins for larger or smaller pies
While I usually prefer reusable kitchen tools, pie tins are one place I often choose disposable. The ridges and texture on the sides of a disposable metal tin help the pie crust stay in place without slumping as it bakes. Reusable tins work well too, but if you do go that route, metal pie pans perform the best. Ceramic and glass pie pans look pretty, but they don’t conduct heat as evenly and also take longer to heat up, which can lead to a soggy or unevenly baked pie bottom.
Rolling Pin
A good rolling pin is essential for rolling out pie dough, especially since pie dough is easiest to work with when it’s still cold. Firm butter means a flakier pie crust, but it also makes the dough less pliable. You need a reliable rolling pin to get the pie dough thin and even without overworking it or taking so long the butter softens and sticks to your work surface.
There are several different types of rolling pins to choose from:
- French Rolling Pin (my favorite): Tapered and lightweight, making it easiest for rolling out pie dough into a circular shape and gives you the best feel for the dough.
- Straight Rolling Pin: Simple and effective. These pins are similar to French rolling pins but not tapered at the edges. They’re great for even pressure, although it is slightly more difficult to roll out circles because of the lack of tapered ends.
- Rolling Pin with Handles: Heavier and clunkier, which makes it more difficult to apply even pressure. They’ll work, but aren’t ideal for pie crust.
- Wood vs. Other Materials: Wooden rolling pins are the best choice for rolling out pie dough. Silicone is a decent alternative, but marble, metal or other heavy pins are harder to handle, although they will get the job done if that’s what you already have at home!
Pastry Wheel (Or Pizza Cutter)
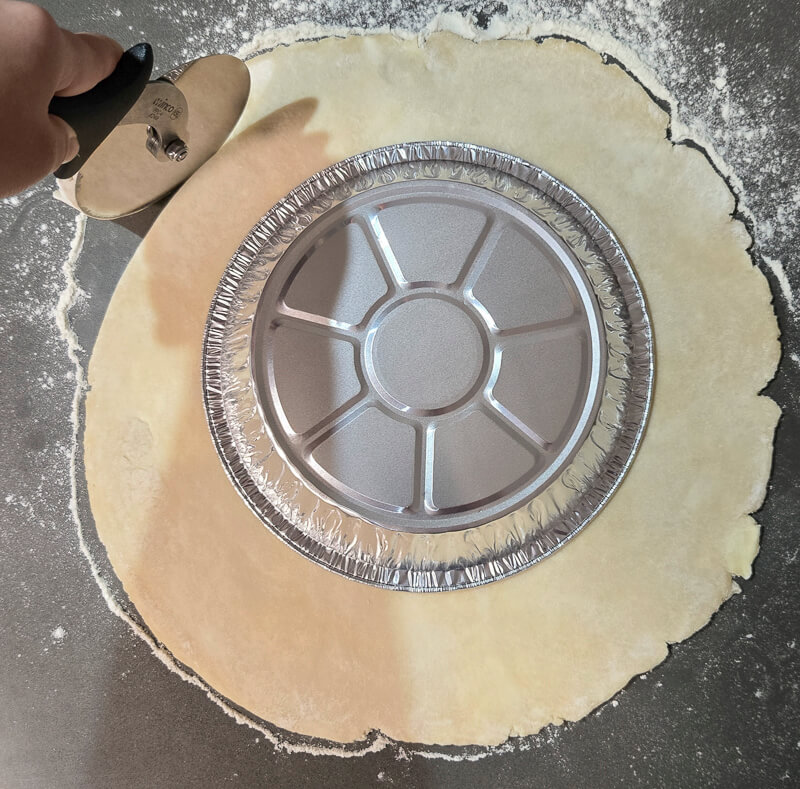
Not even the best pastry chefs roll out a perfect circle of dough every time. (And most professional kitchens use giant industrial machines called sheeters anyway). A pastry wheel (or a simple pizza cutter) is the easiest way to clean up your edges.
After rolling out your pie dough into a rough circle, you can use a pastry wheel to trim the edges into an even round shape. This makes transferring the dough easier and ensures a near, professional-looking pie crust.
Kitchen Scissors
Kitchen scissors are very handy for minor adjustments of your pie crust. After pressing your dough into the pie tin, use scissors to make small adjustments for a clean, even edge. They’re especially handy for beginner methods like the simple press-and-trim technique.
Space!
Finally, you’ll need a large, flat work surface for rolling out pie dough. Most countertops work just fine – I use both my granite and stainless steel countertops at home, depending on which has more space. The most important factor is choosing a surface that you don’t mind dusting generously in flour.
If you’d rather not roll dough directly on your countertop, you can use a silicone non-slip rolling mat. These work, but they sometimes slide around and can be more hassle than they’re worth.
How To Roll Out a Pie Crust
1.
Prepare Your Work Surface
Rolling out pie dough is a pretty messy process and takes more space than most people expect. Aim for a surface at least 30” wide by 18” deep so you have plenty of room to move your rolling pin. If you’re using a rolling mat, leave a little buffer space around the edges.
If you’re rolling directly on your countertop (my recommendation), wipe it down, sanitize it, and then dust both the work surface and your rolling pin lightly with flour. This keeps the dough from sticking.
2.
Flour Your Dough on Both Sides
Generously flour both sides of your disc of pie dough, then place it in the center of your work surface.
3.
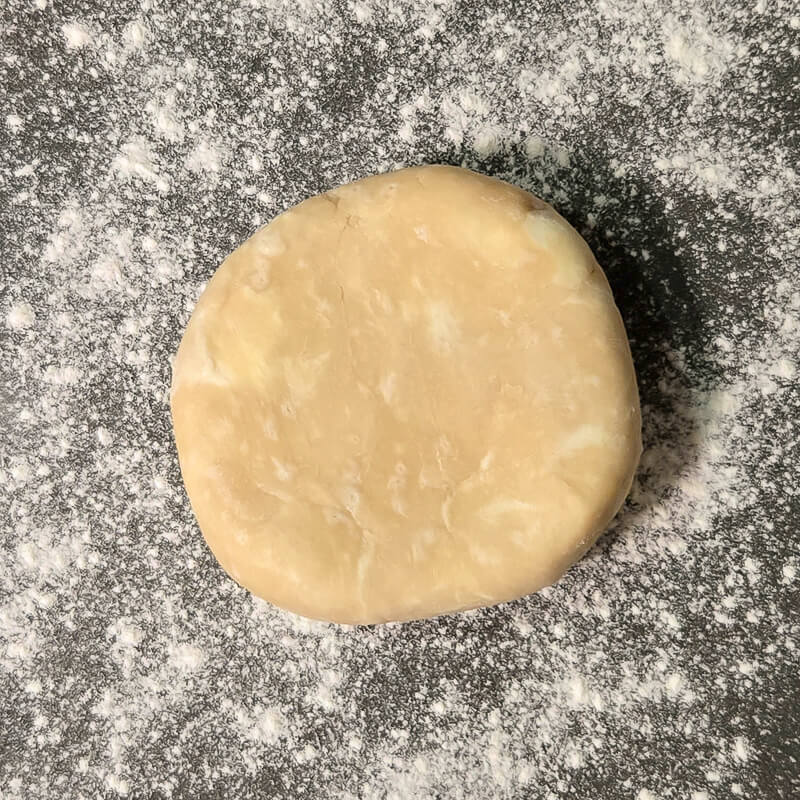
Pat the Dough into a Larger Circle
Using the heel of your hand, gently press the disc of pie dough outward into a wider circle until it’s about 1” thick. If cracks start to form around the edges, pick the disc up and roll it on its side like a wheel to press the cracks back together. Then finish patting it out.
4.
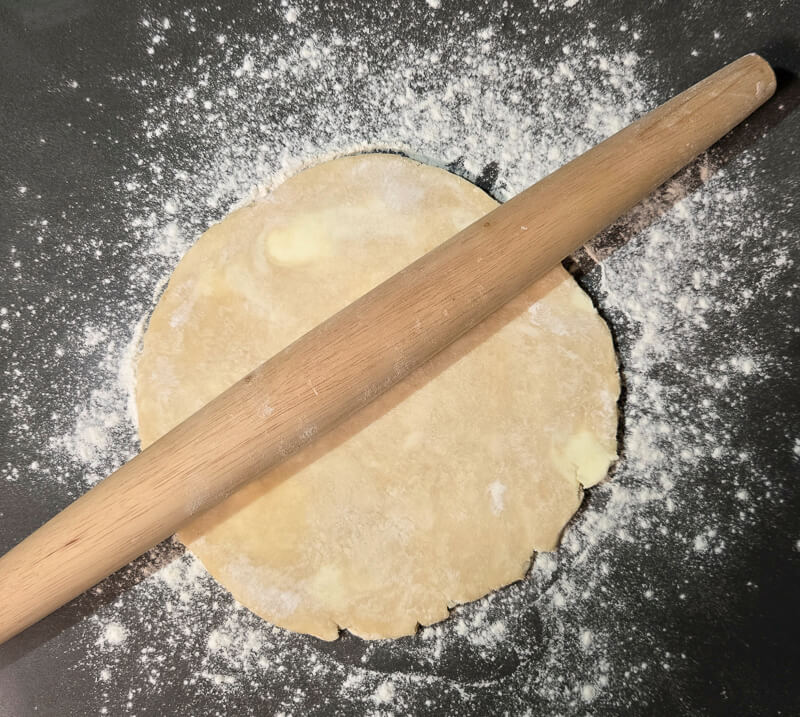
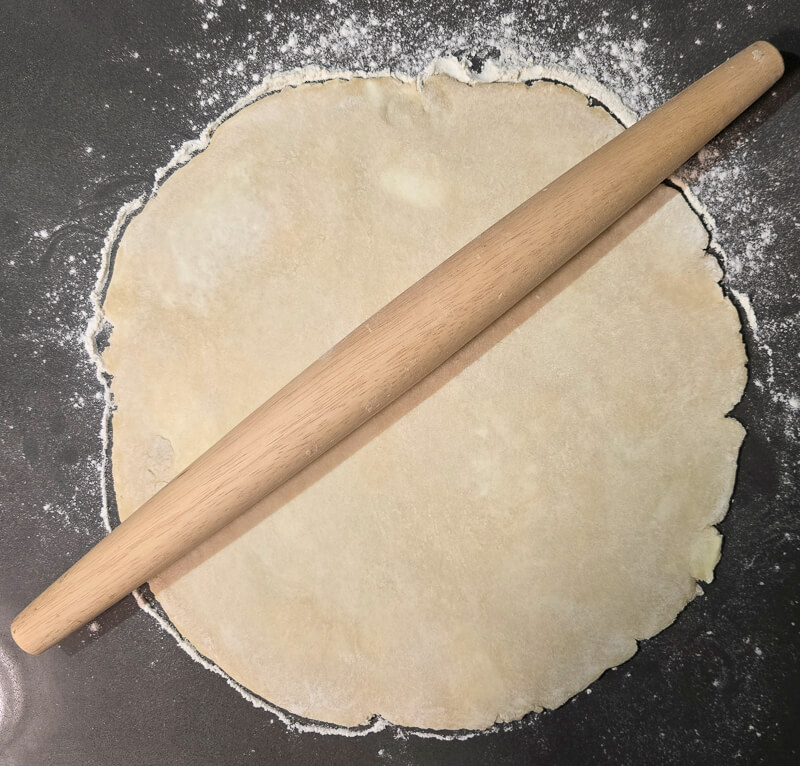
Roll Out the Pie Dough
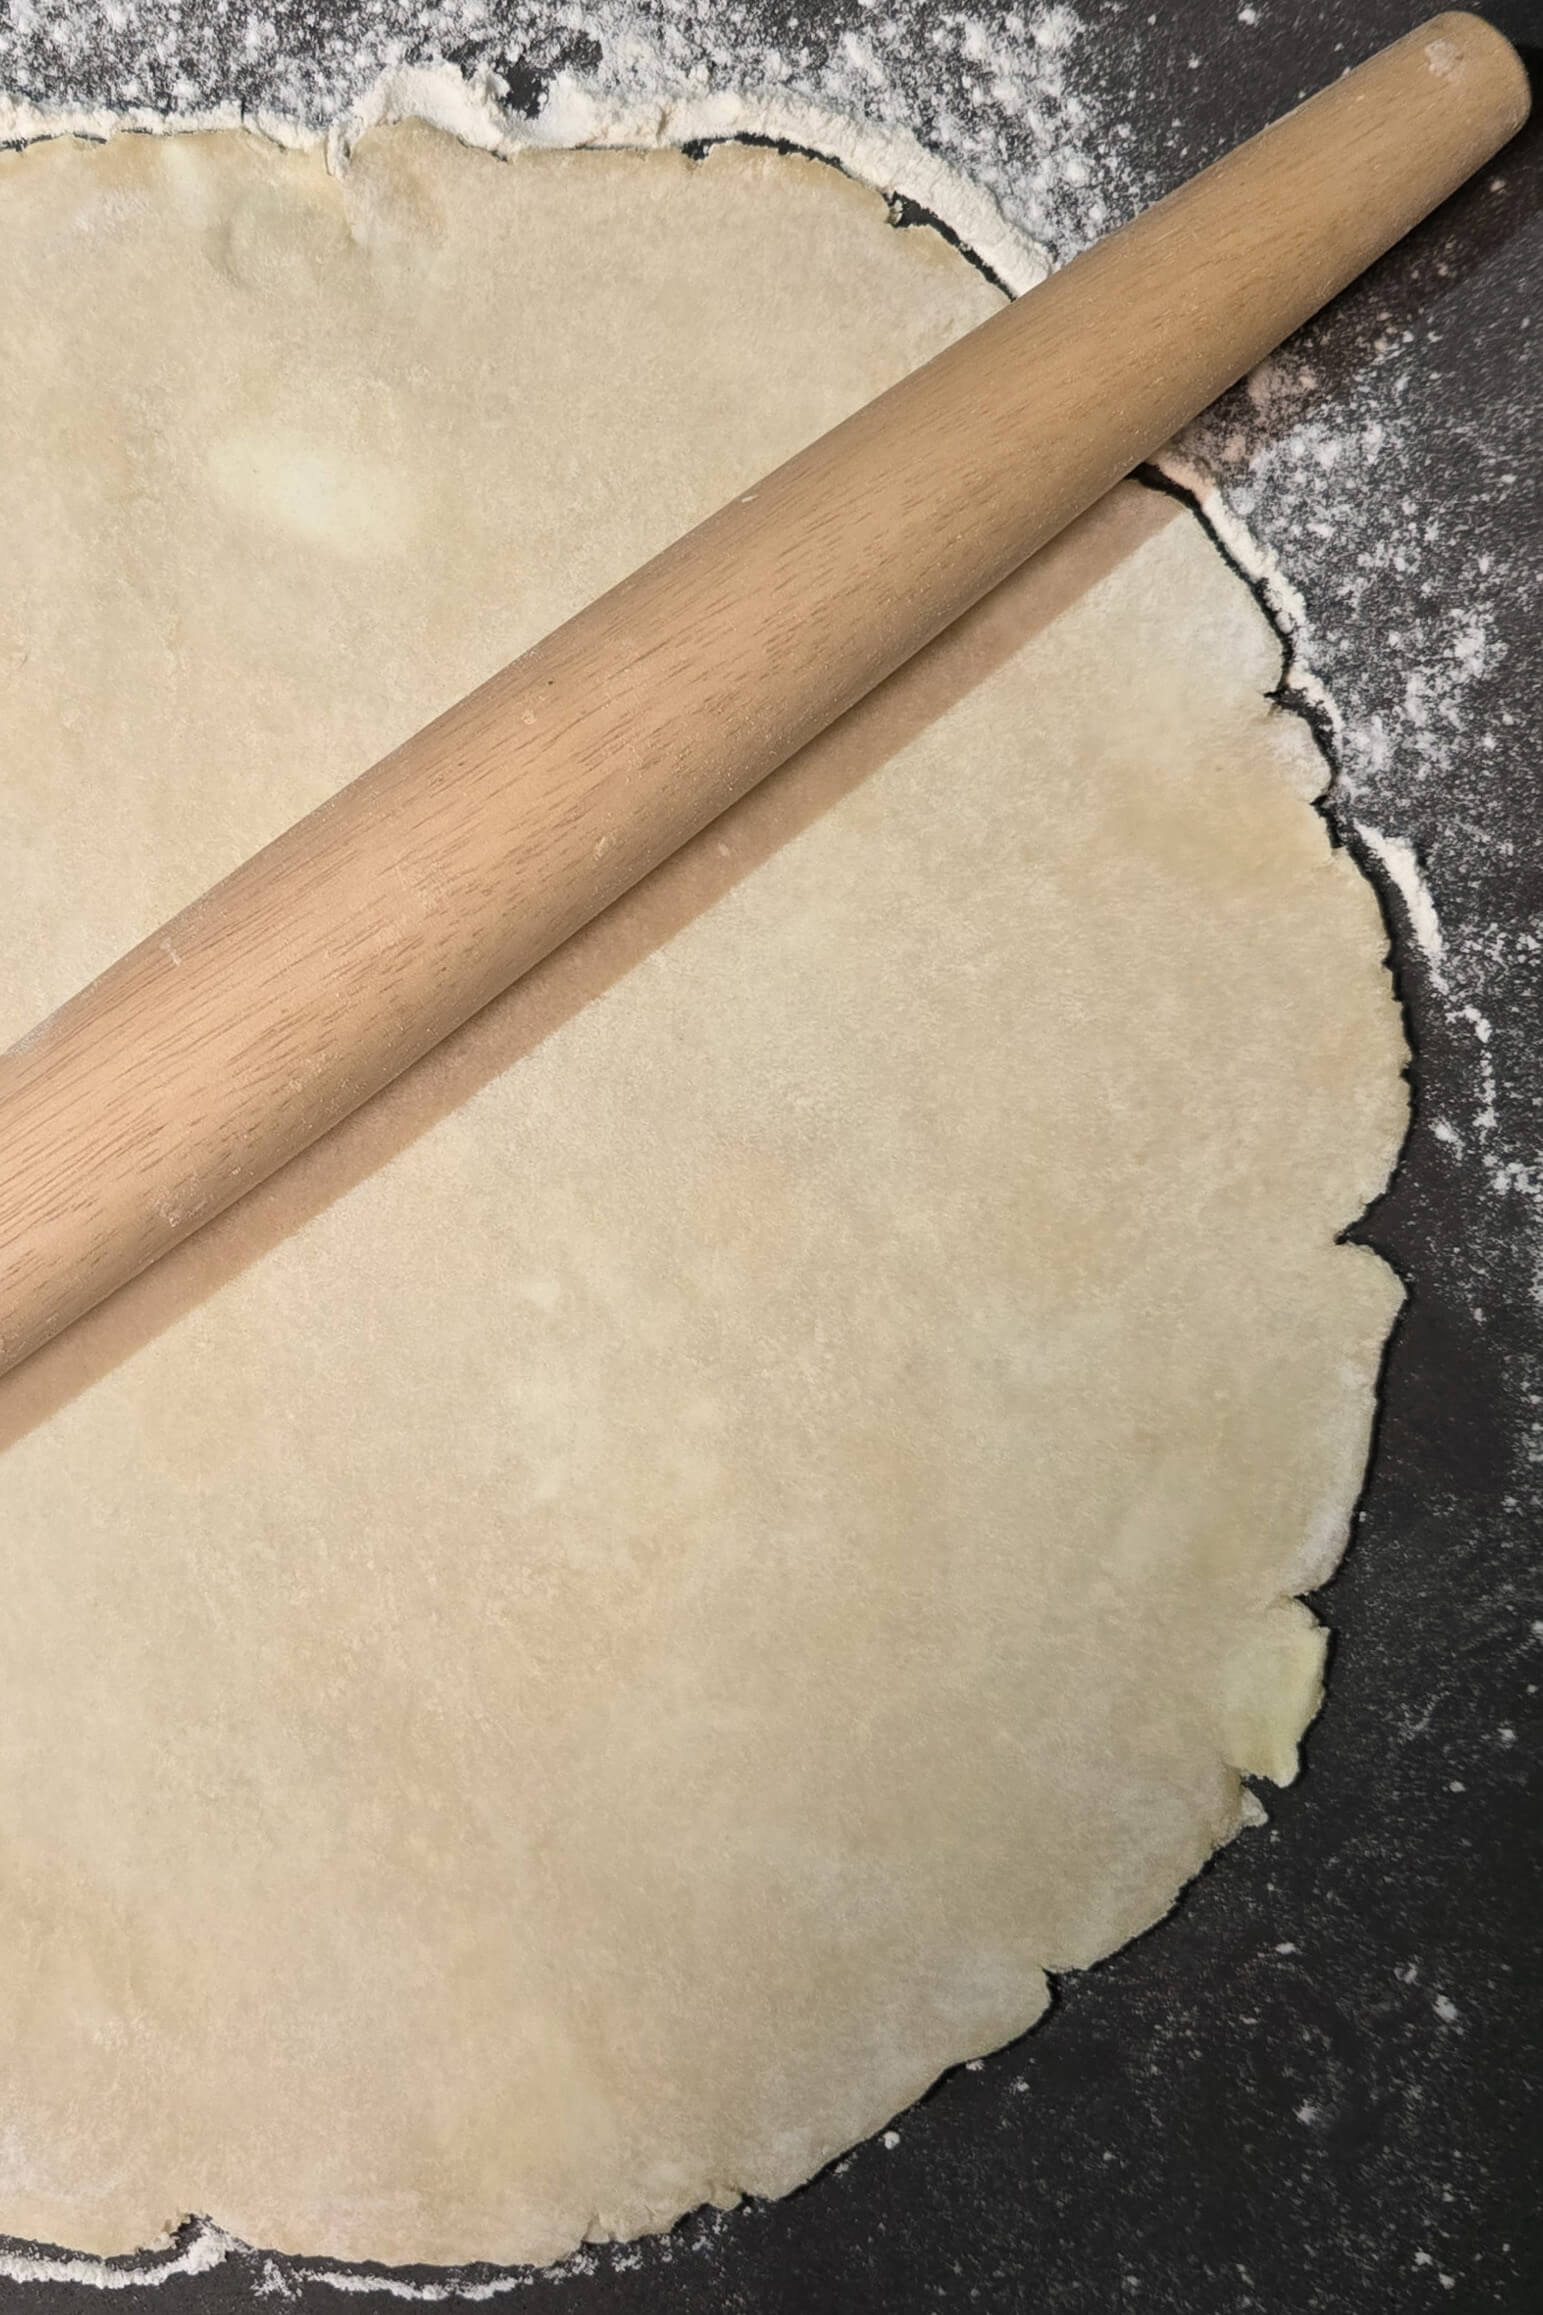
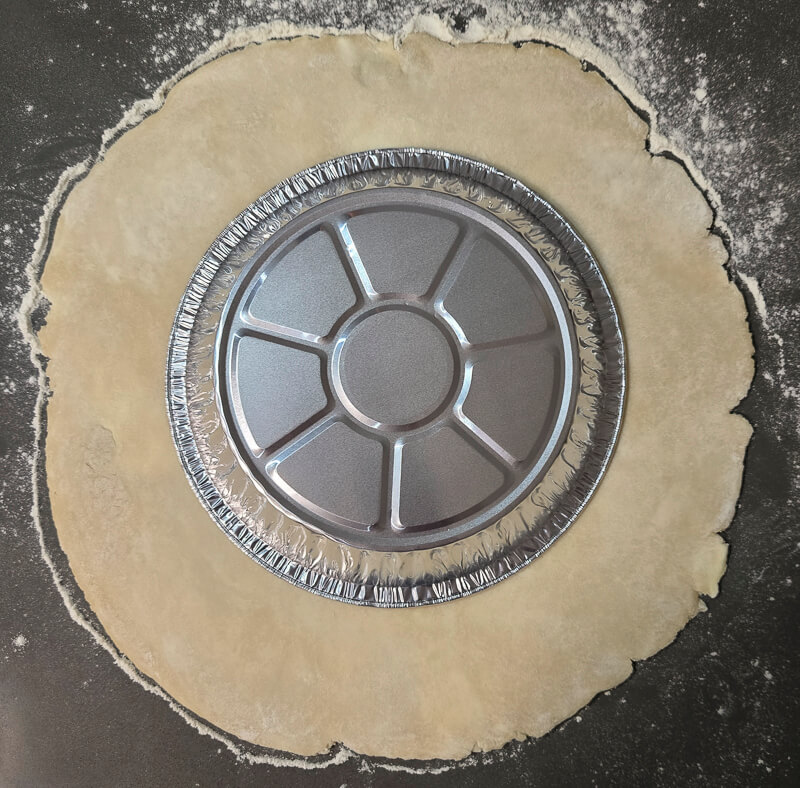
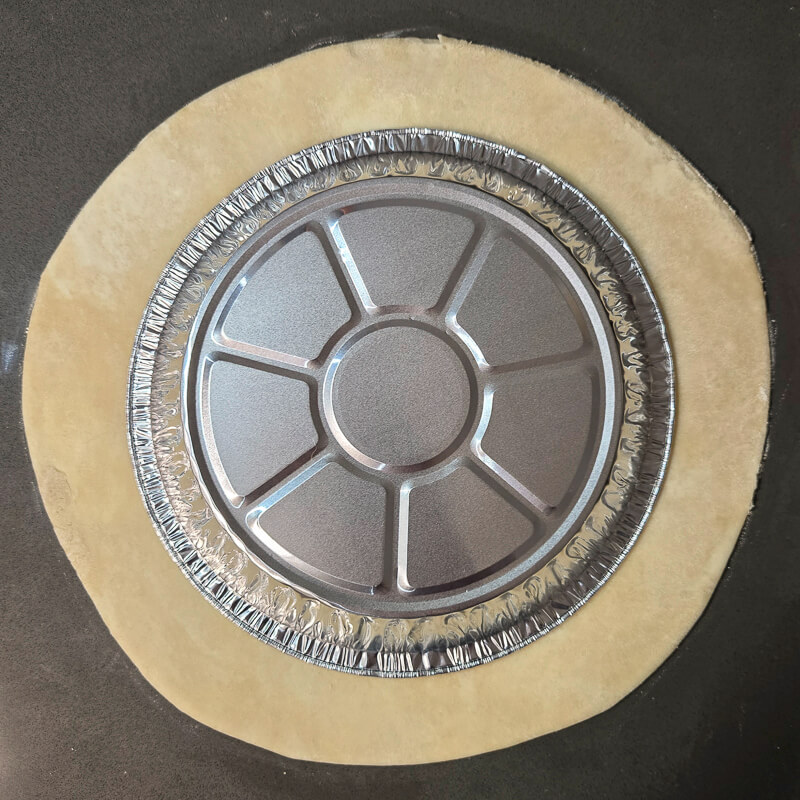
Using your rolling pin, apply even, firm pressure to roll the dough into a large circle until it’s about 2-3mm thick. To check the size, flip your pie tin upside down over the dough – you want roughly 1” of extra dough extending past the edges of the tin all the way around.
Every few passes, rotate the dough about 30°. When the dough starts to stick, lightly flour the surface, flip the dough over, lightly flour again, and continue rolling. This not only keeps the dough from sticking to your work surface, but also ensures both sides are rolled evenly. Doughs have a kind of “memory” from the gluten formation and will tend to shrink back into its original shape over time. Rolling in multiple directions and on both sides helps prevent shrinking and with keeping your final crust the right size.
5.
Cut Out the Pie Crust
Place your pie tin upside down over the rolled-out dough to check the size. You should have about 1” of extra dough extending past the edges of your pie tin. Using a pastry wheel or pizza cutter, cut the dough in an even circle, keeping that 1” border all the way around.
6.
Chill the Dough Before Forming
Gluten needs time to relax after being worked. Just like it was important to chill the dough for an hour after mixing before rolling it out, it’s helpful to give it some time to relax again.
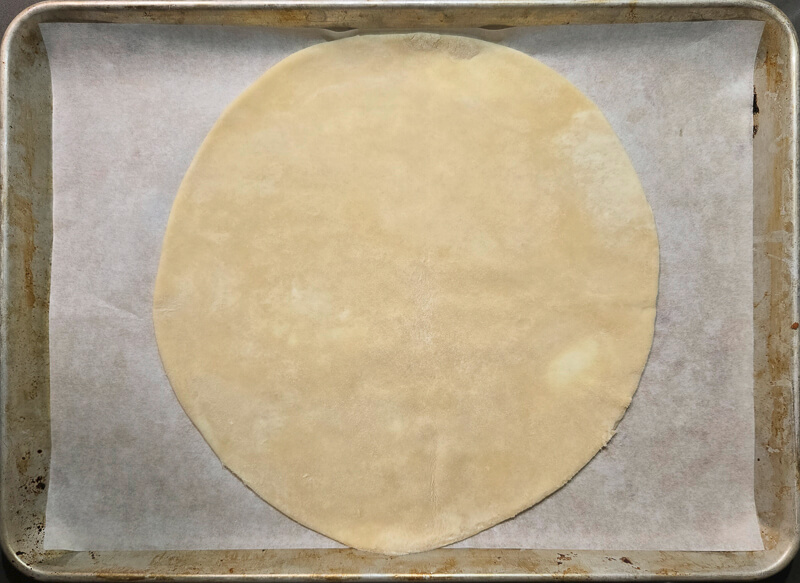
For best results, transfer your circle of pie dough onto a flat surface lined with parchment paper and chill it in the refrigerator for 15-30 minutes. A pizza pan or large cookie sheet works well. To move the dough without tearing it, fold it into quarters, lift it onto the surface, and then unfold it.
This step can also be done ahead of making a pie! Wrap the pan and dough tightly in plastic wrap and store it in the refrigerator for up to 3-5 days. You can even roll out multiple pie crusts, stack them separated with pieces of parchment paper, and freeze them until you’re ready to form a pie crust.
Ideas for Pie Crust Designs
Once you’ve rolled out your pie dough, you need to decide how to design your pie crust! Here are a few ideas, from easiest to to most difficult.
Easy Pie Crust Designs
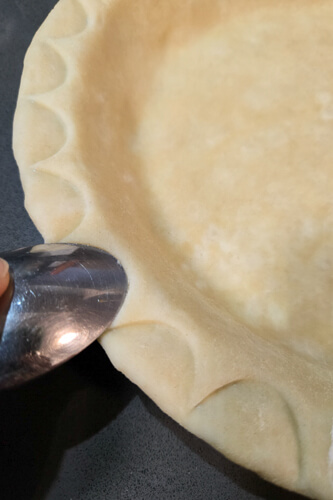
The absolute easiest way to make a pie crust is to fit your dough into your pie tin and then trim it down to the right size. If you want to make it a little fancier, you can use forks or spoon to press patterns into the pie crust.
Intermediate Pie Crust Design: Cookie Cutouts
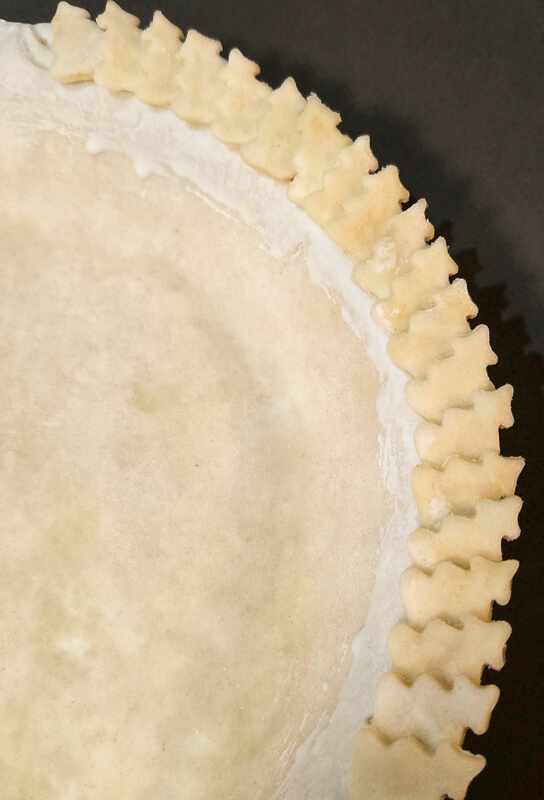
It’s easier than it looks to make a fancy looking pie crust using cookie cutters. By rolling out some extra dough, and cutting out cute shapes with small cookie cutters, you can affix shapes along the edge of your pie crust to create a custom, homemade design.
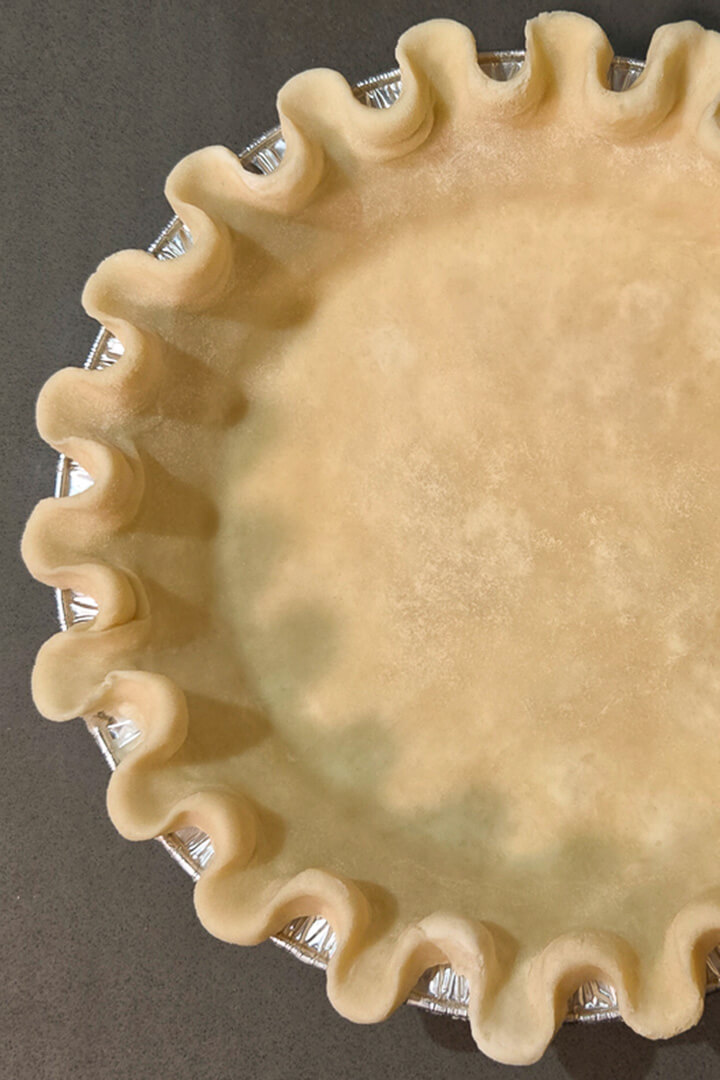
Advanced Techniques: Classic Crimped Pie Crust
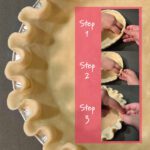
A fluted or crimped pie crust is the classic scalloped design you probably picture when you think of pies. There are a few different methods for fluting a pie, but this method consistently gives me clean, well-defined flutes.
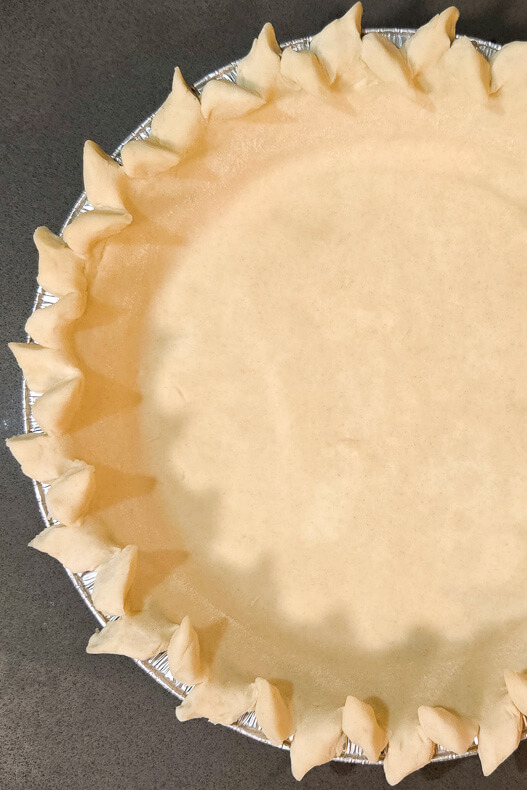
Advanced Techniques: Leaves on a Vine
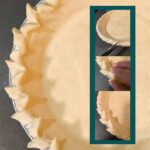
By rolling the edge of your pie crust, and then making regular cuts in the rope, you can create a pie crust edge that looks a bit like leaves on a vine or a wheat stalk. It’s easier to master than a fluted or crimped pie crust but gives your pie a polished, professional finish.
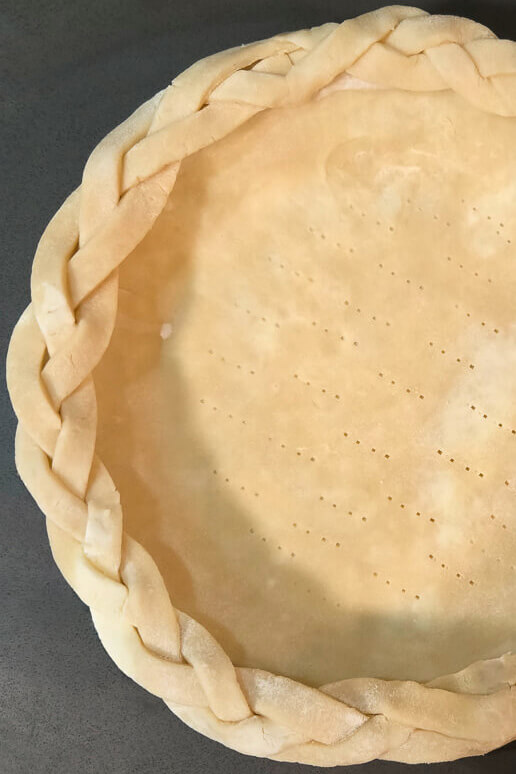
Expert Technique: Braided Pie Crust
Braids are one of the most stunning ways to decorate a pie crust. They take extra dough, time, and patience, but the result is well worth the effort. If you plan to use this method to form your pie crust, you’ll need to make some extra pie dough – double the recipe for a 9-10” pie shell. These directions are for a classic 3-strand braided pie crust, but you can experiment with other braid styles for unique designs

We’d love to see your pie crust designs! Tag us at @doggone_baking to show us your pie creations!


About Me
In 2016, I left my office job and became a professional baker. These days I spend my days testing recipes and baking pies while my two dogs snooze happily nearby.
See My Full Bio
One response to “How to Form a Pie Crust | The Ultimate Guide to Pie Crust Part 2”
-
I’m a competent cook but I have always had a terrible time with pie crust. This post helped me so much! Thank you!


Leave a Reply