15 Essential Pie Making Tools Every Home Baker Needs
Making a great pie doesn’t require a professional kitchen or a cupboard full of fancy gadgets. Instead, great pies come down to: quality ingredients, practice and technique, and the right tool for the job. You don’t need to buy every high-end piece of kitchen equipment out there, but a few must-have essential pie making tools can make the process smoother and help you avoid common frustrations.
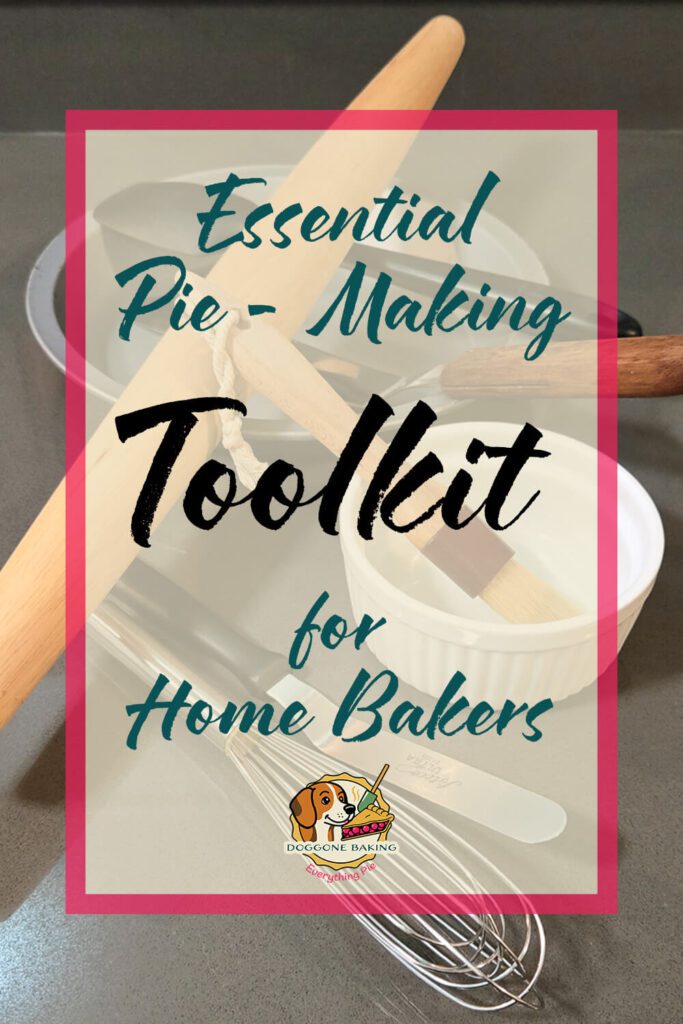
From evenly rolling out flaky crust, to avoiding soggy bottoms, to creating a silky-smooth custard filling, the right tools make pie baking easier, more consistent, and a lot more enjoyable. This is my complete pie making toolkit, featuring the essential equipment I rely on in my own personal kitchen, along with affordable entry-level alternatives, so you can decide which ones are worth adding to yours.
Table of Contents
At-A-Glance: My Top Picks
| Stand Mixer | KitchenAid Bowl-Lift | Hamilton Beach |
| Food Processor | Cuisinart 8-Cup | Cuisinart 4-Cup |
| Immersion Blender | All-Clad Stainless Steel | Amazon Basics |
| Food Scale | OXO 11-pound | Amazon Basics |
My Recommended Stand Mixers for Home Bakers
A stand mixer isn’t absolutely essential for pie making (or even baking in general). After all, pies and breads were being baked centuries before electric mixers came around. What a stand mixer does offer is power, consistency, and ease. For pie baking as well as other kinds of home baking, a stand mixer makes the work faster, cleaner, and more consistent than manual tools or a handheld mixer. The added stability, strength, and speed means doughs come together smoothly, fillings mix evenly, and meringues whip up in minutes. If there is one big-ticket investment I recommend for the avid home baker, a reliable stand mixer is the must-have tool that makes baking easier and more enjoyable.
What I Use:
KitchenAid is the workhorse of home kitchens and a longtime favorite on wedding registries for good reason. It was originally owned by Hobart, the company that makes the massive stand mixers used in commercial kitchens, and it continues to be one of the most reliable choices for home bakers today. I recommend the bowl-lift models over the tilt-head versions. Tilt-head mixers use a plastic gear that is designed to fail when overloaded, which makes them less durable. Additionally, the tilt-head mechanism has some play to it that causes some instability with heavier doughs like pie dough. A bowl-lift KitchenAid stand mixer costs more up front, but is studier, longer lasting, and better suited for serious baking.
My Most Affordable Recommendation:
A KitchenAid stand mixer is a big purchase, especially if you only plan to use it a few times a year (which is why it shows up on wedding registries so often). Thankfully, if you’re just getting into baking or you only bake a couple times a year, there are affordable options that perform well at a lower price point. I used an older version of this Hamilton Beach stand mixer for years when I was a broke college student just getting into stress baking. It only broke down once I started using it almost daily for months at a time. Hamilton Beach’s entry level stand mixer is a reliable, budget-friendly choice for occasional bakers.
Food Processors vs Blenders: Which Works Best for Pie Making?
A food processor or blender is one of the most useful tools you can add to your pie baking setup. Like stand mixers, they aren’t absolutely necessary and are relatively new compared to the long history of pie baking, but they can save a huge amount of time and effort. Both options are excellent for pureeing foods, such as for sweet potato pie, or for blending custard fillings into an ultra-silky mixture like in Marlborough pie.
Where blenders and food processors differ most for pie making, is handling dry ingredients. Food processors excel at grinding nuts into a fine meal, chopping chocolate, or breaking down frozen fruit in seconds. Blenders tend to struggle with dry ingredients, often producing uneven textures or seizing up entirely. What blenders do have going for them over food processors is a smaller physical footprint and more everyday versatility. Many home bakers already have one in their kitchen for smoothies, milkshakes, soups, and sauces, which makes them a convenient stand-in for a food processor if you aren’t ready to invest in both.
Food Processors:
If you are choosing between a food processor or a blender for your kitchen, I recommend a food processor from a pie-baking perspective. It handles dry ingredients like nuts and chocolate with ease, and it can even make pie dough if you don’t have a stand mixer. A good food processor purees and blends nearly as effectively as a blender, while offering extra versatility. Higher-end models, like the one I use, also come with shredding and slicing attachments that can make prep even easier.
What I Use:
For the best option for home baking, I recommend the Cuisinart 8-cup food processor. It is powerful enough to handle pie dough, nut meals, and smooth custard fillings, yet light enough to move easily and store away. Commercial kitchens often use heavy-duty machines made by Robot Coupe for frequent chopping and shredding of large volumes, but those models are expensive, bulky, and overkill for home use. The Cuisinart 8-cup model is reliable, durable, and efficient, making it one of the best options for frequent pie baking.
My Most Affordable Recommendation:
For a more affordable choice, I recommend Cuisinart’s smaller 4-cup food processor. It doesn’t include as many accessories as the larger model, such as the shredding or slicing attachments, but for most home bakers, basic chopping is what really matters. The biggest trade-off is capacity. With the 4-cup version, you may need to work in smaller batches. Still, it is compact, convenient, reliable, and may be a better choice than the 8-cup model if you’re short on kitchen space. If you want to go even more affordable, see the section on blenders below.
Blenders:
Blenders can handle many of the same tasks as food processors, and can serve as a substitute if you are looking to use an appliance you already own or one that feels more familiar to a new home baker. They work well for blending pie fillings and fruit purees, but are not as effective for chopping nuts, chocolate, or other dry ingredients which limits their usefulness in pie baking. I rarely use my blender when baking, and almost always rely on my food processor instead. But if you’re not ready to invest in a food process, a blender can manage the basics. Because food processors are the more versatile choice and my primary recommendation for bakers able to spend a bit more, I only suggest an affordable blender option here.
My Most Affordable Recommendation:
When choosing a blender that can double as a drink mixer and a pie making tool, look for one with at least a 4-cup capacity rather than the small bullet-style models. A basic option, like this Black and Decker blender is more than enough for occasional pie baking. These days many budget blenders and entry-level food processors fall into a similar price range. If you are shopping specifically for baking, I recommend going with one of the food processors above.
Immersion Blenders for Smooth Pie Fillings
For liquid pie fillings, like some custard and no-bake pies, an immersion blender can be the secret to achieving bakery-quality results at home. Unlike food processors and stand mixers, which blend in air and often create bubbles, an immersion blender works while fully submerged and blends without adding air. The result is a silky, even texture that bakes evenly and looks flawless. In commercial kitchens, we use massive immersion blenders that can handle gallons of filling at once, but for home baking, compact handheld versions are easy to find and suited perfectly for pie making.
What I Use:
I use a stainless steel immersion blender from All-Clad. Many handheld immersion blenders made for home use are underpowered and struggle with anything thicker than a smoothie. I’ve given away more than one immersion blender in frustration after they failed mid-recipe. This All-Clad model, however, has the strength to handle every pie filling I have tested it with. It’s sturdy, reliable, and powerful enough to cut through anything I have thrown at it, which makes it worth the investment for me.
My Most Affordable Recommendation:
If you want to test whether an immersion blender improves your pie fillings before investing in a higher-end model, a budget option can usually handle lighter recipes such as key lime or pumpkin pies. If the motor struggles, whisk the filling together manually first, then use the blender to finish smoothing and remove any air bubbles. The Amazon Basics immersion blender is one of the most affordable options available. It may not match the strength of premium models, but it is reliable enough for occasional pie making.
Using a Food Scale for Better Pie and Home Baking
Most professional and experienced home bakers measure ingredients by weight rather than volume. Weight is more accurate and consistent, and removes variables such as how tightly dry ingredients like brown sugar are packed, how coarsely ingredients like chocolate and nuts are chopped, or how evenly a scoop is leveled. This accuracy is especially important in baking, which is more of an exact science than cooking. All of my recipes include weight measurements for most ingredients. If you enjoy precision or have a soft spot for science experiments (like I do), you may appreciate a tiny scale for fun, although it is not at all necessary for everyday baking.
To use a food scale, use the “tare” or zero function to weigh ingredients directly into your bowl or container. You can reset the scale after each addition and continue measuring more ingredients directly into the bowl by pressing the “tare” button again. Most modern food scales allow you to switch between multiple units, including grams, ounces, pounds, kilograms, and milliliters, so you can follow any recipe with precision.
What I Use:
At home, and even in some of the commercial kitchens I have worked in, I use the OXO Good Grips 11-pound stainless steel kitchen scale with a pull-out display. For home baking, you will almost never need to measure more than 11 pounds at once, so this capacity is more than enough. The pull-out display is especially convenient when weighing large bowls or sheet pans, since you can still read the numbers clearly even with oversized items covering the platform.
My Most Affordable Recommendation:
Almost any digital food scale will work for home baking, even ultra-cheap options like the Amazon Basics scale. The main differences between models come down to capacity, sturdiness, and extra features. The OXO scale above is built for daily use and can withstand spills, drops, and the wear and tear of a busy kitchen (confession: I once even melted the bottom on a stovetop and it still kept working). Cheaper scales will break more easily, but replacing a low-cost scale every few years is not a major inconvenience if you only bake occasionally.
Precision Food Scales:
If you want to get ultra-precise and measure spices, leavening agents, or other tiny amounts, you can use a digital pocket scale that measures down to 0.01 grams. This level of accuracy is never required for baking, but it can be fun for anyone who enjoys experimenting. I keep one around for recipe testing in very small batches, and my spreadsheet-obsessed self loves having the extra data.
Pie Plates and Baking Dishes: Choosing the Right Pan for Your Pies
Every pie, crisp, or crumble needs a baking vessel. The most common and affordable choice is a disposable aluminum pie tin, which is lightweight, inexpensive, and widely available. However, there are other options, including reusable pie plates, ceramic ramekins, and even cast iron pans. Each material has its own strengths and drawbacks when it comes to heat conduction, durability, and presentation. Choosing the right pan can make a noticeable difference in baking the perfect pie crust.
Disposable Aluminum Pie Tins:
Disposable aluminum tins are the classic choice for pies and are widely available at grocery stores, bakeries, and even dollar stores. They are inexpensive, lightweight, and convenient for both baking and transporting pies. These tins are also my go-to option, since the ridges in the sides help support the crust and reduce slumping as it bakes. They are not the most durable or attractive choice for presentation, but they are practical, affordable, and effective, especially if you bake pies for potlucks, holidays, or bake sales. For a bit more durability, double up the pie tins after the pie is done baking.
Metal Pie Pan:
If you want a reusable option, I recommend metal pie pans. Metal conducts heat quickly and evenly, which helps the bottom crust bake through without turning soggy. These pans are durable, reliable, and often inexpensive compared to glass or ceramic. They may not be as decorative for serving, but if your goal is consistent results and a crisp, golden crust, a metal pie pan is one of the best tools you can add to your kitchen. These are also the best choice for angel pies, which have meringue crusts.
Glass Pie Plate:
Glass pie plates are a popular choice because they look attractive on the table and allow you to see the bottom of your crust as it bakes. This makes it easier to check for doneness and avoid underbaked crusts. The trade-off is that glass heats more slowly than aluminum tins or metal pie pans, which can sometimes delay browning. They are a good option if presentation matters, but for the most consistent results I still prefer metal.
Ceramic Ramekins:
For individual servings of pot pies, crisps, or crumbles, 10-ounce ceramic ramekins are a great option. They are oven-safe, hold up well to high heat, and transition beautifully from oven to table. The final product can be served directly in the ramekin, making them both practical and attractive for entertaining. While ramekins do not conduct heat as quickly as metal, they are sturdy, reusable, and perfect for portioned desserts or small savory pies.
Cast Iron Pan:
For a rustic presentation, pies can also be baked in cast iron pans. This is a great option for savory pies like pot pies. Some pies, like tourtiere, are evenly traditionally baked in cast iron. Cast iron pans are also a good option if you want to forgo the bottom crust and only have a top-crust for traditionally double-crusted pies like pot pie. While there are many brands of cast iron pans out there, a 10-inch Lodge is still my go to as a reliable, sturdy, and affordable option.
Essential Baking Tools for Home Pie Bakers
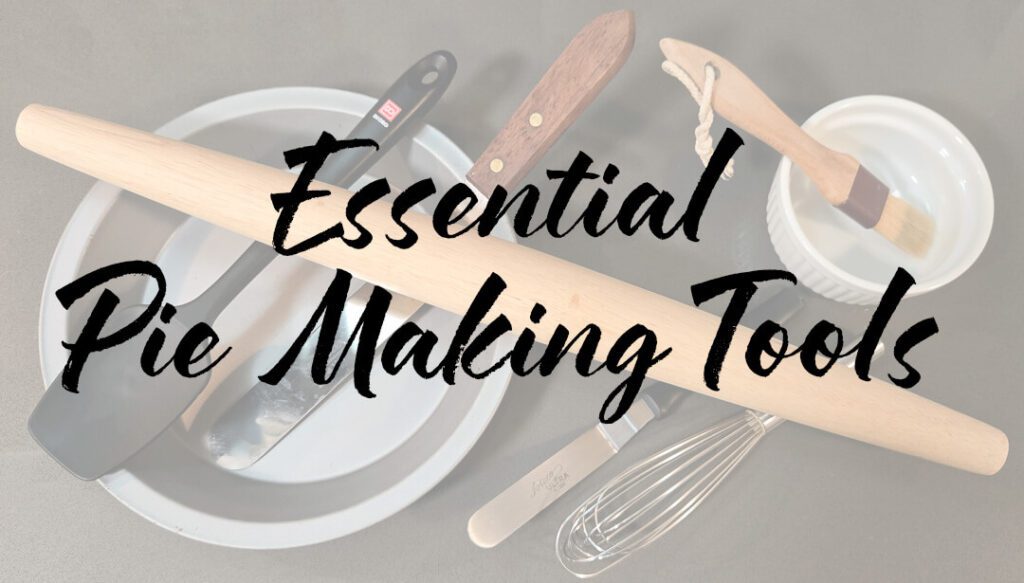
There are a handful of inexpensive manual tools that no pie baker should be without. Simple items like a sturdy spatula, a reliable rolling pin, a whisk, and a fine-mesh strainer may seem basic, but they make all the difference in preparing doughs, fillings, and toppings. These tools are affordable, easy to find, and essential for consistent results in home pie baking.
Tapered Rolling Pin:
A good rolling pin is essential for rolling out a buttery, flaky pie crust. I recommend a French-style rolling pin, which has no handles and tapers at the ends. This design is lightweight, easy to control, and ideal for learning how to roll out thin, even rounds of dough. Tapered pins also give you more precision when adjusting thickness across the crust. While there are many types of rolling pins available, the French rolling pin remains my top choice for pie baking. You can see my full breakdown and comparison of different types of rolling pins here.
Fine Mesh Strainer:
A fine mesh strainer (or sieve) is one of the most useful affordable tools in pie baking that can elevate your final product to a professional level. It acts as a failsafe for curds, and pastry creams, catching small lumps or bits of curdled egg so your filling turns out silky smooth. They are equally handy for straining homemade stock for savory pies, removing fibers from fruit juices, or smoothing out jams. In short, a fine mesh strainer is a versatile, inexpensive tool that guarantees a polished final product in both sweet and savory baking.
Whisks:
A French whisk is one of the most versatile tools for pie baking. Its narrower shape compared to a balloon whisk makes it perfect for reaching into the corners of pots when cooking curds or pastry creams, and it is sturdy enough to cut through thicker batters like sweet potato pie. A whisk is also a quick, low-effort option for many pie fillings, saving you the extra cleanup that comes with pulling out a stand mixer or food processor. For recipes like key lime or pumpkin pie, a whisk often does the job just as well, with less time and fewer dishes.
Silicone Spatula:
A silicone spatula is one of the most essential tools for any kitchen, and it is the single most-used item in mine. I use spatulas constantly for scraping bowls, stirring and mixing thick batters or pie fillings, and cooking on the stovetop. Silicone is heat-resistant up to about 500°F, easy to clean, and safe for both nonstick and stainless pans. Many spatulas are designed with just enough flexibility to scrape the bottom of a pot or pan and get into tight corners, which makes them especially useful for custards, curds, and fruit fillings.
Essential Tools for Decorating Show-Stopping Pies at Home
Piping whipped cream, swirling ganache or meringue, and cutting decorative pie crust shapes are all ways to turn a delicious pie into a show-stopping centerpiece. While you can create simple designs with basic kitchen tools, a few specialized decorating tools make the process easier and expand your options. With items like offset spatulas, piping tips, torches, and cookie cutters you can add polished, professional-looking finishes that make any pie look as good as it tastes.
Kitchen Torches:
Meringues, brûlée-style toppings, and marshmallow fluff are all popular finishes for pies. While you can brown these under a broiler, a kitchen torch gives you much more precision and control over color. With a torch, you can create an even golden finish or add just the right amount of caramelization exactly where you want it. A small kitchen torch is an inexpensive tool that delivers professional-looking results and takes pie decorating to the next level.
Most kitchen torches use butane as fuel. While you can buy small handheld culinary torches, I prefer using an attachment that fits directly on top of a butane canister. Butane bottles are inexpensive, easy to find, and last a long time, which makes this setup practical for regular baking. The flame is adjustable, giving you full control over how much color you add to your toppings.
Offset Spatulas
While you can spread meringue, whipped cream, ganache, or other toppings with a butter knife or the back of a spoon, an offset spatula makes the job much easier. The angled blade gives you more control, helping you smooth out surfaces cleanly and avoid smudges. Offset spatulas are also useful for creating quick, simple designs like spirals or waves without pulling out piping bags and tips. Ateco is a tried-and-true brand for decorating tools, and their offset spatulas are sturdy, reliable, and affordable.
Piping Tips
A simple set of piping tips opens up endless decorating possibilities for pies. With just a few tip shapes, you can create intricate designs with whipped cream, meringue, marshmallow fluff, or ganache. Piping tips are intuitive to use, and with a little practice you can quickly pipe clean borders, rosettes, or swirls that look professional. They are inexpensive, easy to store, and a small upgrade that makes your pies stand out on any table.
Piping Bags
If you invest in a set of piping tips, a few piping bags are a helpful and affordable addition. While you can improvise with a zip-top bag by cutting off a corner or folding parchment paper into a cone, dedicated piping bags make the process faster and cleaner. Disposable plastic piping bags are convenient for quick decorating sessions, while reusable silicone piping bags are sturdy, eco-friendly, and easy to wash. Both options are inexpensive, and having a set on hand makes pie decorating with tips much easier.
Cookie Cutters
Cookie cutters are one of the easiest ways to decorate a pie crust. You can press cutouts directly into the edge of your crust, layer them in overlapping patterns for a decorative double-crust pie, or bake them separately and place them on top of a custard pie just before serving. They come in endless shapes and sizes, making them a versatile, inexpensive tool for adding personality and flair to any pie.
Gel Food Coloring
A tiny drop of gel food coloring goes a long way and can completely transform the look of a pie. You can use it to tint meringue, whipped cream, or marshmallow fluff, or add a few drops to egg wash for vibrant crust decorations. Gel coloring is stronger and more concentrated than liquid food coloring, so you only need the smallest amount to achieve bold, consistent colors without thinning your mixture. It is an inexpensive tool that opens the door to creative, festive pie designs. Americolor, Wilton, and Chefmaster make various, high-quality gel food colorings.
Final Thoughts on My Essential Pie Making Tools
You don’t need every tool in this guide to bake a great pie, but having a few of the right ones makes the process easier, more consistent, and a lot more enjoyable. Whether you start with just the basics like a rolling pin and pie plates, or invest in big-ticket items like a stand mixer or food processor, each of these tools has earned a permanent spot in my kitchen for a reason. I use and recommend them because they truly make a difference in the results. Choose the essentials that fit your budget and baking style now, and you can always add more over time as your pie baking journey continues.
