This post may contain affiliate links. Please read my disclosure policy.
All recipes on Doggone Baking are intended for humans — the dogs are just our enthusiastic photo assistants and taste-test spectators.
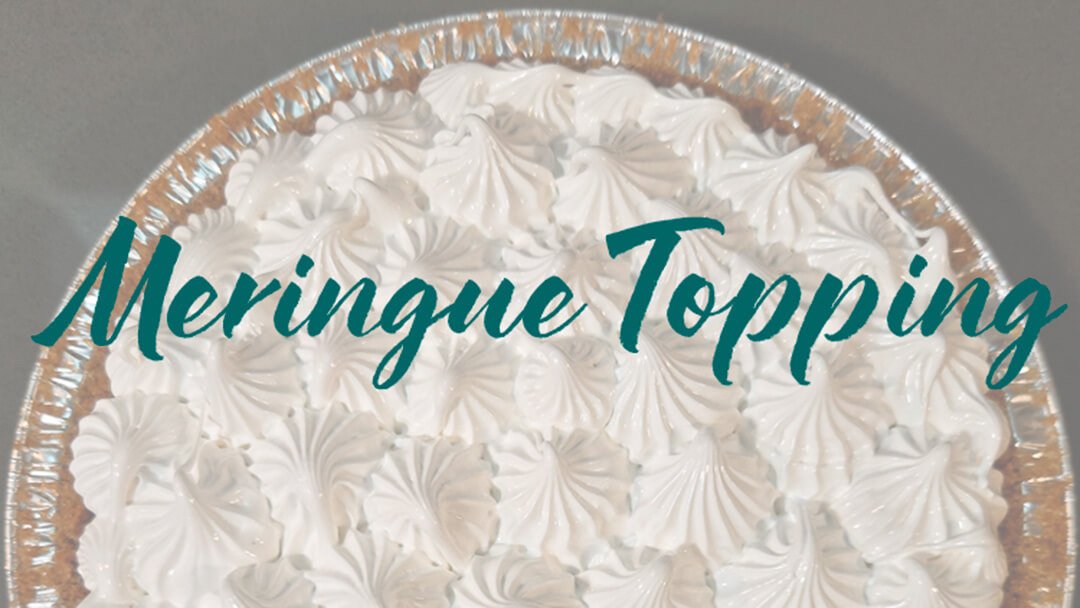
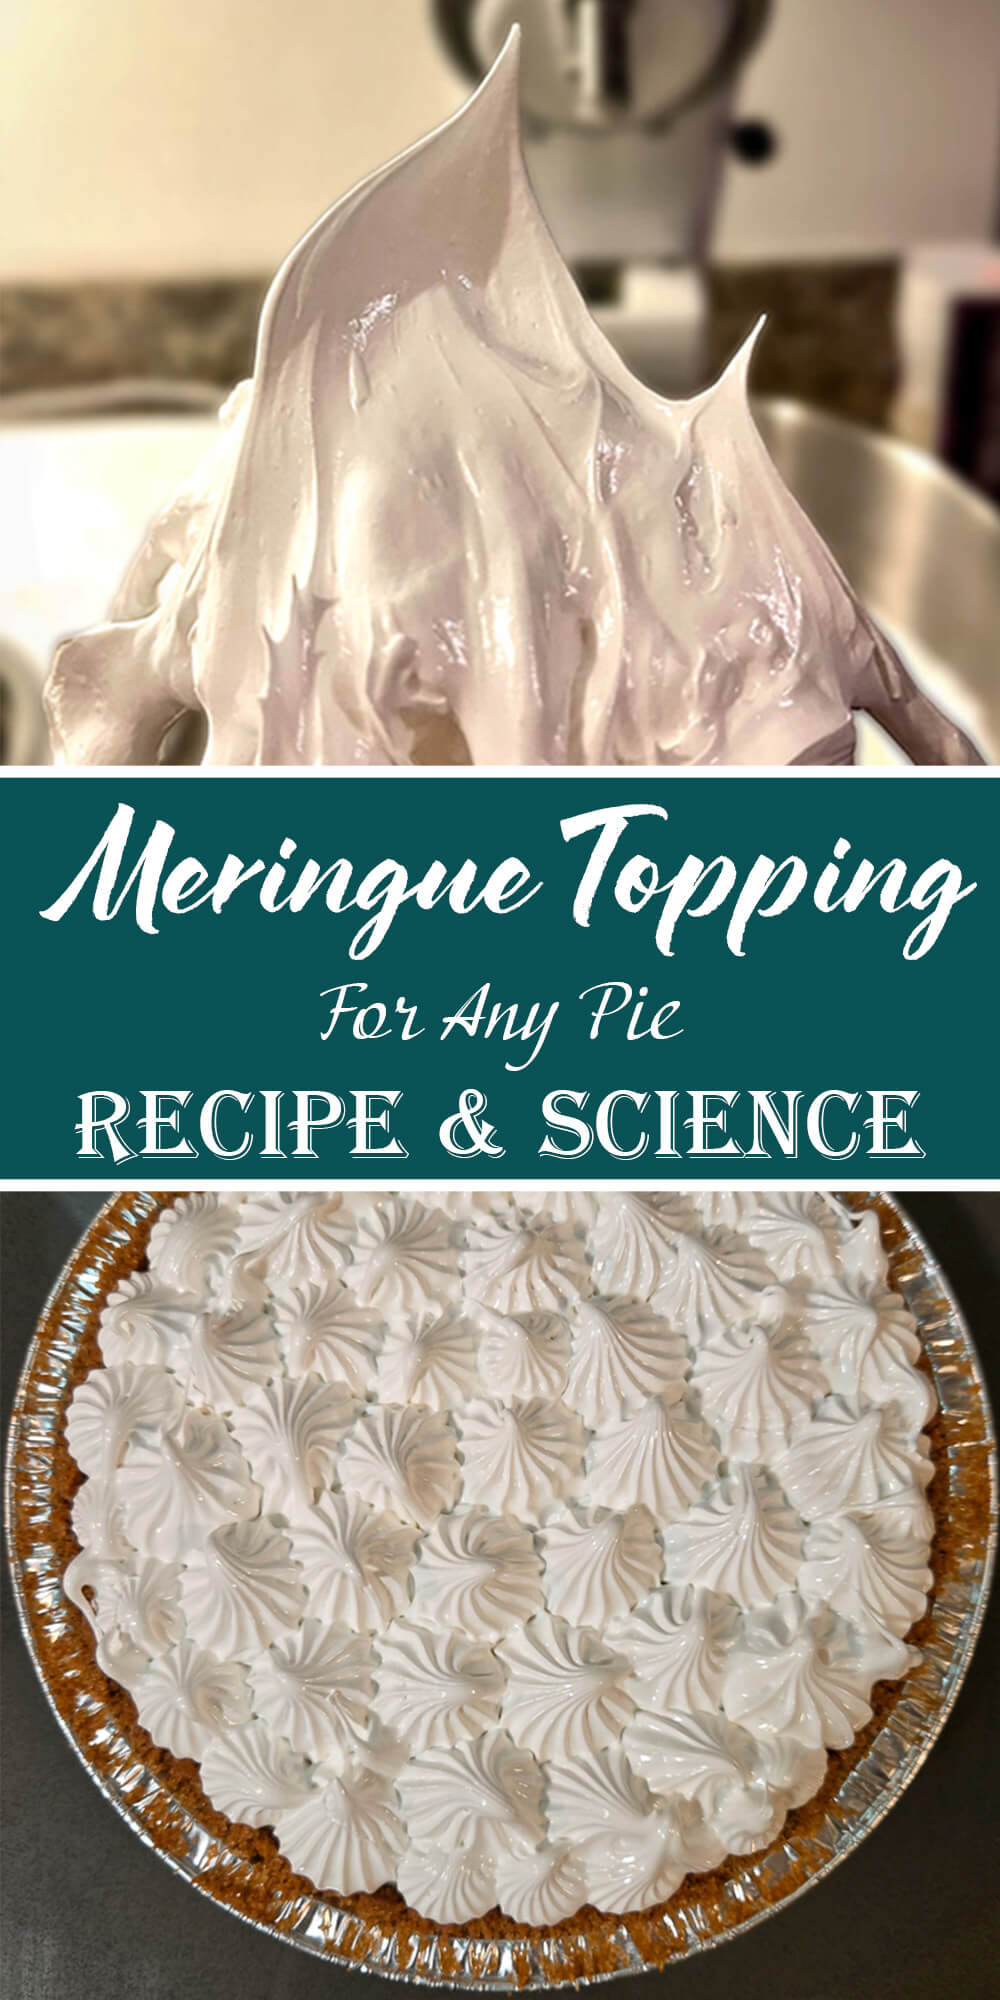
A Complete Guide to Meringue for Pies: History, Science, and Techniques
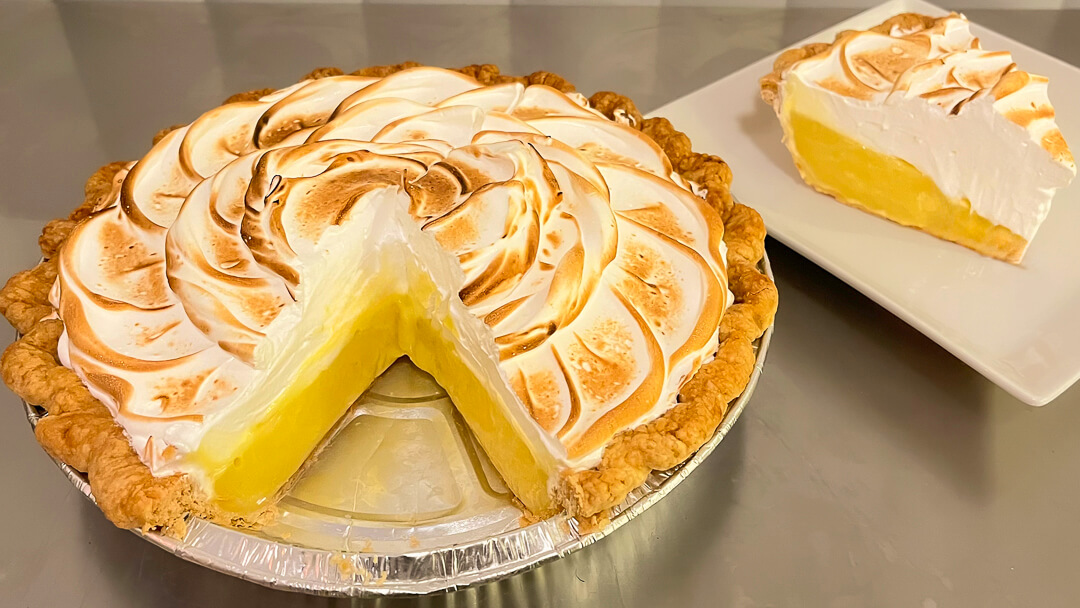
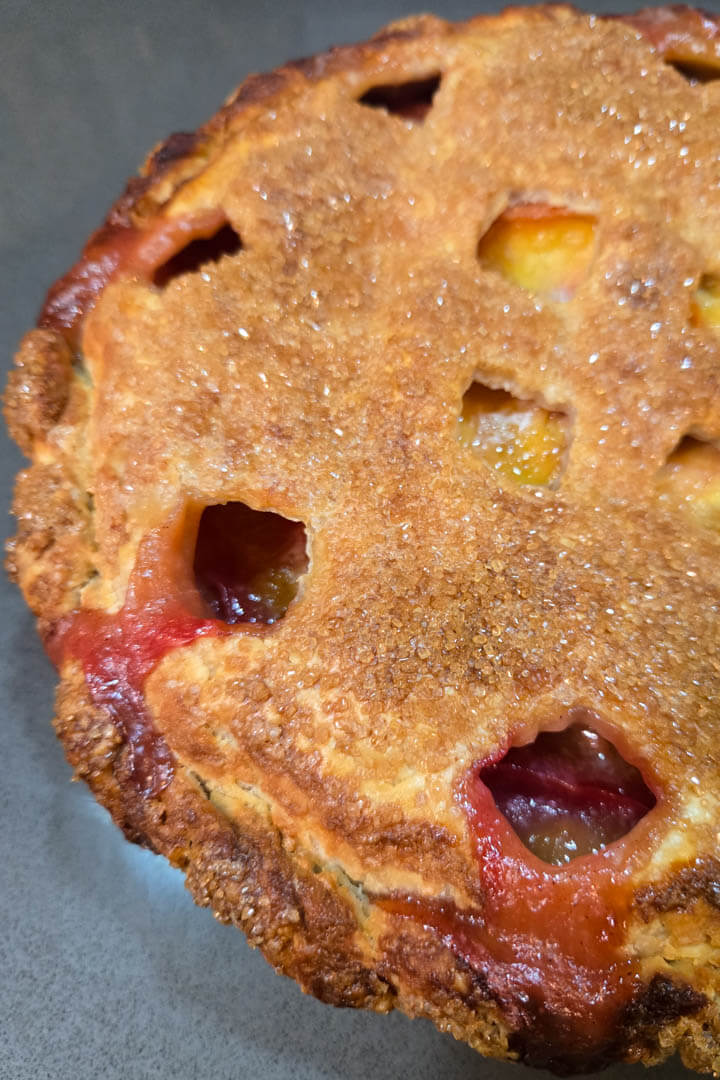
When thinking of classic pie pairings, ice cream, crumble topping, lattice crusts, meringue, and whipped cream often come to mind. Meringue has been a traditional pie topping since the 1800s and was a classic topping well before whipped cream became the default for many pies. Lemon meringue pie may be the most iconic and enduring meringue-topped pie, but historically, toasted meringue was the standard topping for a wide range of pies. Fruit pies and custard pies can also be finished with meringue, and some examples include apple meringue pie, pumpkin meringue pie, and key lime pie topped with meringue. This guide breaks down the different types of meringue and explains the science behind the fluffy and sweet topping.

History of Meringue
Meringue has been around for hundreds of years, and like many foods with such a long history, there is some debate around its exact origins. However, there is one theory that is generally given the most credit.
One definite point is that meringue was created some time at the very beginning of the 17th century. The most widely accepted theory traces meringue back to an Italian confectioner named Gasparini working in Switzerland. According to the official tourism website for the Jungfrau region of Switzerland, the confection was invented in the town of Meiringen. Meringue was supposedly originally called “meiringe” and was named after the town. You can read the full write-up by the tourism board here.
In the book Meringue by Linda K. Jackson and Jennifer Evans Gardner, they mention another possible origin – although they do note that the Swiss theory is the most accredited and likely. The other theory suggests that meringue was developed in Poland and is derived from a Polish dish called marzynka.
History of Meringue on Pies
Lemon meringue pie is generally accepted as the first widespread meringue-topped pie. Before refrigeration became more accessible in the mid-1900s, custards and curds made with egg yolks posed a practical problem: leftover egg whites. Today, egg whites can be refrigerated or frozen for later use, but historically, they needed to be used quickly because there was no reliable way to store them safely.
Mrs. Elizabeth Goodfellow, who ran America’s first cooking school in Philadelphia, is widely credited with creating lemon meringue pie. She topped a lemon curd-filled pie with meringue made from the leftover egg whites used in the filling. Mrs. Goodfellow developed the recipe sometime in the early 1800s, and one of her students later published it in a cookbook in 1847. For a deeper look at this history, see my full post on lemon meringue pie here.
Because many puddings, pastry creams, curds, and custards rely heavily on egg yolks, meringue became a practical and economical topping for many pies throughout the 19th and early 20th centuries. While modern versions of pies like chocolate cream pie are most often finished with whipped cream, it was standard practice to top these pies with toasted meringue instead well into the 20th century.
What is Meringue?
Meringue is simply egg whites whipped with sugar. When egg whites are whipped long enough, they form a stable foam that can be piped, spread, or folded into desserts to add lightness, such as mousse and chiffon pies.
Although egg whites can be whipped into a foam on their own, without sugar they will not develop meringue’s characteristic glossy appearance, and the foam will be far less stable. When piped and baked on its own, meringue is a dessert in its own right. It is also the primary component of the cookie shells used to make macarons.
Meringue is also used as the base for some buttercream frostings. Many professional cake bakeries rely on Swiss meringue buttercream or Italian meringue buttercream because these styles produce a frosting that is smoother, more stable, and less sweet than traditional American buttercream.
What are the Different Kinds of Meringue?
There are three main types of meringue: Swiss, French, and Italian. They’re all similar confections, but the method for making them all differ somewhat. For home baking, Swiss meringue is generally the most versatile while being food-safe. Most of the recipes on techniques for a Swiss meringue.
What is French Meringue?
Of the three types of meringue, French meringue is the least food-safe. Eating raw egg whites is not recommended for pregnant or immunocompromised individuals and carries a risk of food-borne illness. In other words, consuming raw egg whites can cause food poisoning. When making desserts like macarons, French meringue is safe because the meringue is baked in the oven until the egg whites are fully cooked. In no-bake desserts such as mousse or chiffon pie, however, the finished dessert would contain raw egg whites.
French meringue is also the least stable of the three techniques. A meringue’s stability refers to how well the meringue holds its shape over time. French meringue is the easiest to overwhip, which can cause the foam to collapse. Even when whipped correctly to stiff peaks, it can lose its structure quickly and is the most prone to weeping, where liquid begins to seep out from under the meringue.
While French meringue is great for certain desserts, it is not the easiest or most reliable meringue to use for pies. However, it can safely be used for meringue-topped pies if you intend to bake the meringue (see below for methods of toasting meringue on pies). Additionally, many older chiffon pie recipes call for French meringue to be folded directly into the pie filling. While this is how chiffon pies were classically made, this site adapts chiffon pie recipes to use Swiss meringue instead in order to make the fillings more food-safe.
What is Italian Meringue?
Italian meringue is often considered the most technical and challenging type of meringue to make. To prepare Italian meringue, the sugar is first heated with water to form a hot sugar syrup. The syrup is cooked to the soft-ball stage, or 235–245°F (115–118°C), then slowly streamed into the egg whites while they are being whipped. The mixture is then whipped until it reaches stiff peaks.
Italian meringue is more food-safe than French meringue because the egg whites are heated by the addition of the hot sugar syrup. However, the final temperature of the egg whites depends on several factors, including the temperature of the syrup, the speed at which it is added, and how vigorously the egg whites are whipped. For egg whites to be considered food-safe, they need to reach 160°F (71°C). Sugarologie has a detailed video that explores whether Italian meringue reliably cooks the egg whites to this temperature. (Hint: the answer is “not necessarily”).
Of the three types of meringue, Italian meringue is the most stable. It holds its shape the longest and is the least likely to weep over time. Because of this stability, Italian meringue buttercream is often used for professional cake decorating. However, Italian meringue can be more difficult for home cooks to master, and it does not guarantee that the egg whites reach a fully food-safe temperature. For these reasons, the recipes on this site use Swiss meringue instead. Italian meringue can still be used as a substitute if it is the method you are most comfortable with.
What is Swiss Meringue?
Swiss meringue is the preferred method used on this site. It is relatively forgiving, approachable for home cooks, and allows for precise temperature control to ensure the egg whites reach a food-safe temperature. It is also stable and versatile, making it well suited for both finishing pies and use in no-bake pie fillings.
Swiss meringue is made by heating the egg whites and sugar together over a double boiler while gently whisking until the mixture reaches 160°F (71°C). Once the egg whites have reached a food-safe temperature, the mixture is transferred to a stand mixer and whipped on high speed until stiff peaks form.
While Swiss meringue is not quite as stable as Italian meringue, it holds up very well in desserts and buttercream. It is easier and more forgiving to make because the egg whites and sugar are heated together gradually, rather than introducing hot sugar syrup into whipped egg whites like with Italian meringue. Swiss meringue also reliably reaches a food-safe temperature, since the temperature is controlled before whipping begins.

How Does Meringue Work? The Science of Meringue
Egg whites are made up mostly of proteins, which is what gives them their unique ability to form a meringue. If you’ve ever tried to follow a protein-heavy diet you probably already know this. When making meringue, that high protein content is exactly why egg whites can be whipped up into a foam.
One of the primary proteins in egg whites is ovalbumin. While the name sounds technical, what matters is that ovalbumin is somewhat unusual in that it can be denatured through mechanical agitation. Proteins are made up of amino acids, which you can think of as small building blocks that fold and link together into a larger structure. Denaturing a protein is when you unfold that structure so the amino acid chains, or the building blocks, separate. Proteins can be denatured in several ways. In cooking and baking, heat is the most common method. Proteins can also be denatured chemically, for example this is why bleach has sanitizing properties. Ovalbumin is unique in that it can be denatured mechanically, simply by vigorous whisking.
When the proteins in the egg whites are denatured, the unfolded amino acid chains rearrange themselves into a new structure. This process is closely tied to how those chains interact with water since there is also a lot of water in egg whites. Some parts of the amino acid chains are hydrophobic, meaning they repel water, while other parts are hydrophilic and readily interact with it. As the proteins reorganize, they form a loose network around the water in the egg whites. If enough air is incorporated during whipping, this network traps air bubbles and creates a foam.
This is why it is so important that your mixing bowl and whisk are completely clean when making meringue. Even a very small amount of fat or grease can interfere with the protein network, preventing the egg whites from trapping air properly and keeping the foam from forming or stabilizing.
Foams, however, are naturally unstable. Think about the foam on top of a glass of beer. Given enough time, the bubbles collapse and the foam disappears. Egg whites whipped on their own behave the same way. They can form a foam temporarily, but without added stabilizers, the protein structure will eventually collapse.
Meringue relies on a few key ingredients to stabilize this foam and slow that collapse. One is sugar, which is already the other main ingredient in meringue. Another commonly used stabilizer is a small amount of cream of tartar.
Sugar increases the stability of meringue by increasing the viscosity of the water in the egg whites. In simple terms, viscosity refers to how thick a liquid is and how easily it flows. Water has very low viscosity, while something like molasses has a much higher viscosity. When sugar dissolves in the water in the egg whites, it forms a syrup and ever so slightly thickens the liquid. As the liquid becomes more viscous, air bubbles are less able to escape the final foam, allowing them to remain trapped for a longer period of time.
Cream of tartar is an acidic ingredient, and acids also help denature proteins. Adding a small amount of cream of tartar helps the egg white proteins denature more efficiently and more completely. This strengthens the protein network and further stabilizes the meringue, reducing the likelihood that it will collapse or weep over time.
How to Make Swiss Meringue for Pie
How Much Sugar Should You Use for Meringue?
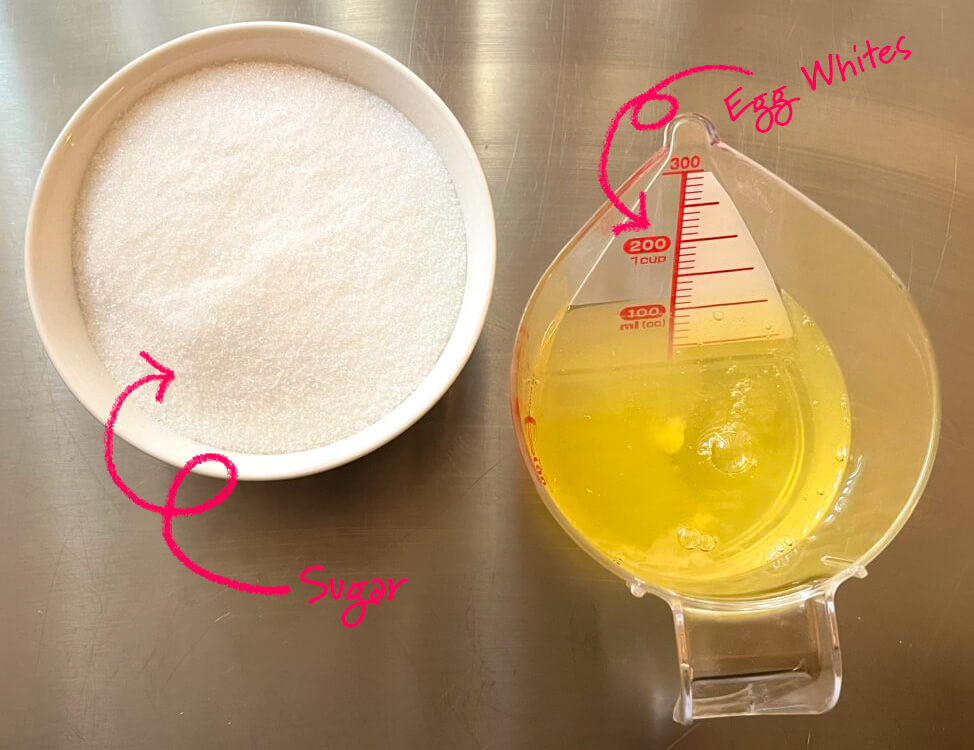
As a general rule of thumb, about ¼ cup of sugar (50g) per egg white is a reliable ratio for making Swiss meringue. Sugar stabilizes the egg whites, so even smaller amounts will still help create a better foam, while larger amounts will increase both sweetness and stability. For a sweeter meringue, use closer to ⅓ cup of sugar (67 g) per egg white. For a less sweet meringue, 3 tablespoons of sugar (38g) per egg white will still provide adequate structure.
Step-by-Step Swiss Meringue Recipe
This recipe makes enough meringue to generously cover one 9-inch pie. You will have enough to spread the meringue fully over the surface or pipe it decoratively on top without ending up with excessive leftovers.
Ingredients
- 3 large egg whites
- ¾ cup sugar (150g)
- ¼t cream of tartar (optional)
Note: Adding ¼ teaspoon of cream of tartar helps stabilize the meringue even further. Swiss meringue is already quite stable on its own, so this ingredient is optional and you can still achieve excellent results without it.
1.
Set up a double boiler by filling a pot with 1 to 2 inches of water and placing a heatproof bowl on top. The bowl should be slightly larger than the pot, with its bottom hovering just above the water. Bring the water to a boil over medium heat.
2.
In the heatproof bowl, whisk together the egg whites, sugar, and optional cream of tartar. Keep the bowl over the double boiler and whisk gently until the mixture reaches 160°F (71°C), using a candy thermometer to check the temperature.
3.
Immediately transfer the mixture to a stand mixer fitted with a whisk attachment. Whip on high speed until stiff peaks form.
How to Top Pies with Meringue
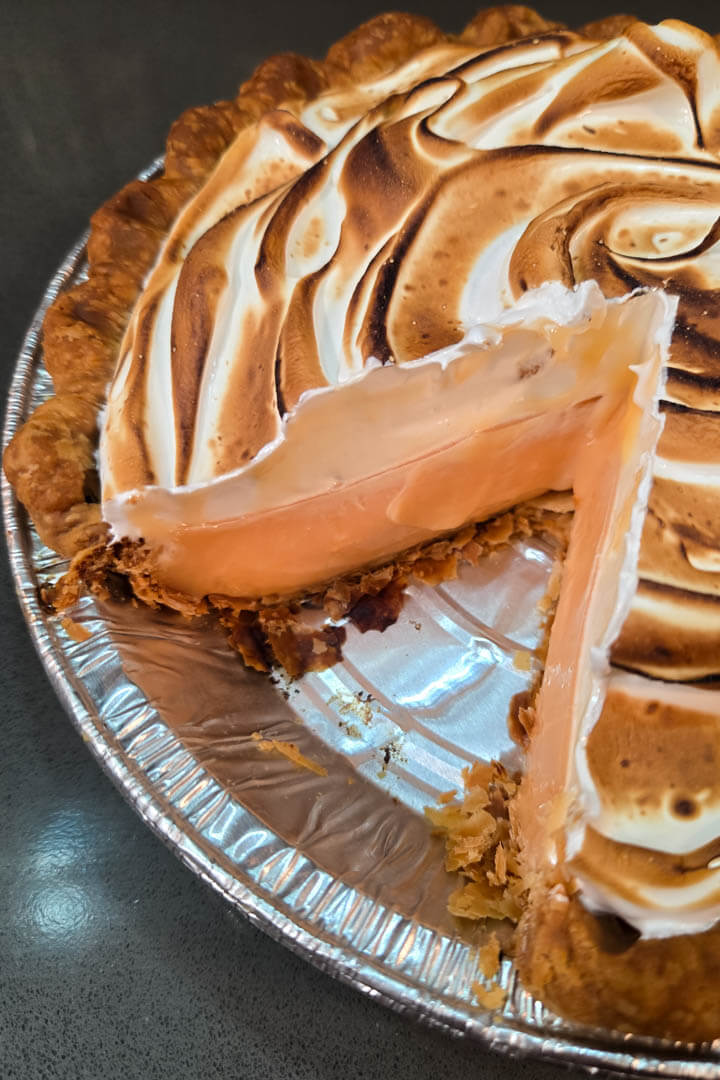
You can top almost any pie with meringue. Meringue is spreadable, pipeable, and scoopable. Meringue tastes best when it is toasted, since toasting lightly caramelizes the sugar. (For a breakdown on the science of caramelization, read here). Because the meringue needs to be toasted, it is often best to cover the entire surface of the pie so you don’t burn the filling while toasting the meringue. That said, if you are careful with a culinary torch, you can sidestep this issue.
- Spread the Meringue: The easiest way to top a pie with meringue is to spread it evenly over the surface. An offset spatula works best, but the back of a spoon is just as effective. There is no need to make the surface perfectly smooth. A slightly uneven or textured finish often looks more appealing once the meringue is toasted, giving the pie a rustic appearance.
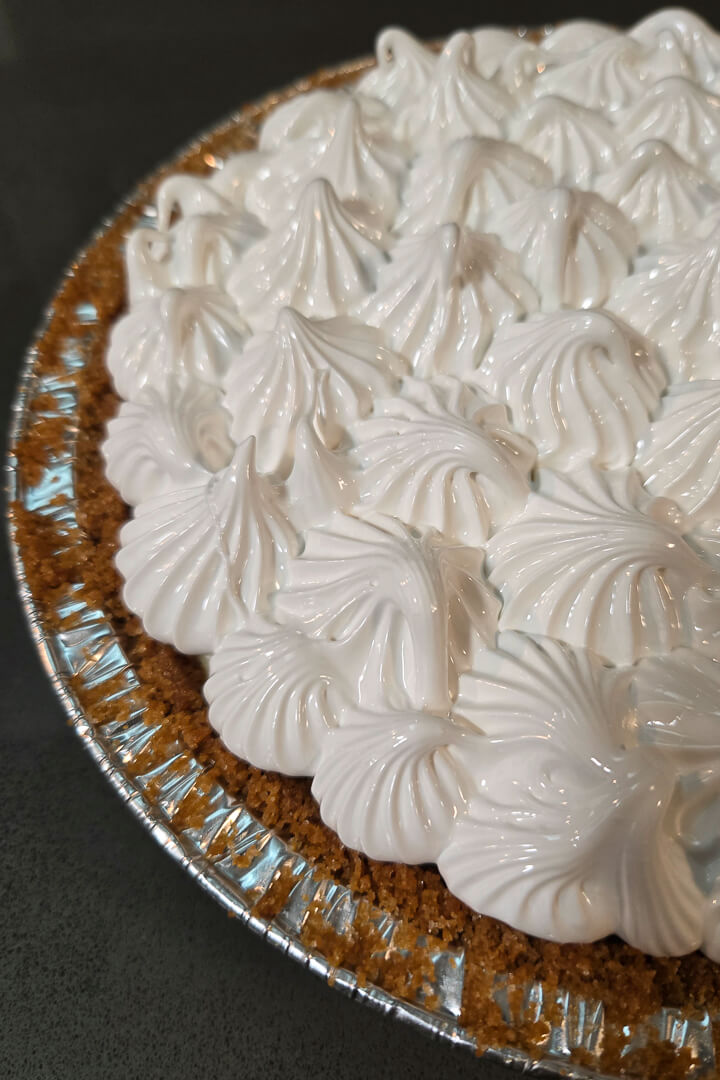
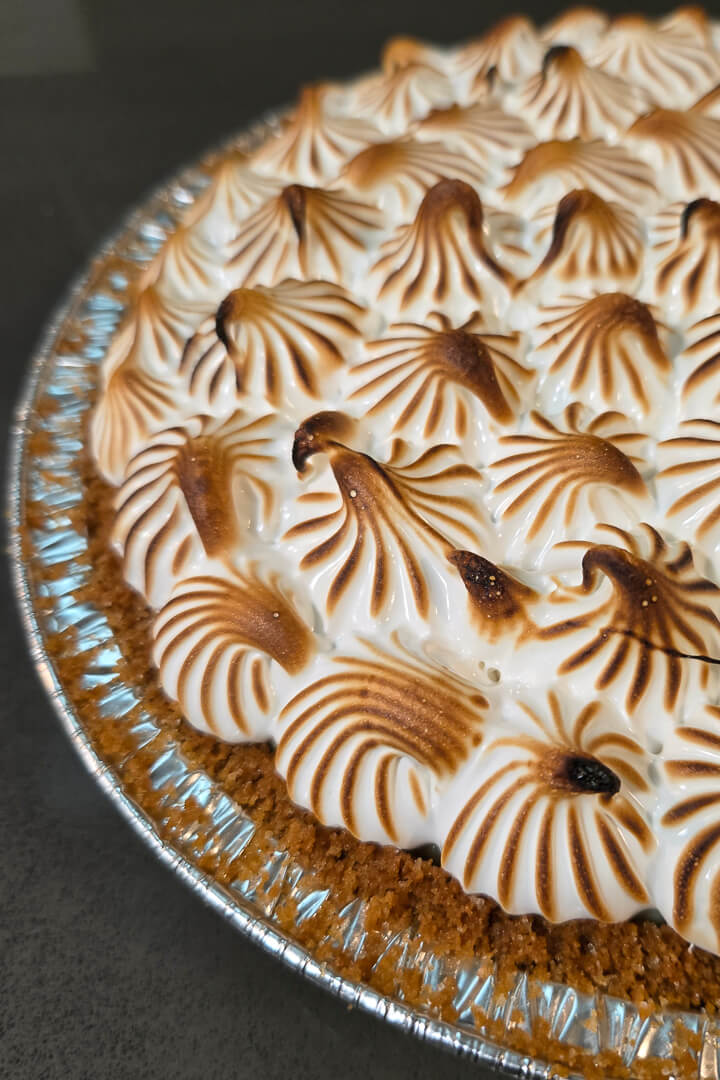
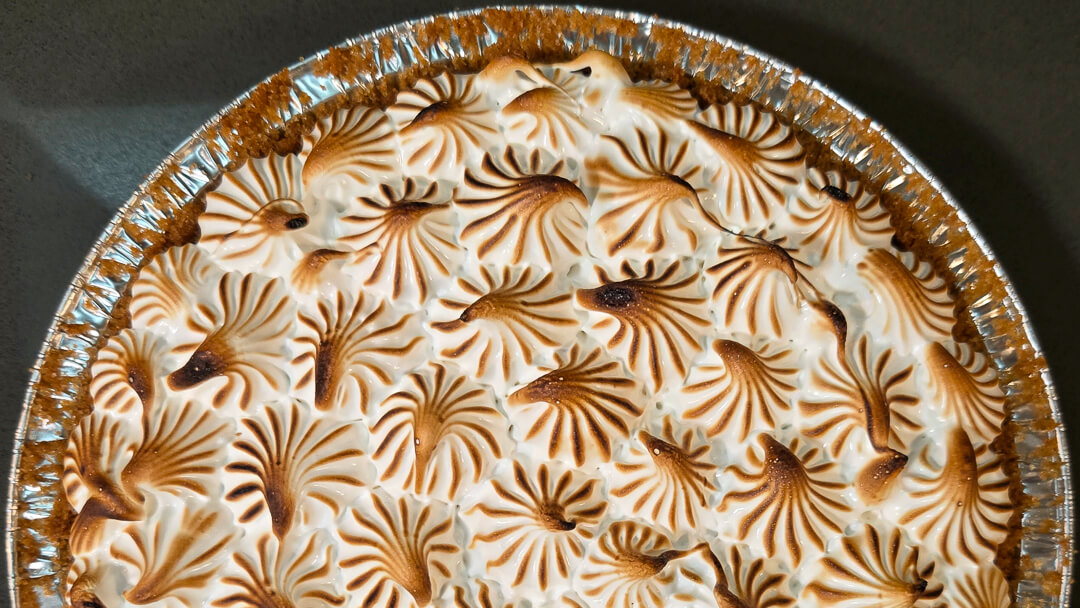
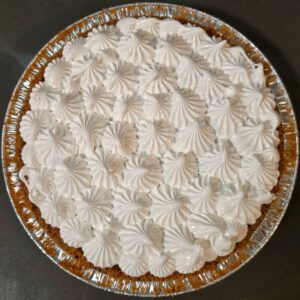
- Pipe the Meringue: If the meringue has been whipped to stiff peaks, it will hold its shape well and can be piped easily. Use decorative piping tips to create any design you like across the top of the pie. Keep in mind that meringue will expand and puff slightly when toasted.
How to Toast Meringue on a Pie
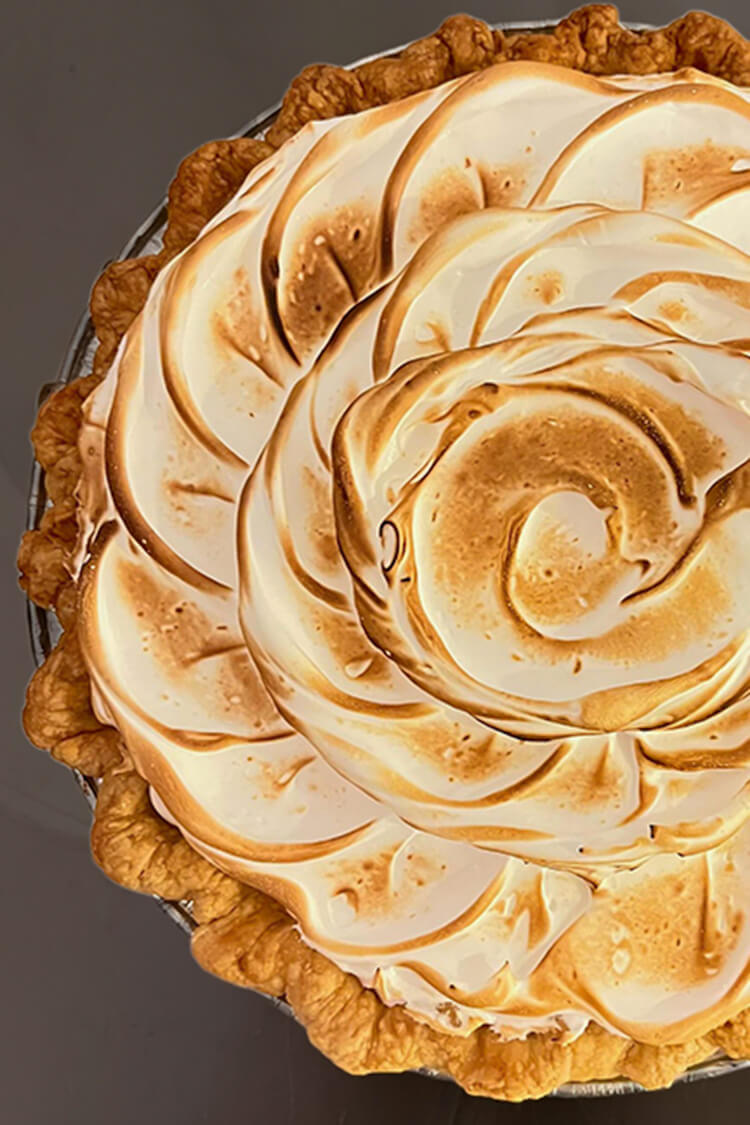
Once you’ve chosen how to spread your meringue on your pie, it needs to be toasted. Toasting improves the flavor by caramelizing the sugars in the meringue and gives it its characteristic slightly crisp exterior. There are three common methods for toasting meringue on a pie, each with its own advantages.
- Kitchen Torch: Using a kitchen torch is the fastest and most controlled way to toast meringue, though it does require owning a torch. Slowly pass the flame over the surface of the meringue until it reaches your desired level of browning.
- Oven-Baked: Baking the meringue in the oven is the most traditional method. This approach takes the longest and can sometimes cause the meringue to crack as it heats, but this does not affect the flavor and can give the pie a more rustic appearance. Bake the pie at 350°F until the meringue turns a light golden brown.
- Broiler: Using your oven’s broiler falls somewhere between torching and baking. With the broiler set to high, place the pie under the heat and watch it closely. Toast the meringue just until it reaches your desired color, removing the pie immediately to prevent burning.
FAQ About Meringue
What Tools Are Needed to Make Meringue at Home?
There are a few tools that make meringue much easier to prepare. One nearly essential tool is a stand mixer or, at minimum, an electric hand mixer. While it is technically possible to make meringue by hand if you are very strong and highly skilled at whisking, the process takes a long time and is often exhausting and frustrating. Using an electric mixer makes whipping egg whites faster, more consistent, and far less physically demanding. You can read more about my recommendations for stand mixers, including more affordable options, here.
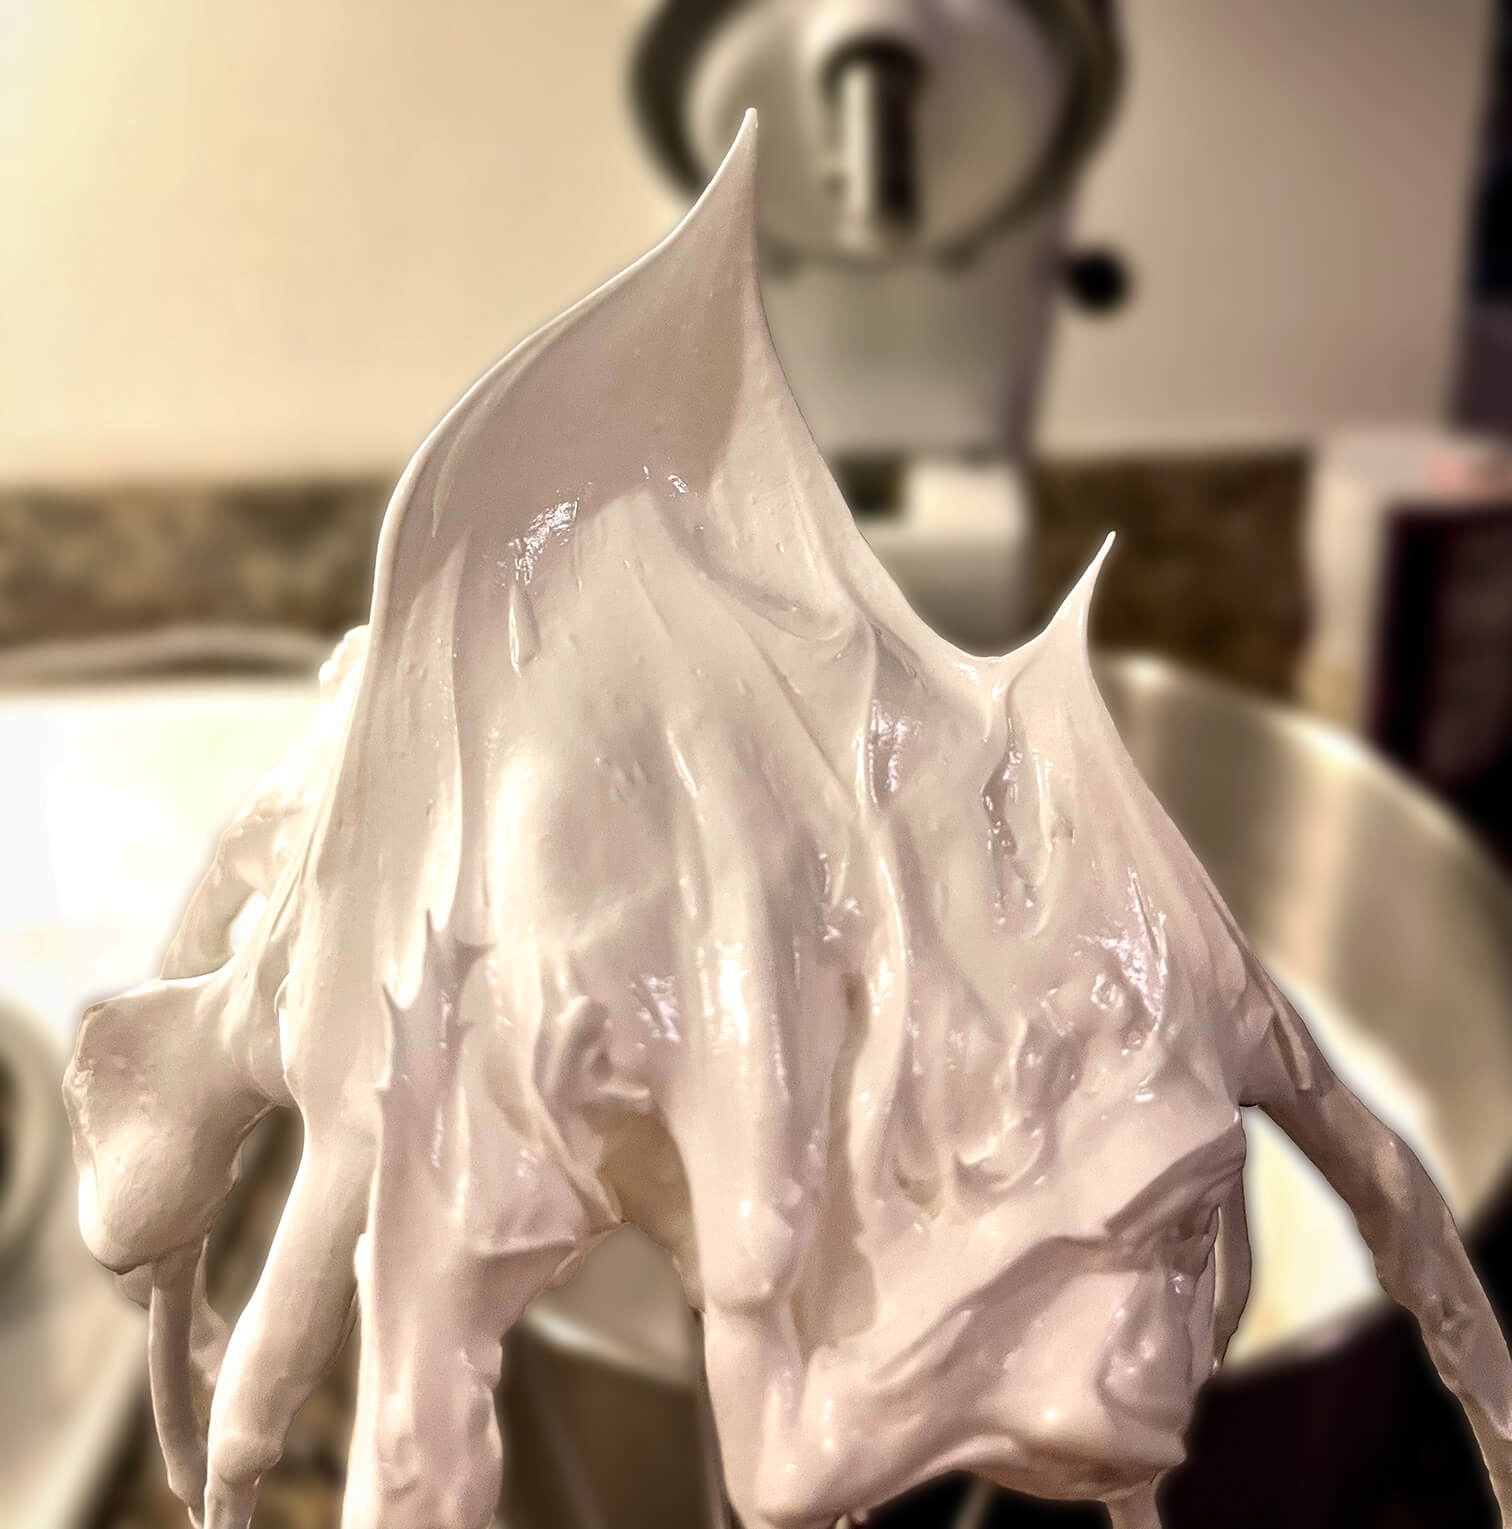
What Does It Mean to Whip Meringue to “Stiff Peaks”?
When making meringue, most recipes instruct you to whip the egg whites until they reach “stiff peaks.” If you are new to baking or making meringue, this terminology can be confusing. In baking, the terms soft peaks, medium peaks, and stiff peaks describe how well a mixture holds its shape when a whisk or spoon is lifted out of it. The simplest way to judge the stage of your meringue is to pull the whisk attachment straight up and out of the meringue and observe how the meringue behaves.
Soft peaks are when the meringue briefly holds a shape but immediately slumps back into itself, returning to a loose, semi-liquid consistency. Medium peaks are when the meringue rises into a peak but the tip gently folds over. Stiff peaks are when the meringue holds its shape completely, with the peak standing upright even after the whisk is removed. At this stage, the meringue has reached its most stable structure and is ready for piping, spreading, or folding into desserts.
Why Do Some Meringue Recipes Use Cream of Tartar?
Cream of tartar helps stabilize meringue by encouraging the egg white proteins to denature more quickly and more completely. This strengthens the protein network that forms during whipping, which makes the meringue more stable overall. As a result, meringue made with cream of tartar is less likely to collapse or weep and is generally easier to whip without accidentally over-whipping the egg whites.
How Are Homemade Marshmallows Made from Meringue?
Homemade marshmallows begin with a meringue base. To turn that meringue into marshmallows, unflavored gelatin is added as an additional stabilizer. The gelatin sets the whipped egg whites into a firm but springy structure, transforming the airy foam of meringue into the soft, chewy texture characteristic of marshmallows.
Why Did My Meringue Collapse While Whipping It?
Meringue can collapse if the egg whites are overwhipped. As the whites are whipped, they first trap air and become foamy, but if whipping continues too long, the protein network becomes overworked and begins to break down. A helpful comparison is whisking soapy water: it becomes very foamy at first, but with enough agitation, the air is eventually worked back out.
The same process applies to meringue. If you overwhip it, the air can be forced out of the foam and the structure will collapse. That said, meringue made with sugar and cream of tartar is more forgiving. It takes a significant amount of overwhipping for a properly stabilized meringue to fully collapse.
Why Is There Water Leaking Out of My Meringue?
When water leaks out from the bottom of a meringue, that is also what people mean when they say their meringue is weeping. Think of a glass of beer with foam on top. As the beer sits, the air bubbles in the foam slowly grow larger, and eventually the foam collapses back into liquid. The same concept applies to meringue. As meringue sits, the air bubbles inside the foam gradually expand, and the water surrounding them drains back down.
Even when a meringue is well stabilized, this process can still occur over time. The top of the meringue becomes airier, and a thin sugar-water mixture begins to leak out from the bottom, also known as weeping. Using enough sugar and adding stabilizers like cream of tartar helps slow this process, but it cannot be prevented entirely.
Common Meringue Pies:
Almost any pie can be topped with meringue, and in many cases it gives the pie a distinctly vintage feel. That said, there are a handful of pies that are classically associated with a meringue topping.
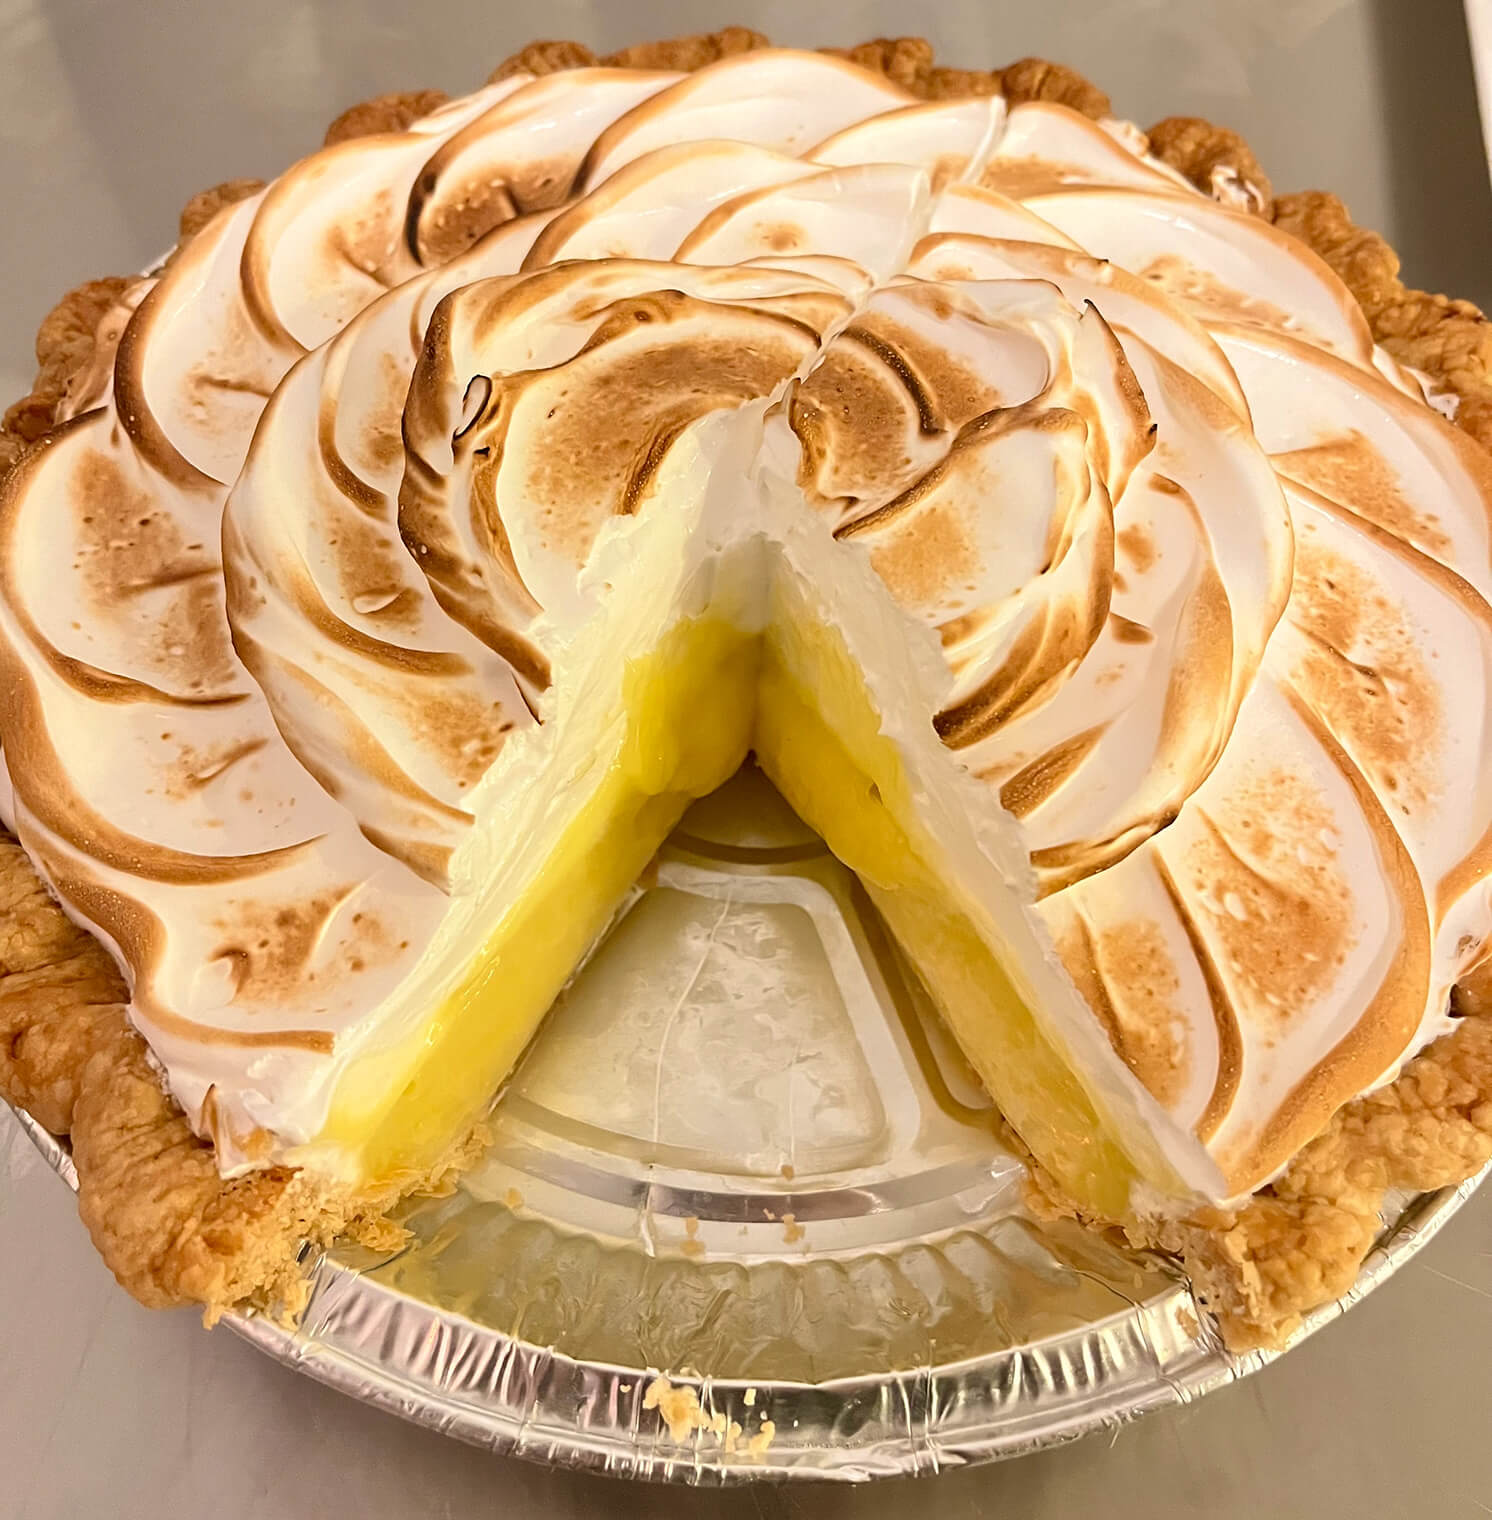
- Lemon Meringue Pie: Lemon meringue pie is a tried-and-true classic and one of the most well-known meringue pies. It features a sweet-and-sour lemon curd in a flaky pie crust, finished with a layer of toasted meringue.
- Chocolate Meringue Pie: An older variation of chocolate cream pie, chocolate meringue pie replaces the now-classic whipped cream topping with toasted meringue. The result is a lighter topping that contrasts with the rich chocolate pudding filling.
- Pumpkin Meringue Pie: Pumpkin pie can also be finished with meringue. A toasted meringue topping adds lightness and visual contrast to the dense, spiced custard filling.
- Flapper Pie: Flapper pie is a nearly forgotten Canadian pie made with vanilla pudding in a graham cracker crust and topped with toasted meringue. It was most popular in the 1920s.
- Key Lime Pie with Meringue: Key lime pie is the most-searched for pie all year long. Key lime pie is often topped with either whipped cream or meringue.
What are Angel Pies?
Angel pies are a type of pie that had their heyday in the 1950s and 1960s, but have since declined in popularity and are rarely seen today. Their defining feature is a crust made from a sweet, airy, and crisp baked meringue. These pies are typically filled with a light, mousse-like custard or cream. The most popular or classic angel pie is lemon angel pie, while the regional Company’s Comin’ Pie from the Cliff House Inn in Arkansas is an example of a regional variation.
We’d love to see what pie creations you make with meringue! Tag us at @doggone_baking so we can join in the baking fun!
Meringue Topping for Pies
Ingredients
- 3 Egg Whites
- ¾ cup Granulated Sugar (150g)
- ¼ tsp Cream of Tartar optional
Instructions
- Set up a double boiler by filling a pot with 1 to 2 inches of water and placing a heatproof bowl on top. The bowl should be slightly larger than the pot, with its bottom hovering just above the water. Bring the water to a boil over medium heat.
- In the heatproof bowl, whisk together the egg whites, sugar, and optional cream of tartar. Keep the bowl over the double boiler and whisk gently until the mixture reaches 160°F (71°C), using a candy thermometer to check the temperature.
- Immediately transfer the mixture to a stand mixer fitted with a whisk attachment. Whip on high speed until stiff peaks form.

About Me
In 2016, I left my office job and became a professional baker. These days I spend my days testing recipes and baking pies while my two dogs snooze happily nearby.
See My Full Bio
2 responses to “Meringue for Pies: History, Science, and Techniques”
-

Wow! This is the kind of baking history and food science I enjoy reading about. I really liked how you broke down the differences between French, Italian, and Swiss meringue in a way that’s easy to follow, and the explanation of the protein structure was fascinating. I love understanding both the why and the how behind baking, and this was a pleasure to read. -
Super interesting to read the history of meringue! I definitely need to work on my technique. The pictures are so pretty!


Leave a Reply