This post may contain affiliate links. Please read my disclosure policy.
All recipes on Doggone Baking are intended for humans — the dogs are just our enthusiastic photo assistants and taste-test spectators.
How to Bake Pies in Cast Iron Pans: Tips, Seasoning, and Care Guide
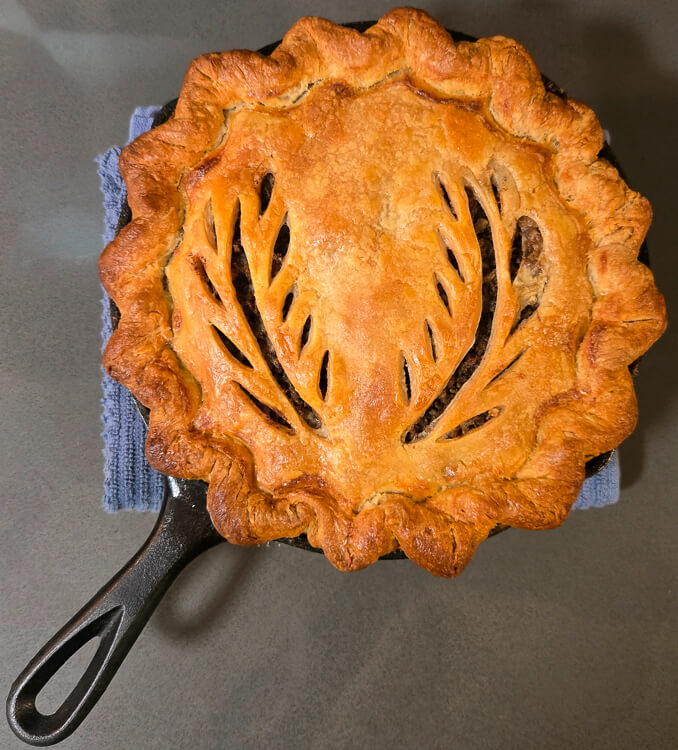
Cast iron cookware has been used for thousands of years, with its earliest known examples dating back to China around 500 B.C. Over time, cast iron skillets and Dutch ovens became a staple of American frontier cooking, bringing to mind flapjacks, cowboy stews, and campfire meals. That same tradition extends to desserts. For generations, bakers have relied on cast iron to make pies, crisps, crumbles, and cobblers. Baking pies in a cast iron skillet is simple, reliable, and gives your dessert a warm, rustic character that looks every bit as inviting as it tastes.

History of Cast Iron Cookware
Early Cast Iron Cookware
The earliest known cast iron pans discovered by archaeologists date back to the 5th century B.C. in the Jiangsu province of China, along the eastern coast just north of Shanghai. At the time, cast iron was prized for its strength and durability, and although it was occasionally used for cooking, its primary purpose was the production of weapons and tools. The ability to melt and mold iron into complex shapes was revolutionary and laid the foundation for cast iron’s later role in kitchens around the world.
Cast iron gradually spread westward along trade routes such as the Silk Road, reaching the Middle East and Europe by the 1300s. It wasn’t until the 1700s, however, that advances in metalworking made cast iron cookware practical for everyday use. Foundries developed improved blast furnaces and sand-casting techniques, allowing craftsmen to produce thinner, lighter pans with smoother surfaces. These innovations reduced the weight and bulk of earlier designs, made cookware easier to handle, and allowed for more even heating. As a result, cast iron cookware became more affordable and widespread, establishing its reputation as a durable and versatile kitchen essential.
Cast Iron Cookware and Frontier Cooking
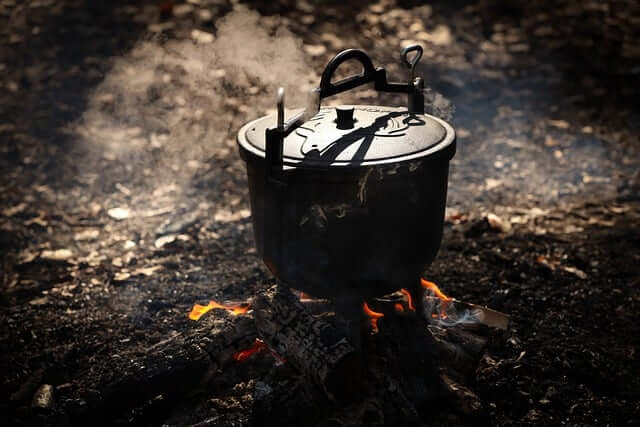
When cast iron cookware arrived in America, it quickly became an essential part of daily life on the frontier. The Griswold Manufacturing Company, founded in 1865, was among the first major producers of cast iron cookware in the United States. During the days of westward expansion, families packed up their wagons and set off along trails such as the Oregon Trail, often traveling for months at a time. With limited access to permanent kitchens, most meals were cooked over open flames or campfires, and few materials could handle that kind of heat and rough handling as well as cast iron. Skillets and Dutch ovens became invaluable tools because they could be used for frying, baking, boiling, and roasting with minimal equipment.
Cast iron cookware came to define frontier cooking. It was used to make hearty, practical meals that could feed families and cowhands alike. Dishes such as cornbread, biscuits, and johnny cakes were staples on the trail, cooked directly in skillets over campfires. Pioneers also relied on Dutch ovens for stews, beans, cobblers, and even sourdough breads. These recipes reflected the spirit of resourcefulness and simplicity that characterized the frontier diet.
Because cast iron could withstand direct flames and uneven heat, it quickly became synonymous with rugged, outdoor cooking. It was strong enough to rest on hot coals, durable enough to last through years of travel, and versatile enough to cook everything from morning flapjacks to evening cobblers. Cast iron cookware became an icon of frontier life and remains deeply tied to the image of cowboy cooking and campfire meals. Many classic trail recipes survive today, and campers still reach for cast iron skillets and Dutch ovens for the same reason pioneers did: they work reliably, hold heat beautifully, and create food with rich, timeless flavor.
Cast Iron Cookware Today
Cast iron fell out of favor in the mid-20th century as newer, lighter materials such as stainless steel, aluminum, and titanium became popular for cookware. These modern alternatives heated faster and were easier to handle, which appealed to busy postwar households. Yet in recent years, cast iron has made a comeback. Home cooks and professional chefs alike have rediscovered its durability, versatility, and nostalgic charm, leading to a renewed appreciation for this timeless material.
One of the reasons cast iron remains so beloved is its excellent heat retention. Once heated, it maintains an even temperature across the entire surface, making it ideal for recipes that require steady, consistent heat. It can move seamlessly from stovetop to oven, allowing cooks to sear, bake, or roast all in one pan. Savory pies, fruit pies, cornbread, and baked macaroni and cheese are perfect examples of dishes that thrive in cast iron. A well-seasoned pan develops a smooth, nearly nonstick surface, and when properly cared for, it can last for generations. Cooking in cast iron may even provide a small nutritional benefit, as trace amounts of iron can transfer into the food, helping to reduce the risk of iron deficiency over time.
Using Cast Iron Skillets for Baking Pies
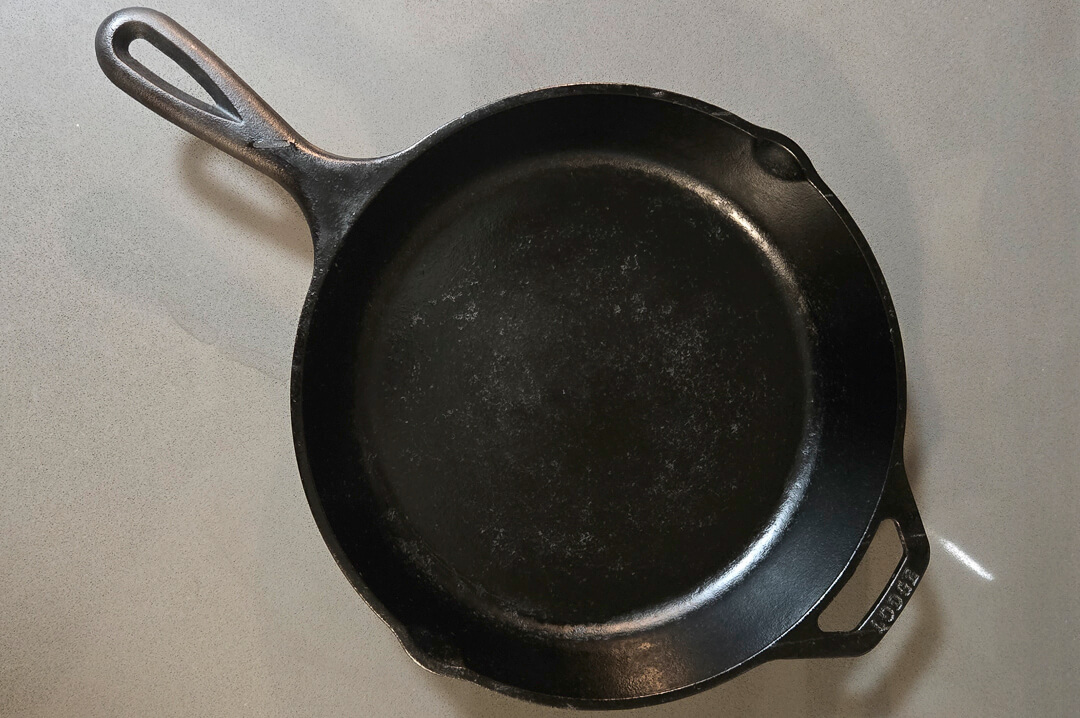
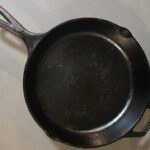
When it comes to baking pies, an 8- or 9-inch cast iron skillet tends to work best. The volume of an 8-inch skillet is nearly identical to that of a 9-inch pie tin because of its deeper sides, making it an easy swap for most recipes. Cast iron’s even heat distribution helps pies bake with crisp crusts and evenly cooked fillings. Whether you are baking a fruit pie, a savory pie, or a cobbler, cast iron provides reliable, consistent results and a rustic presentation straight from the oven to the table.
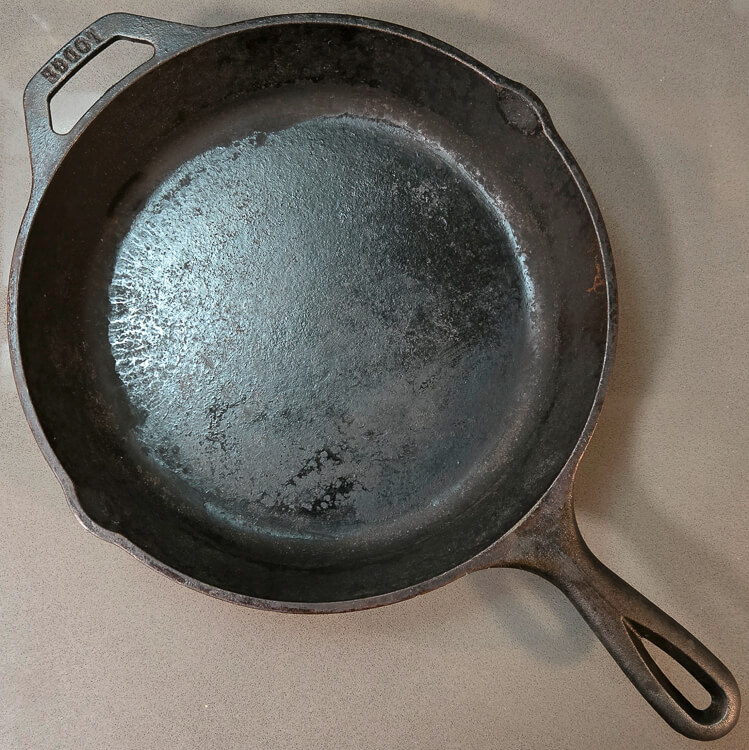
Several companies make high-quality cast iron skillets at accessible price points. I have used a Lodge cast iron skillet for more than a decade and continue to recommend it for both new and experienced bakers. In the 1800s, most cast iron cookware was sanded smooth before being sold, resulting in a polished cooking surface that many vintage collectors still prize. If you prefer that smooth finish, the Lancaster No. 8 cast iron skillet is a modern option inspired by those vintage pieces. Lancaster’s No. 8 skillet measures slightly larger at 10.5 inches, so you may need to scale up your pie recipes slightly to fill it properly.
Seasoning Cast Iron
Seasoning cast iron is the process of bonding oil to the surface of the pan through heat to create a smooth, nonstick finish. A well-seasoned skillet can easily fry eggs or release baked goods without sticking, while an unseasoned or damaged surface can cause even oily foods to cling. One major advantage of baking pies in cast iron is that the butter in the crust naturally contributes to the pan’s seasoning, reinforcing its smooth coating over time. Just make sure your skillet has been seasoned at least once before baking as starting with an unseasoned pan rarely gives good results.
The Science Behind Seasoning Cast Iron Cookware
Seasoning works through a chemical process called polymerization. When oil is heated on the surface of a cast iron pan, its molecules break down and bond tightly to the metal, forming a smooth, durable coating. This layer creates the familiar nonstick surface that makes cast iron such a versatile cooking material. The key to successful polymerization is reaching a high enough temperature for the oil to transform and adhere properly to the pan.
During polymerization, heat causes small oil molecules to combine into long chains known as polymers. As these chains form, they create a thin, hard film that fills in the tiny pores of the metal. This process not only prevents food from sticking but also protects the pan from rust and moisture. The reaction is triggered when free radicals form in the oil and begin linking together, changing its structure from a liquid fat into a hard, glossy finish. In simple terms, you are using heat to permanently convert oil into a protective surface that makes cast iron stronger, smoother, and more resistant to wear.
How to Season a Cast Iron Pan
1.
Preheat your oven to 450–500°F. Some ovens only reach 450°F, while others can be set to 500°F. Either temperature will work as long as the pan becomes hot enough for the oil to polymerize.
2.
Clean and thoroughly dry your cast iron pan. Any moisture left on the surface can interfere with the seasoning layer.
3.
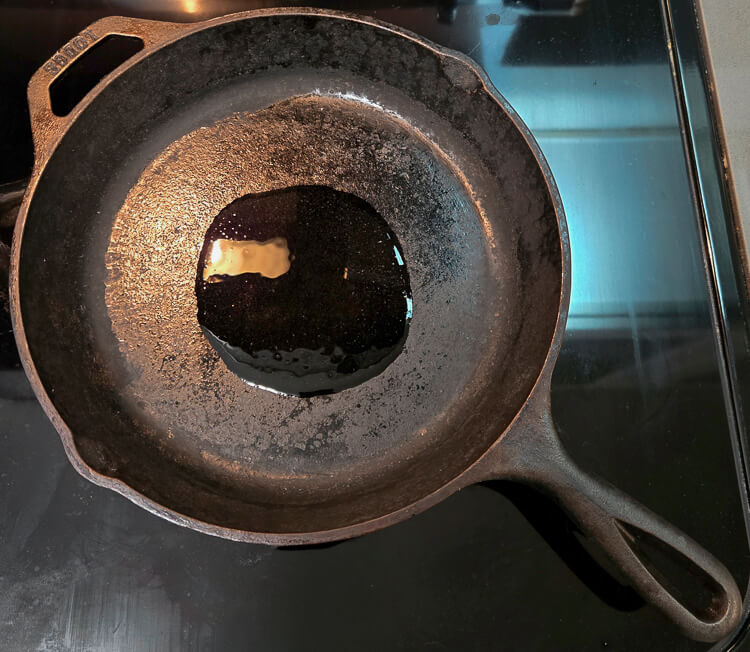
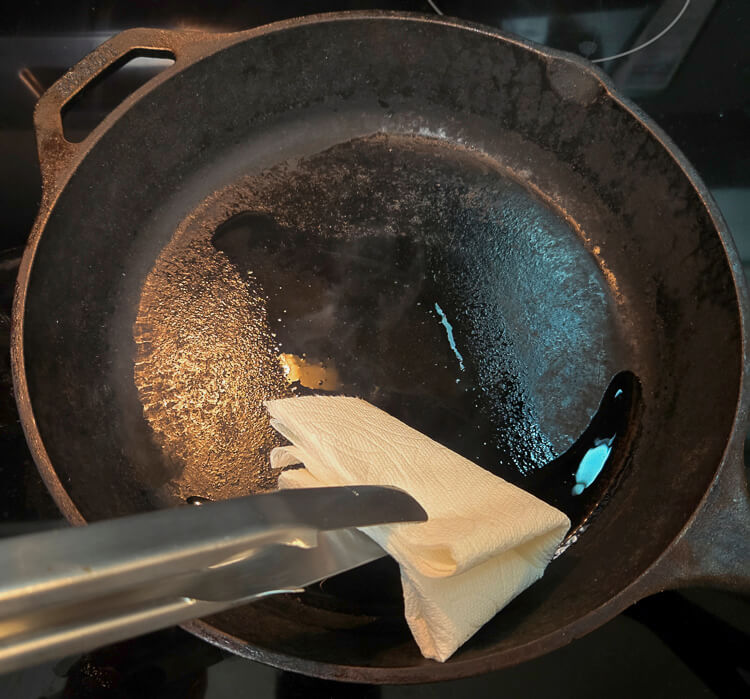
Warm the pan on the stovetop over low heat for a few minutes, then add 1–2 tablespoons of your preferred oil.
4.
Rub the oil over every surface of the pan using a paper towel held with kitchen tongs. You need only a very thin layer of oil; the surface should look dry rather than glossy when finished.
5.
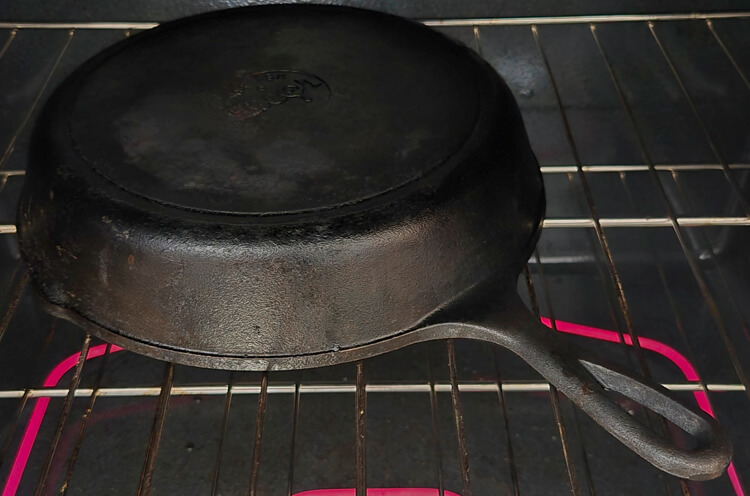
Place the pan upside down in the oven and bake for one hour. Position a baking sheet or a piece of foil on the rack below to catch any drips.
6.
Turn the oven off and let the pan cool completely inside before removing it. This slow cooling process helps the new seasoning layer harden evenly. For best results, avoid seasoning your pan when you plan to use it again the same day.
Tips for Seasoning Cast Iron Pans
- What is the best oil for seasoning cast iron?
Almost any cooking oil can be used to season cast iron, and most cooks have their personal favorites. Lard, avocado oil, vegetable oil, and olive oil all work well, but the best option is flaxseed oil. Flaxseed oil is the only food-grade drying oil, meaning it naturally hardens into a smooth, durable coating as it polymerizes.
- Don’t use too much oil.
You only need a very thin layer to build an effective nonstick surface. Applying too much oil can lead to a sticky or flaky coating that feels uneven and attracts residue. After rubbing the oil onto your pan, the surface should appear dry and matte, not glossy.
- Apply high heat.
For polymerization to occur, the pan needs to reach a temperature between 450°F and 500°F. That high heat breaks down the oil molecules so they can bond to the surface of the pan and create a hard, protective layer.
- How frequently does a cast iron need to be reseasoned?
If you’ve seasoned your cast iron well, you won’t need to repeat the process very often. A well-maintained pan may only require reseasoning two or three times per year. If food starts to stick or you notice dull or patchy areas, it’s time for a quick refresh.
- Cooking to Reseason Cast Iron:
Certain types of cooking help preserve and strengthen your cast iron’s seasoning naturally. Baking pies is one of the best examples. The butter in the crust and the long baking time both help re-oil the surface of the pan. However, because pies bake at lower temperatures, this process complements but doesn’t replace full seasoning at high heat.
- How to Wash a Cast Iron Pan
It’s a myth that soap will ruin your seasoned pan. That belief dates back to the days when soap was made with lye, which could strip the seasoning. Modern dish soaps are much gentler and will not damage polymerized oil. You can clean your pan with mild soap and a soft sponge when needed. If you prefer the traditional water-only method, that’s fine too, but don’t hesitate to use soap for extra-sticky or greasy messes.
How to Form a Pie in a Cast Iron Skillet
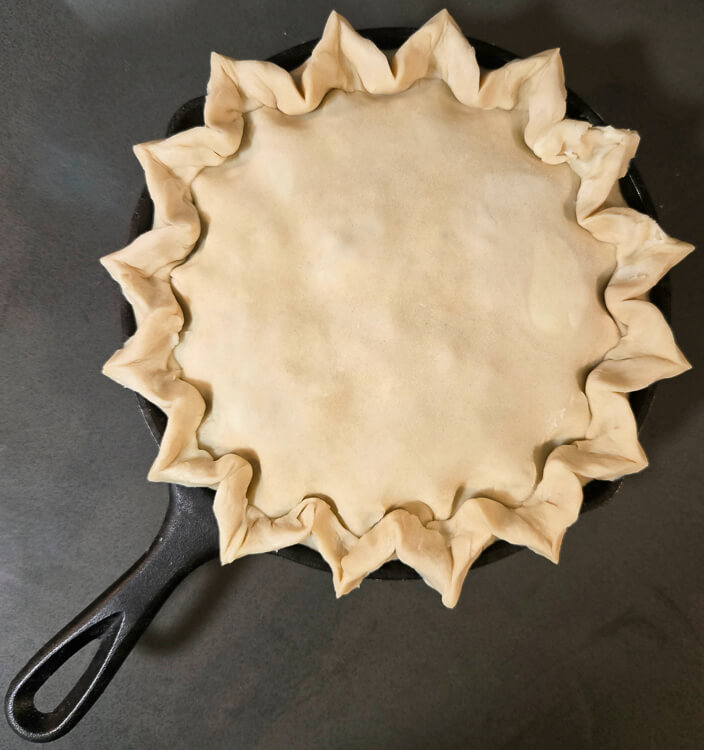
Forming a pie crust in a cast iron skillet follows the same basic process as shaping a crust in any standard pie pan. The main difference comes down to depth. Cast iron skillets are usually a bit deeper than traditional pie tins, so your dough round needs to be rolled out slightly larger to fit properly into the pan without stretching or tearing.
When rolling out your dough, leave about 2 to 3 inches of extra dough around the edge instead of the usual one inch. This gives you enough room to line the deeper sides and still have dough left for crimping or trimming. Once the crust is fitted, you can shape and blind bake it just as you would in any other pan. The same applies to double-crusted pies, just follow your normal method for sealing and venting.
Important: Never freeze a pie directly in a cast iron skillet. Transferring frozen cast iron into a hot oven can cause thermal shock, which may crack or even split the pan. If you need to chill your pie before baking, refrigerate it instead of freezing.
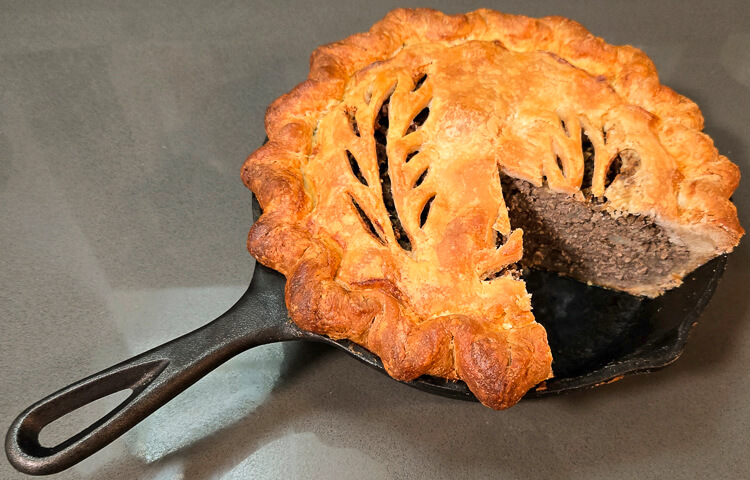
How to Bake a Pie in a Cast Iron Skillet
Baking a pie in a cast iron pan is relatively easy and straightforward. The process is nearly identical to baking in any other pie dish, but there is one important difference: never freeze a pie in a cast iron skillet. Placing frozen cast iron directly into a hot oven can cause thermal shock, which may crack the pan and ruin both your bake and your cookware.
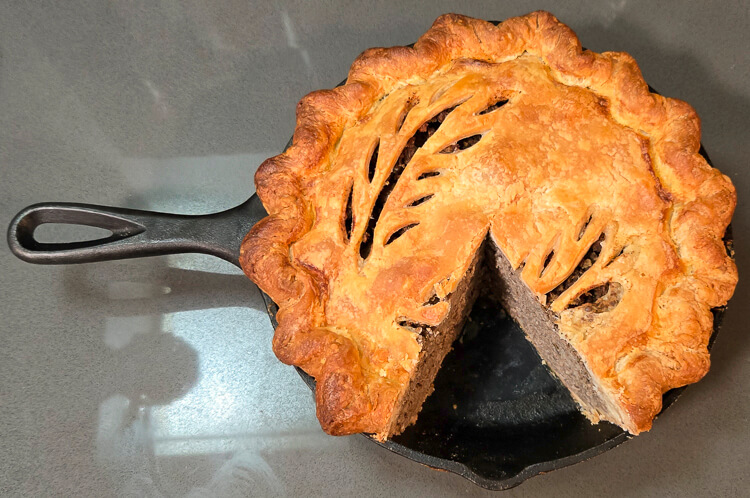
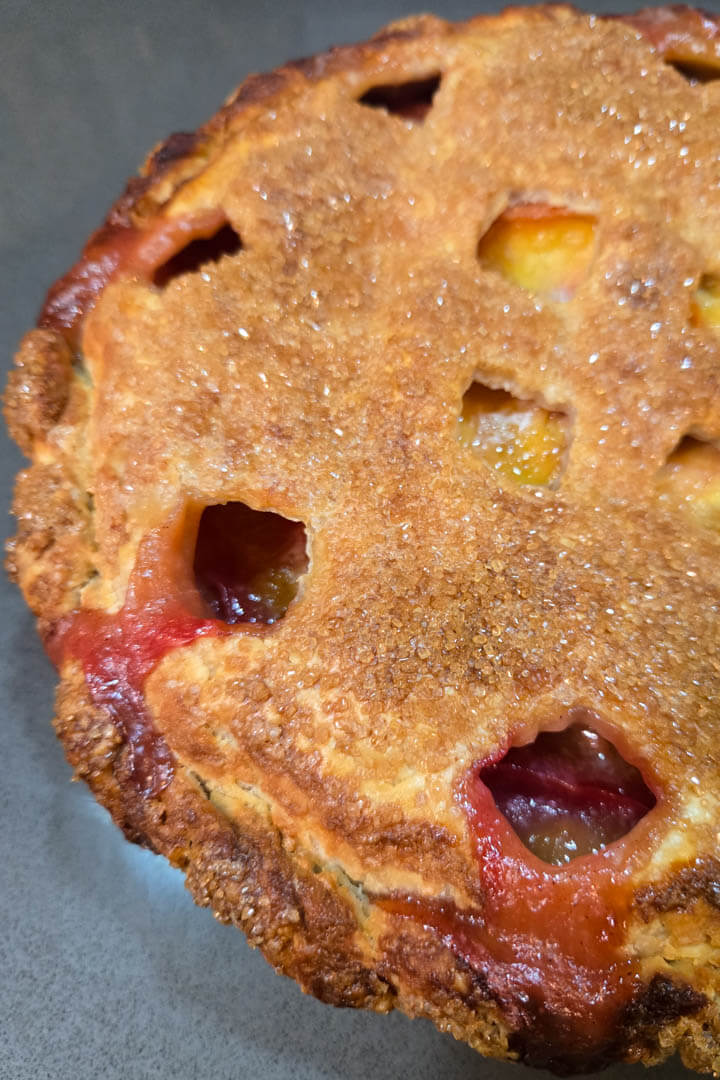
Cast iron’s ability to retain heat makes it an excellent choice for pies that are best enjoyed warm. The pan stays hot long after it leaves the oven, keeping the filling warm and the crust crisp for hours. Whether you’re baking an apple pie or a hearty savory pie, cast iron helps create that perfectly golden crust and comforting, rustic finish.
Baking Pie in Cast Iron vs Other Materials
Most modern pie tins are made from aluminum, including both disposable and reusable versions. Cast iron behaves very differently from aluminum because it takes longer to heat up and cool down. While aluminum conducts heat quickly, cast iron heats more slowly and evenly, holding that heat for a much longer period. This difference can actually work to your advantage when baking pies. The slower, steadier heat from cast iron helps crusts bake evenly and fillings set without overbrowning.
Once heated, a cast iron skillet retains its warmth far better than an aluminum tin or even a ceramic dish. If you’re baking a pie that’s best served warm, the pan will keep it at a cozy serving temperature for hours. In most cases, a pie baked in cast iron will stay pleasantly warm for three to four hours after leaving the oven, making it ideal for gatherings, holidays, or any meal where dessert is served fresh from the kitchen.
Tips for Baking Pies in Cast Iron
- Do not freeze the pie
Never freeze a cast iron pan and then place it directly into a hot oven. The sudden temperature change can cause thermal shock and potentially crack the pan, one of the only ways to permanently damage cast iron. Instead, chill your assembled pie in the refrigerator for a few hours before baking. This keeps the crust firm and prevents the butter from melting too quickly once it goes into the oven.
- Chill the pie filling before filling
Since freezing isn’t an option when baking in cast iron, make sure all components are cool before adding them to the pan. If you’re working with a pre-cooked filling, chill it completely in the refrigerator before assembly. This prevents the dough from getting too warm and helps ensure a crispy crust.
- Let cool on the stove top for at least one hour before serving
Cast iron retains heat for a long time, so pies baked in it need extra cooling time before serving. Allow the finished pie to rest on the stovetop for at least one hour. The residual heat will continue to crisp the crust from within.
- Pre-chill your cast iron skillet
Because cast iron doesn’t conduct heat well (which is why it retains heat so well), it also takes time to cool down. For best pie baking results, chill your skillet in the refrigerator for about 30 minutes before fitting the crust. A cold pan helps the butter in the dough stay solid during shaping, which leads to a flakier, more tender pie crust once baked.

How to Repair and Restore a Cast Iron Pan
Apart from breaking the pan in half or allowing rust to eat completely through the metal, there are very few ways to permanently damage a cast iron pan. Most issues can be easily fixed at home with a little patience and the right approach.
- Repairing a Rusty Cast Iron Pan:
If your pan has been sitting unused without a solid seasoning layer, light surface rust may form. To remove it, scrub the affected areas with sandpaper, steel wool, or a metal scouring pad until the rust is gone. Rinse, dry thoroughly, and then reseason the pan. Once restored, a proper seasoning layer will protect it from rust in the future.
- Repairing a Sticky Cast Iron Pan:
A sticky surface usually means there is too much oil buildup from previous seasonings. Scrub the pan well with gentle dish soap and a non-abrasive sponge, then reseason using only a thin, even layer of oil.
- Removing Burnt-On Food from a Cast Iron Pan:
If food becomes stuck to the surface, use a pan scraper, steel wool, or a sturdy sponge with mild dish soap to remove it. For especially stubborn spots, add a small amount of water to the pan and simmer for five minutes to loosen the residue before scrubbing and reseasoning.
- Removing Lingering Odors from a Cast Iron Pan:
Strongly flavored foods, such as fish or onions, can sometimes leave odors in your cast iron. Wash the pan with mild dish soap and hot water, dry it thoroughly, and apply a thin coat of neutral oil before reheating briefly to refresh the surface.
- Fixing the Flaking Surface of a Cast Iron Pan:
Flaking occurs when the seasoning layer separates from the metal. To fix it, scrub the entire surface with gentle dish soap and steel wool to remove the loose coating, then reseason the pan. This restores a smooth, even layer that will stay intact during future use.
- Black Residue on Sponges and Cloths After Wiping Cast Iron Pans:
It’s normal to see a bit of black residue when wiping down a seasoned cast iron pan, especially after it has been newly seasoned. This residue is harmless and will diminish with regular use and maintenance.
How to Season a Cast Iron Skillet
Materials
- 1 Cast Iron Pan
- 2 tbsp Oil Flaxseed is the best but any oil will work
- 1 pair Kitchen Tongs
- 1 piece Paper Towel
Instructions
- Preheat oven to 450-500℉ (230-260℃).
- On medium heat, heat your cast iron skillet on the stovetop.
- Once hot, add 2 tbsp of oil and let it heat up for a minute or two.
- Using a paper towel and a pair of kitchen tongs, spread the oil in a very thin layer all over the surface of the cast iron pan.
- Place the pan upside down in your oven. Bake for 1 hour.
- Once 1 hour is up, turn off the oven and leave the pan in the oven until completely cool.

About Me
In 2016, I left my office job and became a professional baker. These days I spend my days testing recipes and baking pies while my two dogs snooze happily nearby.
See My Full Bio
One response to “How to Bake Pies in Cast Iron Pans: Tips, Seasoning, and Care Guide”
-
I never knew you could make a pie in a cast-iron skillet! This is excellent info! I can’t wait to give it a try.


Leave a Reply