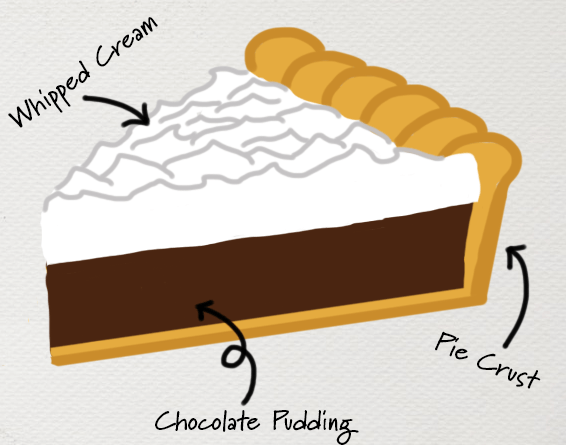
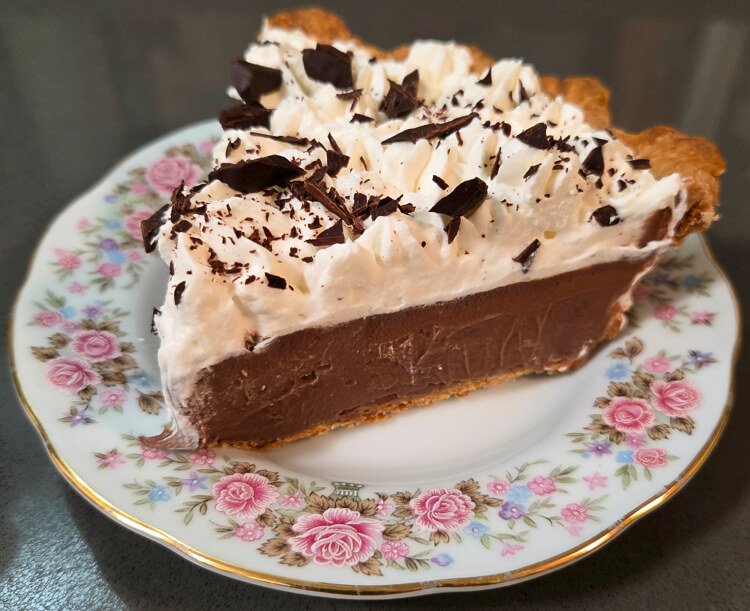
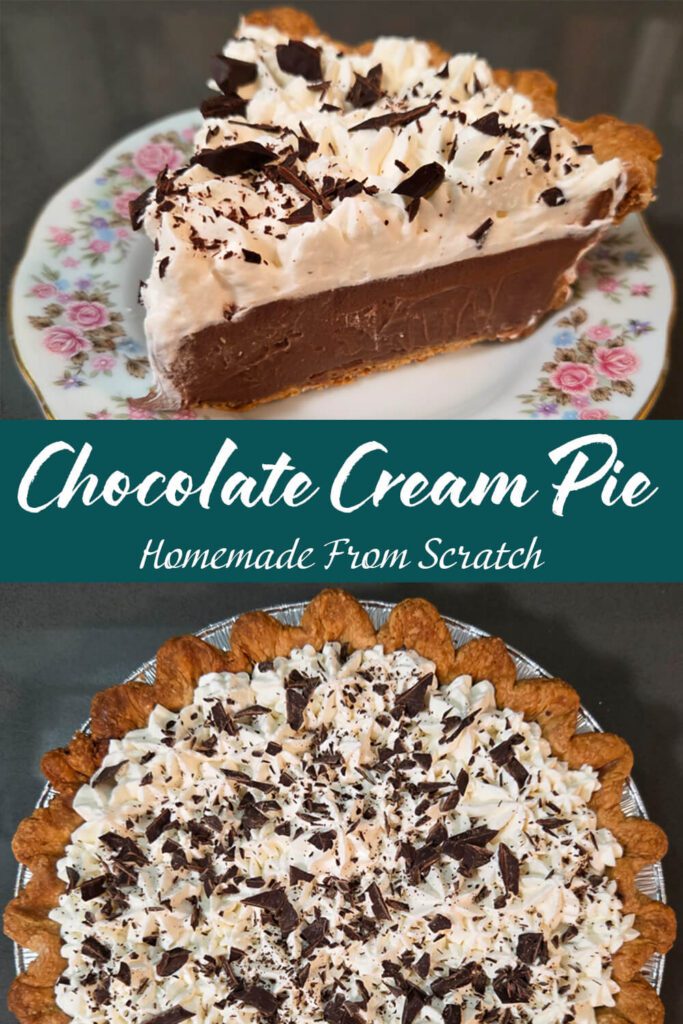
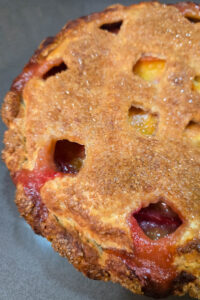
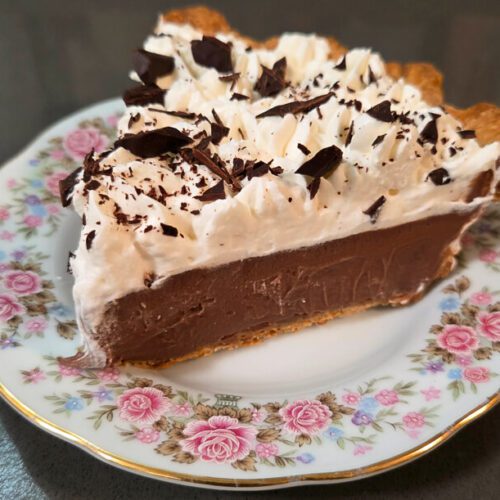
Homemade Chocolate Cream Pie Recipe
Chocolate cream pie is a timeless, year-round favorite for almost any occasion. Rich, silky, and indulgent, it’s just as perfect for a cozy winter dinner party as it is for a sunny summer picnic. Most modern versions are finished with a generous layer of whipped cream, but the pie itself traces its roots to the earlier chocolate meringue pie, a slightly lesser-known classic. Chocolate cream pie is a popular choice for holidays like Christmas or Valentine’s Day. Regardless of whether you’re baking for an occasion or simply craving something nostalgic and comforting, chocolate cream pie delivers the perfect balance of creamy chocolate filling and buttery crust.
Table of Contents

What is Chocolate Cream Pie?
Chocolate cream pie is a simple, classic dessert made with a rich chocolate pudding filling and a layer of whipped cream on top. It’s most often baked in a flaky pastry crust, though crumb crusts like graham cracker, Oreo, and Biscoff are also popular choices. Each version keeps the same essential appeal: a creamy, chocolate-filled pie that’s smooth, comforting, and easy to love.

History of Chocolate Cream Pie
Chocolate cream pie came onto the American dessert scene in the 1880s and has remained a culinary staple ever since. This timing aligns with a broader change in how chocolate was used in American cooking. Before then, chocolate wasn’t considered a dessert ingredient but something primarily mixed into drinks. That began to shift after the creation of Boston Cream Pie in the 1850s, which helped establish chocolate as a flavor for baked desserts as well as beverages.
The earliest recipe I can find for chocolate cream pie was published in 1886 in The Unrivalled Cook-Book and Housekeeper’s Guide. It shows just how luxurious and costly the pie was in its day, calling for “half a cake of the finest vanilla chocolate” (likely about four ounces), four eggs, and only three tablespoons of milk. The eggs were really stretching the filling. By comparison, Doggone Baking’s modern chocolate pudding filling uses a single egg and more than two cups of milk and cream for a softer, creamier texture.
Early versions of chocolate cream pie were also all meringue pies. Instead of being topped with whipped cream as we do today, the custard filling was finished with a baked meringue. This made sense for the time. Without reliable refrigeration, cream was harder to keep fresh, and there was nowhere to keep the egg whites after making the pudding. It would have been wasteful to throw away the whites and expensive to buy cream, so meringue was the practical choice. Making things even more confusing, Many nineteenth-century “chocolate cream pie” recipes also described what we would now recognize as Boston Cream Pie. That overlap makes sense, since both desserts were developing around the same time and both played a role in shaping American dessert traditions.
However, the 1886 recipe does describe a classic chocolate cream pie we think of today, sans whipped cream and with a much thinner custard, so the dessert certainly existed alongside Boston Cream Pie from the 1800s. By 1897, recipes were already calling for a full quart of milk, making the filling richer and creamier. By the 1950s, as refrigeration became common in most homes, whipped cream started to replace meringue. The 1956 Betty Crocker Picture Cook Book even suggested that pies could be topped with sweetened whipped cream “instead of being finished with meringue,” which shows how new that idea still was at the time.
As refrigeration and groceries became more accessible, chocolate cream pie evolved into the richer, silkier dessert we know now. Modern versions, including this one, use both milk and heavy cream along with cocoa powder and high-quality bittersweet chocolate for a smooth, decadent filling. The result is rich, creamy, decadent, and so much better than what you get in your typical American diner!

Choosing Chocolate and Cocoa Powder for Chocolate Cream Pie:
The biggest difference between a good chocolate pudding and a great one comes down to the quality of the chocolate. The flavor, texture, and richness of your filling depend entirely on what you start with. The good news is that the best baking chocolate brands also make excellent cocoa powder, so you can often rely on one company for both. These are the brands I personally trust for professional and home baking alike.
- Valrhona: Founded in 1922 in Ardèche, France, Valrhona is known worldwide for its consistency and depth of flavor. It’s one of the most respected names in pastry kitchens.
- Callebaut: A Belgian chocolate company established in 1911, Callebaut is a go-to brand for pastry chefs. It offers a wide range of couverture chocolates with balanced flavors and smooth texture.
- Guittard: Based in the San Francisco Bay Area, Guittard has been crafting chocolate since 1868. They offer both professional and home-baking lines, with excellent options for chocolate ganache.
- Tcho: A newer company founded in 2007 in Berkeley, California, by a former NASA engineer and the creators of Wired Magazine. Despite its youth, Tcho has earned awards for innovative, high-quality chocolate.
If these brands aren’t available, don’t worry, any good-quality baking chocolate and unsweetened cocoa powder will still make a delicious pie. Higher-end brands simply bring out more depth and smoothness in the final flavor. For a deeper dive, see my full guide on understanding and choosing chocolate for baking.

Tempering Eggs: Making Foolproof Curds, Puddings, and Pastry Creams
Tempering eggs is one of the most important techniques in custard-style desserts like curds, puddings, and pastry creams. These recipes all rely on gentle, even cooking to turn eggs into a smooth, thickened filling instead of a lumpy, overcooked one. Tempering is the step that keeps everything silky and stable, preventing your mixture from turning into chocolate scrambled eggs along the way (unless that’s your thing – no judgment).
Why Should You Temper Eggs?
When eggs are suddenly exposed to sudden heat, the proteins in eggs immediately seize and harden. That’s why a cracked egg turns white and solid the moment it hits a hot pan. In recipes like pudding, pastry cream, or curd, though, that same reaction ruins the texture. You want the eggs to thicken the mixture gently so the final product stays smooth and creamy.
If you were to combine all the ingredients for chocolate pudding and heat them together from the start, it might work, but it’s risky. The eggs can easily overheat before the rest of the mixture thickens, leaving behind small bits of cooked egg. Tempering the eggs first gradually raises their temperature so they blend seamlessly into the hot liquid, giving you a silky, lump-free result every time.
What Does Tempering Eggs Do?
Tempering slowly raises the temperature of the eggs so they warm up without cooking too quickly. In practical terms, it means you’re gently heating the eggs in a controlled way, letting them thicken the mixture without ever scrambling. This gradual process keeps the proteins from tightening and forming clumps, giving you a smooth, creamy texture instead. By whisking the eggs with part of the hot liquid, you’re also dispersing and diluting the proteins so they can’t bond into a solid network. The result is a stable, silky mixture that blends evenly and forms the base for perfect curds, puddings, and pastry creams.
How to Temper Eggs for Recipes:
You can temper eggs for any recipe where eggs are used to thicken a liquid mixture. Once you understand the technique, it makes a wide range of recipes, like hollandaise sauce, puddings, citrus curds, and pastry creams, much easier to handle with confidence. It’s also a key step in making lemon meringue pie, where even heat and smooth texture are essential for a perfect filling.
To Temper Eggs in a Recipe:
1.
Heat the liquid from your recipe until it’s just below a boil. For puddings or pastry creams, this is usually milk and cream; for curds, it’s often fruit juice.
2.
In a separate bowl, beat the eggs and combine them with the sugar, cornstarch, or any other dry ingredients called for.
3.
Once the hot liquid from step 1 starts to bubble, transfer it to a heatproof measuring cup for easier pouring.
4.
While whisking the egg mixture continuously, very slowly pour in the hot liquid in a thin, steady stream until it’s all incorporated.
5.
Pour the tempered mixture back into your pot and return it to the stove to finish cooking according to your recipe.
Pro Tip: Place a damp paper towel or dish towel under your mixing bowl before you start whisking. It helps keep the bowl stable and prevents it from sliding or spinning as you pour.
Step-by-Step Chocolate Cream Pie Recipe
This homemade chocolate cream pie recipe walks you through making both the chocolate pudding filling and the whipped cream topping completely from scratch. Each step is designed to help you achieve a smooth, rich, and stable filling with the right texture and flavor.
Crust:
For a classic chocolate cream pie, prepare one fully-baked pie shell. Chocolate cream pie is also equally delicious in a graham cracker crust, biscoff crust, or any number of crumb crusts. If you want an extra chocolatey pie, try one in an Oreo crust.
Homemade Chocolate Pudding Recipe:
Ingredients
- 1⅓c Whole Milk
- 1c Heavy Whipping Cream
- 10T Granulated Sugar (125g)
- 2½T Cornstarch (20g)
- ¼c Dutch-Processed Cocoa Powder (20g)
- ¼t Salt
- 1 Egg
- 2½oz Bittersweet Chocolate, chopped
- 2t Vanilla Extract
- 2T Unsalted Butter, cubed (1oz)

1.
In a pot over medium heat, combine the milk and cream and bring them to just below a boil.

2.
In a large mixing bowl, whisk together the sugar, cornstarch, cocoa powder, and salt until evenly mixed.

3.
Add the egg and whisk lightly, just enough to break it up. There’s too much dry mixture to fully combine yet.


4.
Once the milk is hot and steaming, transfer it to a heatproof measuring cup. Very slowly pour it into the mixture from step 3 while whisking constantly and vigorously. This gradual process tempers the egg and keeps the mixture smooth. (See section above on tempering eggs).

5.
When all of the liquid has been added, pour the entire mixture back into the pot.

6.
Place the pot over low heat and whisk continuously until the pudding thickens and just begins to bubble.

7.
As soon as the mixture begins to boil, whisk vigorously for 30-60 seconds.
8.
Immediately strain the pudding through a fine-mesh sieve into a clean mixing bowl to remove any lumps or bits of cooked egg.


9.
Whisk the chocolate and butter into the chocolate pudding until both have melted completely.


10.
Pour the warm pudding directly into your prepared, fully baked pie shell, spreading it evenly.

11.
Press a piece of plastic wrap directly onto the surface to prevent a skin from forming.

12.
Chill the pie for at least 3 hours, or until the filling is fully set and cool to the touch.
Whipped Cream Topping:
Ingredients
- 1c Heavy Whipping Cream, cold
- ¼c Powdered Sugar, sifted (60g)
- ½t Vanilla Extract
1.
In a stand mixer fitted with the whisk attachment, combine the cold heavy cream, sifted powdered sugar, and vanilla extract. Whip on medium-high speed until stiff peaks form and the cream holds its shape.

2.
Spread the whipped cream evenly over the chilled chocolate pudding using an offset spatula or the back of a spoon. For a more decorative look, transfer it to a piping bag and pipe rosettes or swirls across the top.

3.
Serve the pie as is, or add toppings for extra flavor and texture. Try chocolate shavings, crushed peppermint candies, colorful sprinkles, or a drizzle of chocolate or caramel sauce, or mix and match your favorites.

Pro-Tip: Sifting your powdered sugar is an important step to prevent clumps in your whipped cream. You can shake the powdered sugar through a fine-mesh sieve to sift it.

Variations of Chocolate Cream Pie
Chocolate cream pie is endlessly adaptable. Here are some of the most popular variations:
- Chocolate-Strawberry Cream Pie: Strawberry and chocolate make a naturally balanced pair. Some versions layer chocolate cream and strawberry cream for a two-tone pie, while others fold chopped strawberries directly into the chocolate filling.
- Chocolate Raspberry Cream Pie: Raspberries bring a slightly tart contrast that complements the richness of chocolate. A spoonful of raspberry jam or purée folded into the filling adds flavor. This variation is especially appropriate for Valentine’s Day.
- Mint Chocolate Cream Pie: Cool mint enhances the flavor of chocolate and makes this version perfect for winter. Some recipes layer a bright mint cream over chocolate pudding, while others simply add a few drops of mint extract to the filling for a subtle twist.
- Mocha Cream Pie: Combining chocolate with coffee or espresso powder deepens the flavor and adds a gentle bitterness that balances the sweetness of the pudding. This version is rich and bold.
- Chocolate Meringue Pie: The original form of chocolate cream pie, topped with toasted meringue instead of whipped cream. It’s a vintage version that still holds up today, offering a lighter contrast to the dense chocolate filling.
- Chocolate Cream Pie with Different Crusts: Chocolate cream pie can be made in many different crusts! Try it with graham cracker crust, Oreo crust, biscoff crust, or any number of other crusts.

Holiday Chocolate Cream Pie Ideas
Chocolate cream pie is a delicious pie year round! A few small changes can make it fit any holiday table. Here are some simple ways to give it a festive twist throughout the year:
Christmas:
- Peppermint Cream Pie: Stir 1 teaspoon of peppermint extract into either the chocolate pudding or the whipped cream for a cool, minty flavor. For a festive finish, top the pie with crushed peppermint candies or red and green nonpareils.
- Sprinkles: Add Christmas-themed sprinkles for an easy, colorful decoration that keeps the pie cheerful and classic.
Valentine’s Day:
- Strawberries: Decorate the pie with chocolate-covered strawberries or drizzle chocolate sauce over chopped fresh berries for a romantic touch. You can also make a full chocolate-strawberry cream pie.
- Raspberries: Fold raspberry jam into the chocolate pudding to create a chocolate-raspberry variation, or garnish the top with fresh raspberries, mint leaves, and a sprinkle of chocolate chips.
Halloween:
- Halloween Candy: Chop candy favorites like Snickers bars or Reese’s Cups and scatter them over the top for a playful, kid-friendly version.
- Sprinkles: Finish with orange and black Halloween sprinkles for a quick, seasonal upgrade that looks fun and festive.

How to Top Chocolate Cream Pie:
Chocolate cream pie is versatile when it comes to toppings, and the right finish can change its look and flavor completely. Whether you prefer a classic or a more decorated presentation, there are plenty of options to make it your own.
- Whipped Cream: The classic choice for chocolate cream pie. Spread a generous layer over the top, add a dollop to each slice, or pipe it in decorative swirls for a polished finish.
- Meringue: For a vintage look, top your pie with toasted meringue instead of whipped cream. It’s a nod to the early versions of chocolate cream pie and adds a lighter contrast to the rich filling.
Once your pie is topped with whipped cream or meringue, you can add other garnishes for extra texture, flavor, and color.
- Sprinkles: Simple, playful, and perfect for holidays or themed occasions.
- Shaved Chocolate or Chocolate Chips: Use leftover chocolate from the pudding to make curls or shavings with a knife, then sprinkle them across the top.
- Chocolate Sauce: Drizzle warm chocolate sauce over the finished pie for an extra layer of richness.
- Caramel Sauce: Add a drizzle of homemade salted caramel sauce for a sweet and salty finish.
- Chopped Fruit: Fresh berries, cherries, or sliced fruit pair beautifully with chocolate and add color to the presentation.
- Mix and Match: Combine any of these toppings, like whipped cream, chocolate shavings, and caramel drizzle, for a custom finish that suits your taste or the occasion.

How to Store Chocolate Cream Pie
Because chocolate cream pie is made with a dairy-based pudding filling, it must be kept refrigerated. Cover the pie tightly with plastic wrap or store it in a large, airtight container to keep it fresh. It will stay at its best for up to three days, though the pudding itself can last as long as a week. After the first few days, the crust will start to soften as it absorbs moisture from the filling. Unlike baked fruit pies, chocolate cream pie can’t be reheated or recrisped in the oven, so it’s best enjoyed chilled straight from the refrigerator.

We’d love to see your chocolate cream pie creations! If you give this recipe a try, tag @doggone_baking on social media so we can share in the baking fun.

Chocolate Cream Pie
Ingredients
Crust
Homemade Chocolate Pudding
- 1⅓ cups Whole Milk (320mL)
- 1 cup Heavy Whipping Cream (240mL)
- 10 tbsp Granulated Sugar (125g)
- 2½ tbsp Cornstarch (20g)
- ¼ cup Dutch-Processed Cocoa Powder (20g)
- ¼ tsp Salt
- 1 Egg
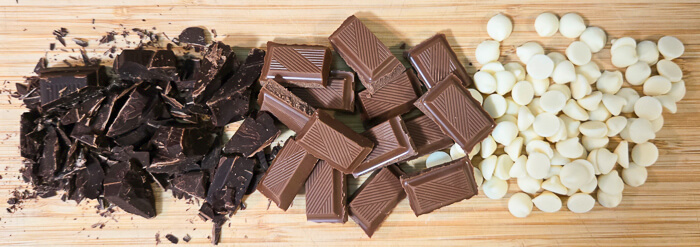
- 2½ oz Bittersweet Chocolate, chopped (70g)
- 2 tsp Vanilla Extract
- 2 tbsp Unsalted Butter, cubed (30g)
Fresh Whipped Cream
- 1 cups Heavy Whipping Cream
- ¼ cup Powdered Sugar, sifted
- ½ tsp Vanilla Extract
Instructions
- You'll need to make a prepare one, fully-baked pie shell for this recipe. Crumb crusts like graham cracker crust also work for this recipe.
Make the Homemade Chocolate Pudding
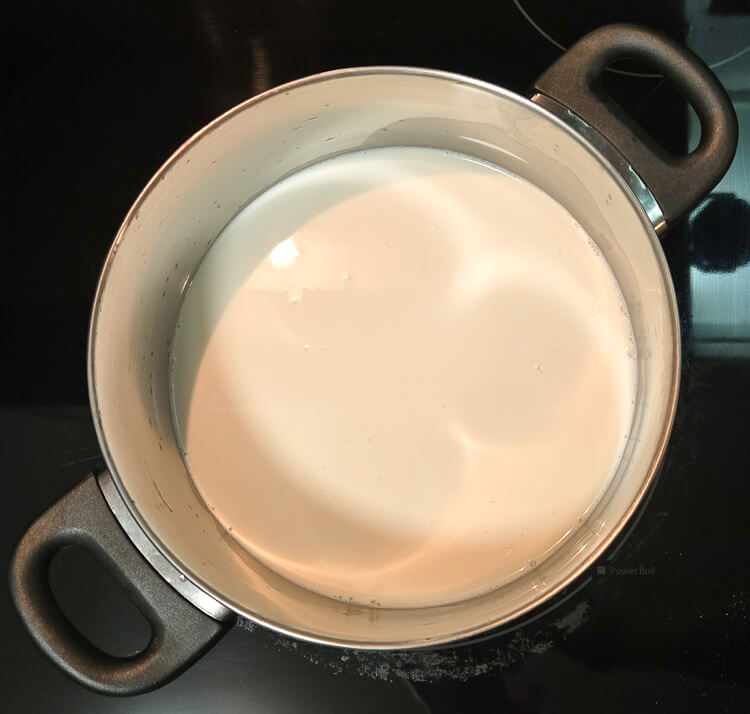
- In a medium pot over medium heat, combine the milk and cream. Heat until steaming and just below a boil.
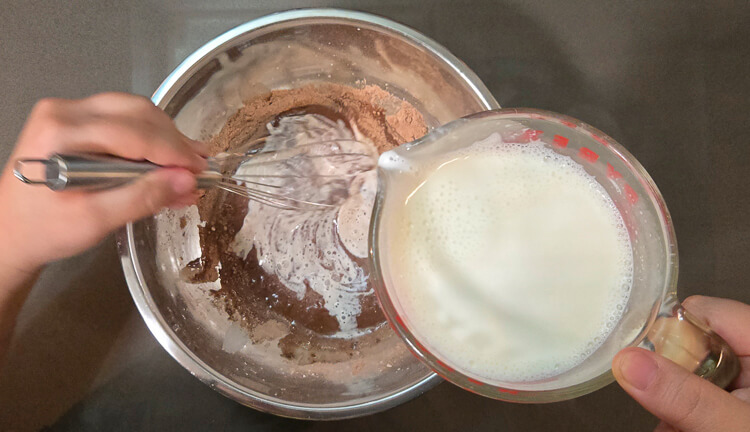
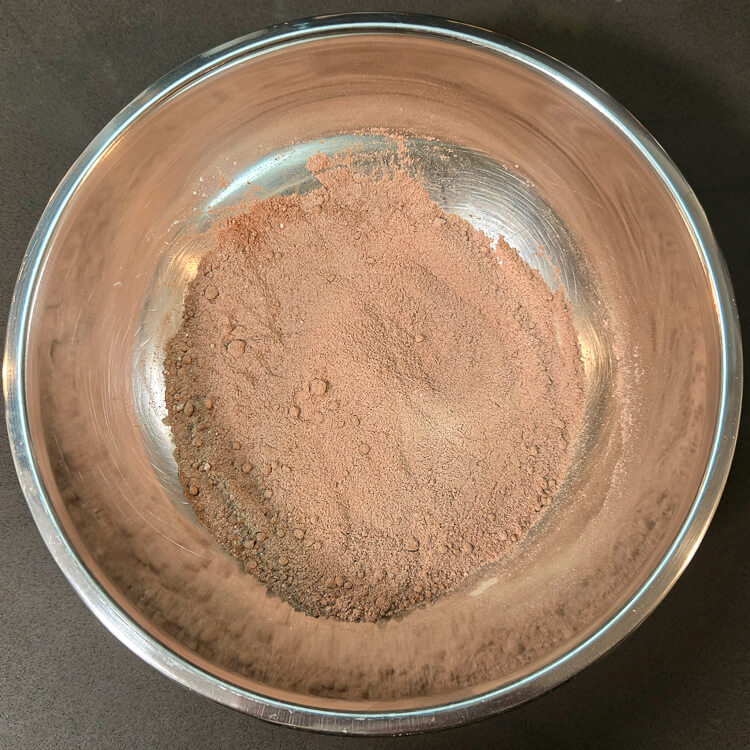
- In a large mixing bowl, whisk together the sugar, cornstarch, cocoa powder, and salt until fully combined.
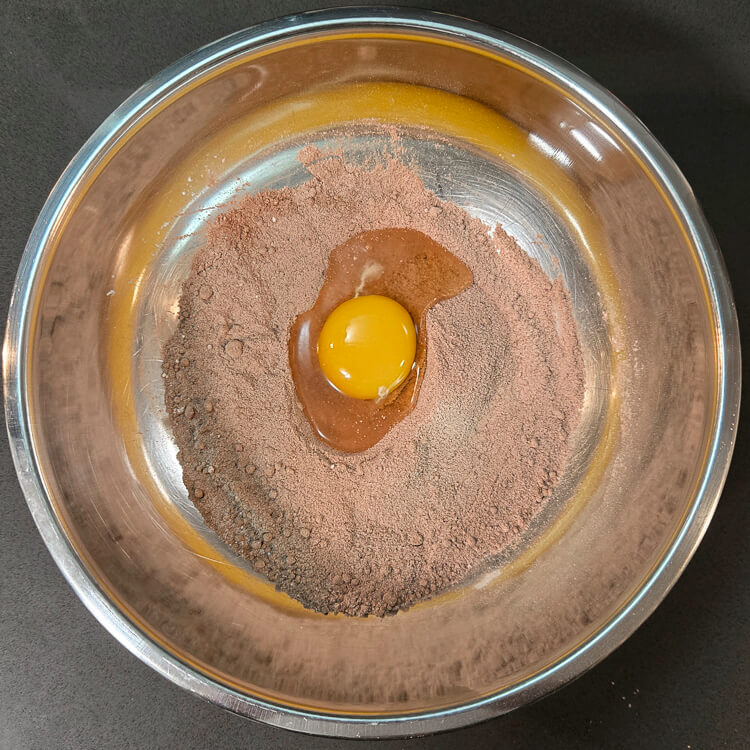
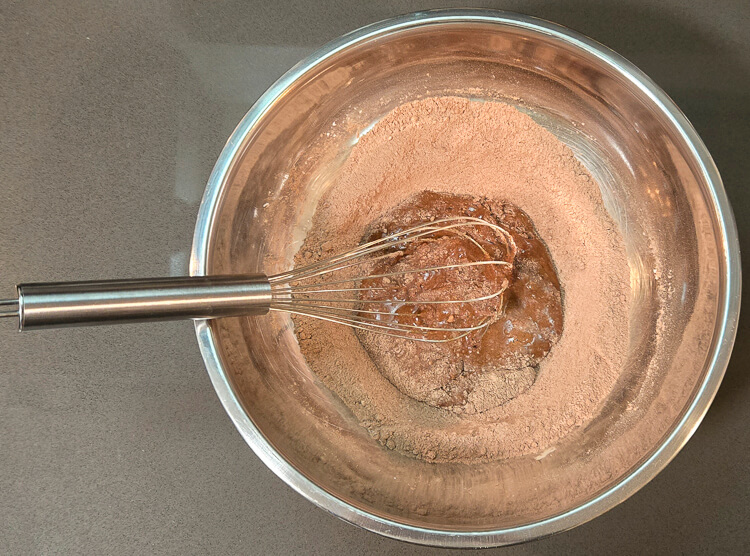
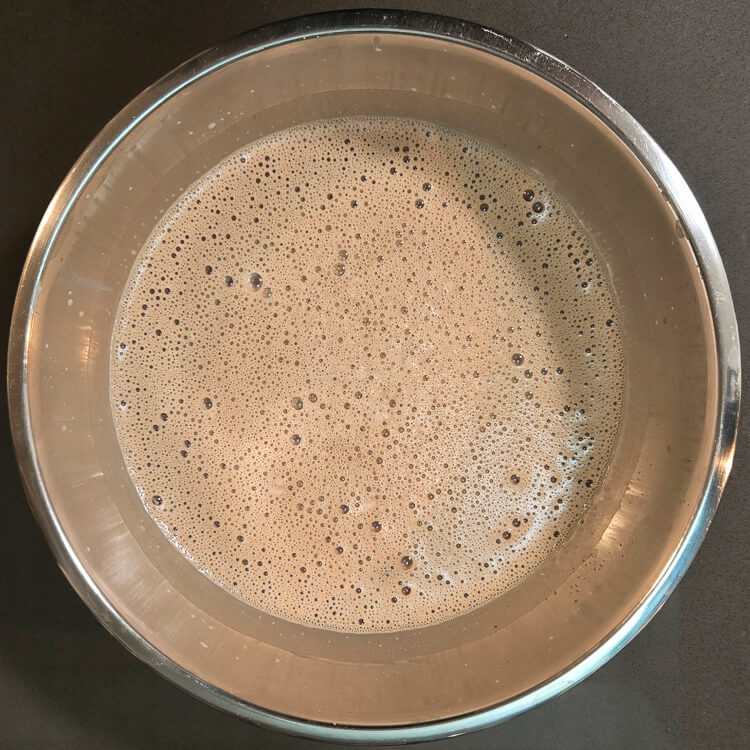
- Add the egg and whisk lightly to break it up. The dries will not all be mixed together with the egg yet at this stage.
- Very slowly pour the hot milk and cream into the bowl while whisking constantly and vigorously to temper the egg and prevent curdling.
- When all of the liquid has been added, pour the entire mixture back into the saucepan.
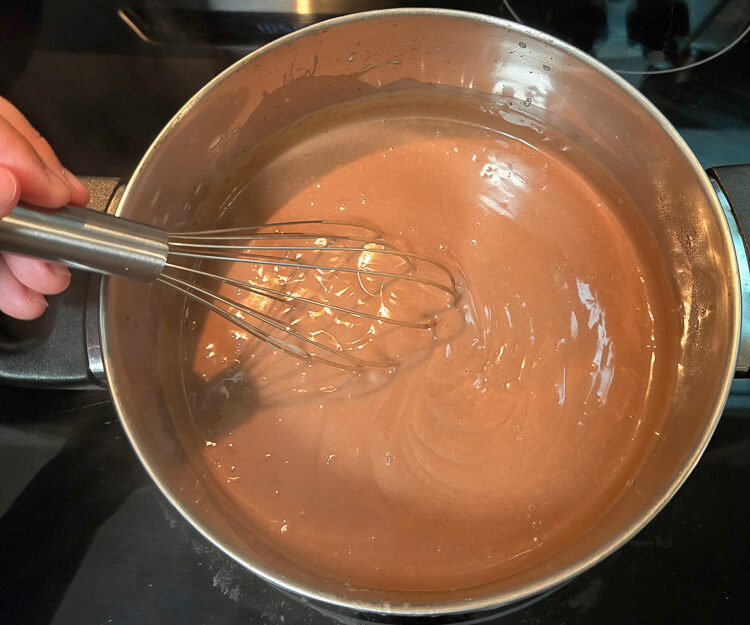
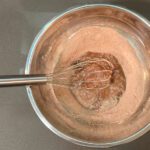
- Place the saucepan over low heat and whisk continuously until the pudding thickens and begins to bubble.
- Once the mixture begins to boil, continue whisking vigorously for 30 to 60 seconds to fully activate the cornstarch.
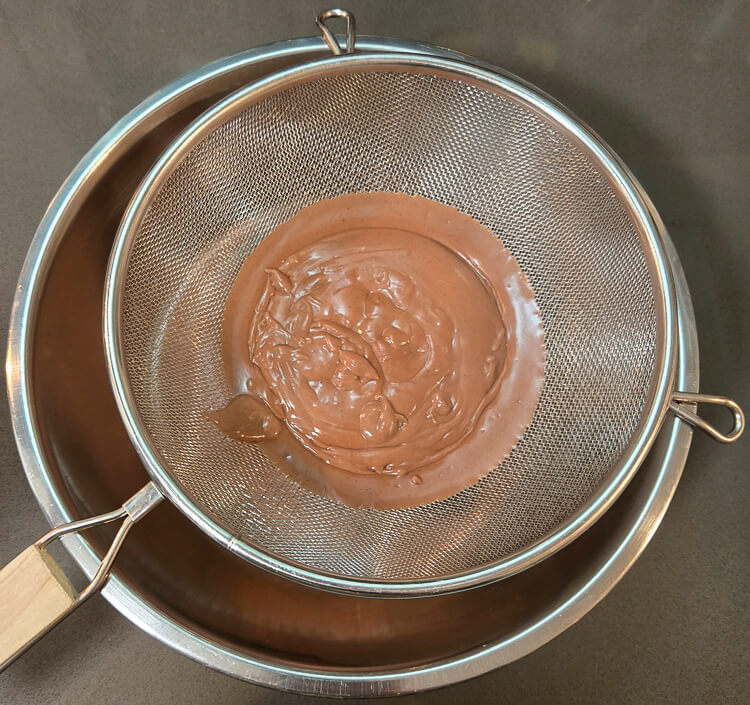
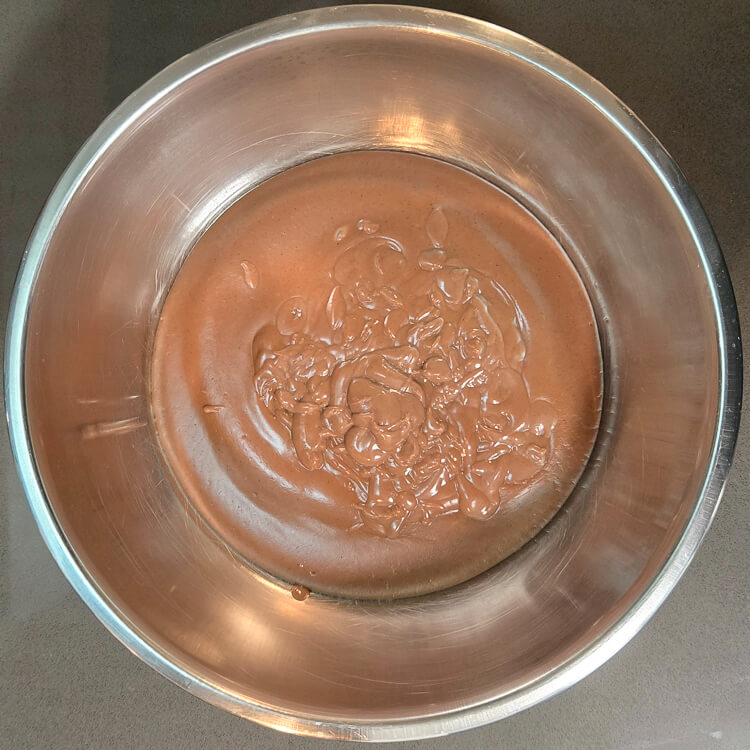
- Remove from heat and immediately strain the pudding through a fine-mesh sieve into a clean mixing bowl to remove any lumps or bits of cooked egg.
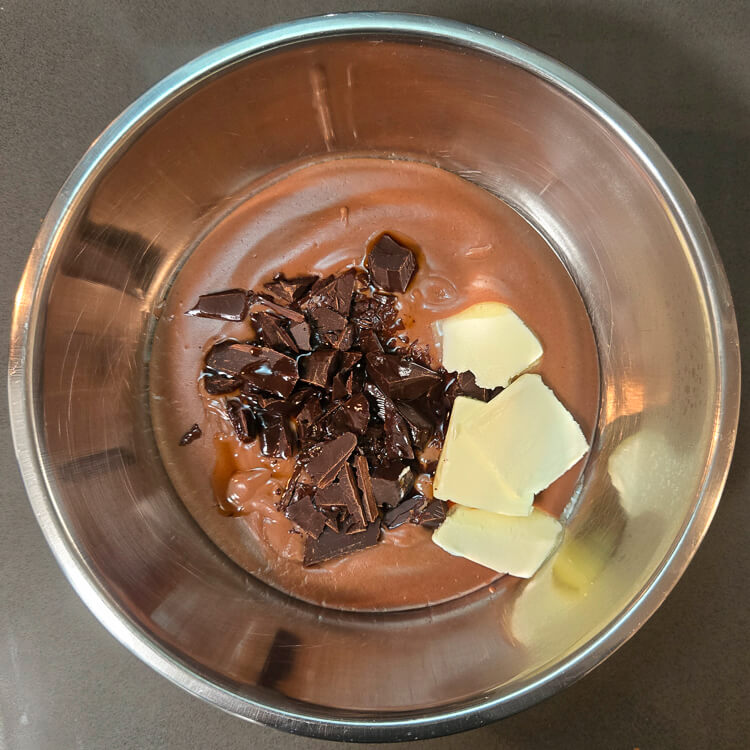
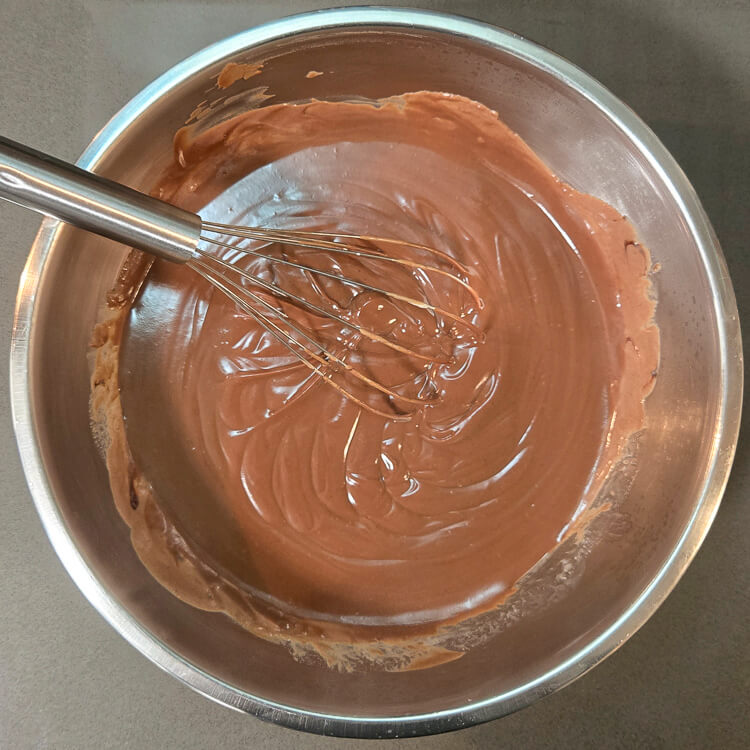
- Add the chopped chocolate and butter to the hot pudding. Whisk until both have melted and the mixture is smooth and glossy.
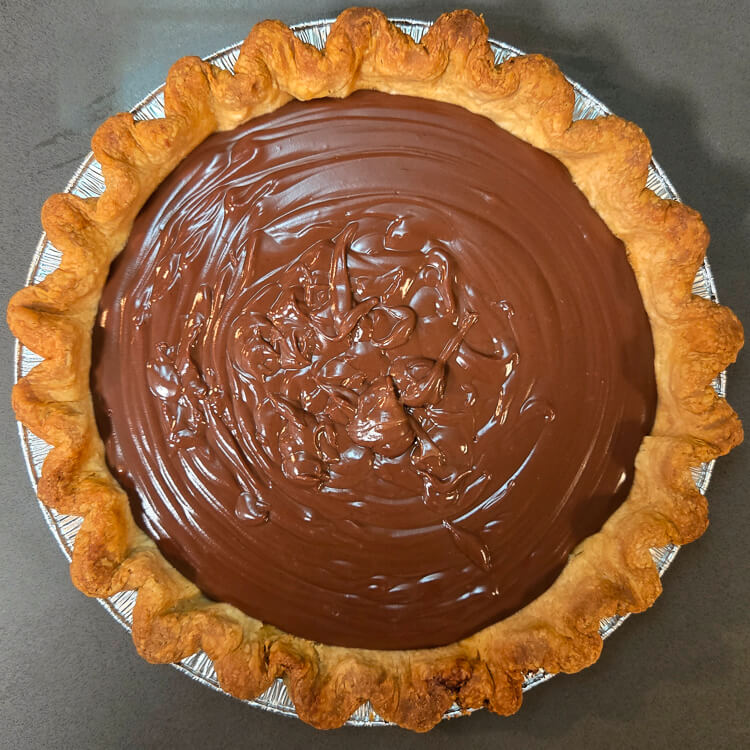
- Pour the warm pudding into your prepared, fully baked pie shell, spreading it evenly.
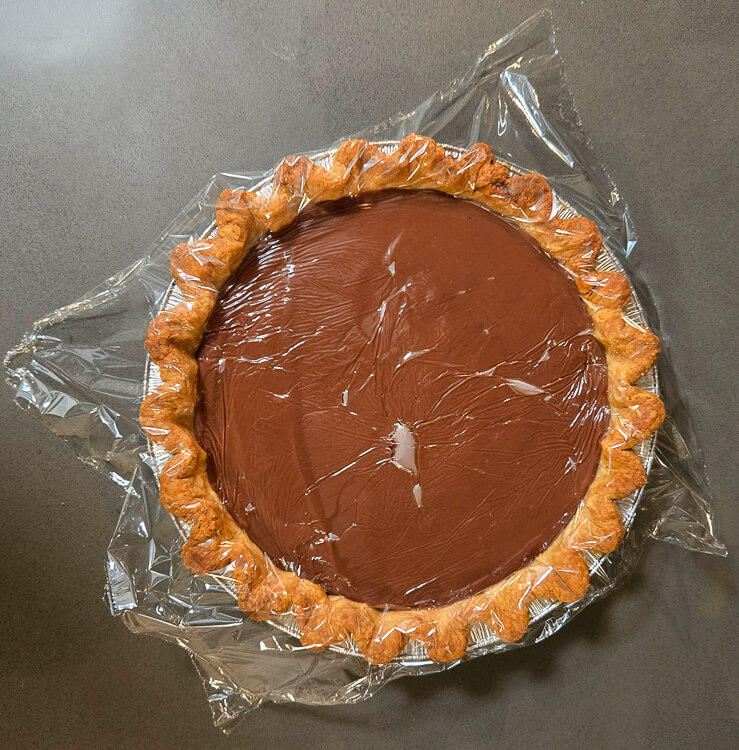
- Press a piece of plastic wrap directly against the surface of the pudding to prevent a skin from forming.
- Refrigerate for at least 3 hours, or until the filling is fully set and completely cool before topping with whipped cream.
Make the Fresh Whipped Cream
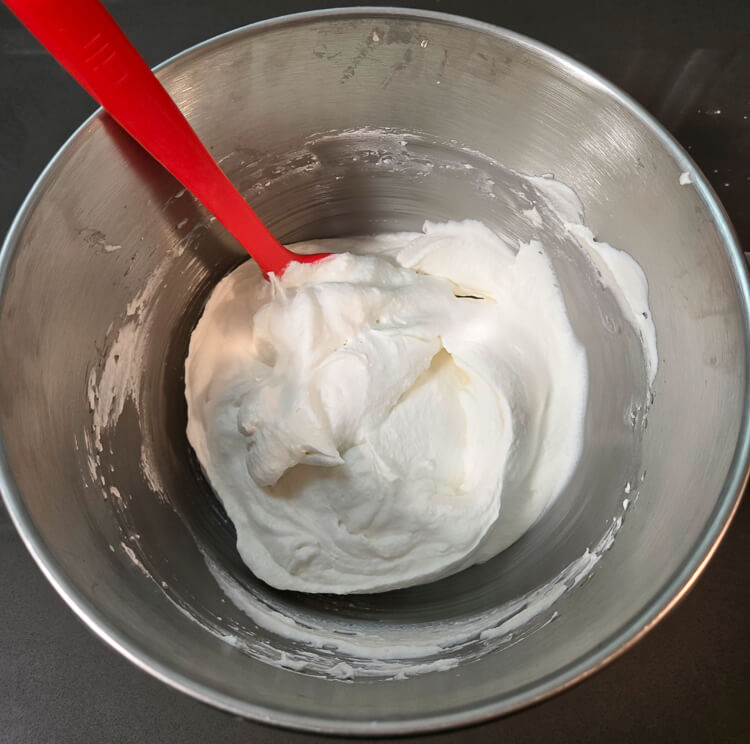
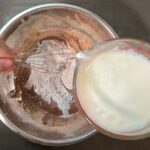
- In a stand mixer fitted with the whisk attachment, add the cold heavy cream, sifted powdered sugar, and vanilla extract.
- Whip on medium-high speed until stiff peaks form and the cream holds its shape. Avoid overwhipping.
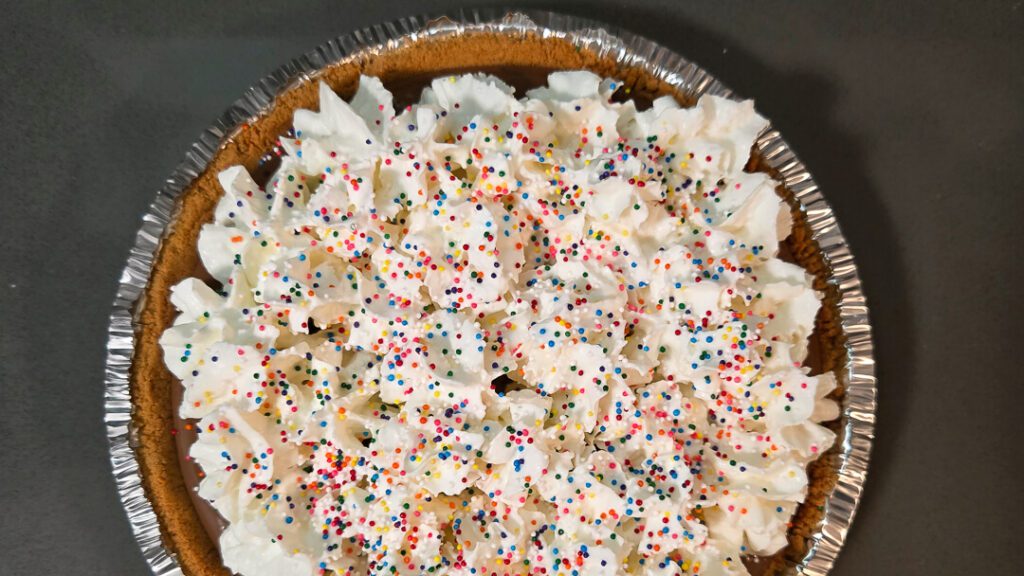
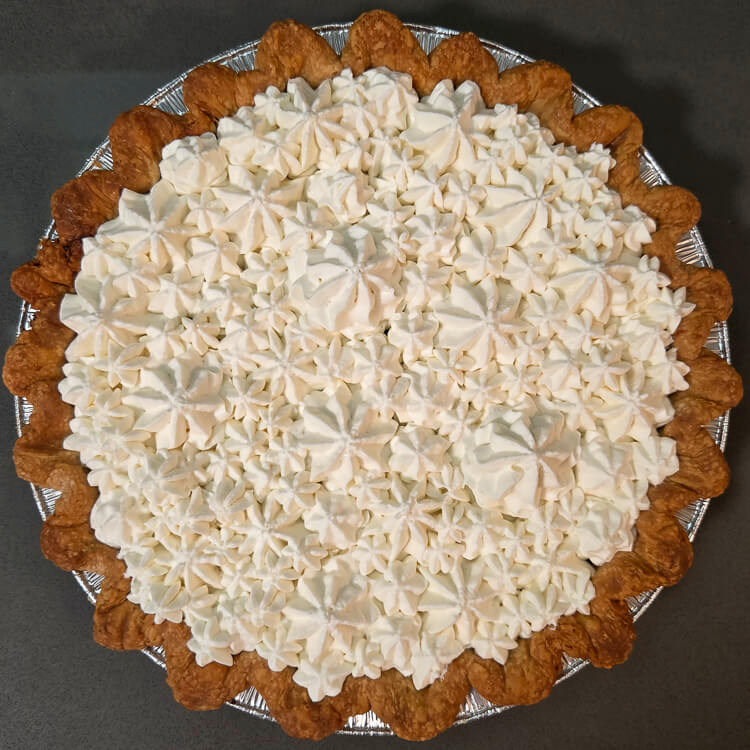
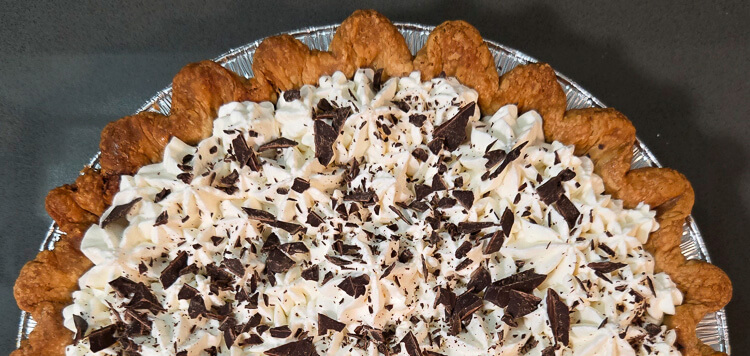
- Spread the whipped cream evenly over the chilled chocolate pudding layer using an offset spatula or the back of a spoon. (Or, for a decorative finish, transfer the whipped cream to a piping bag and pipe rosettes or swirls across the top of the pie.)
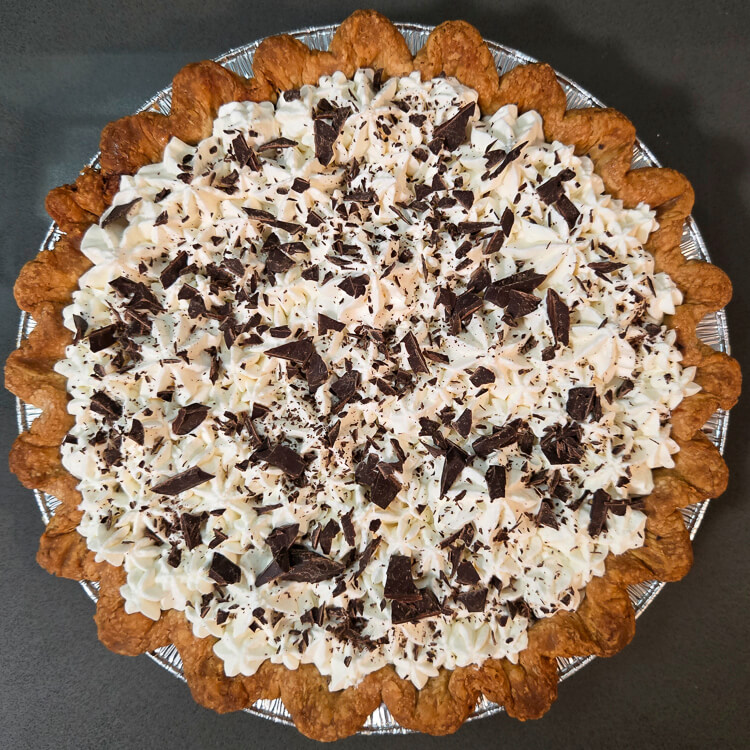
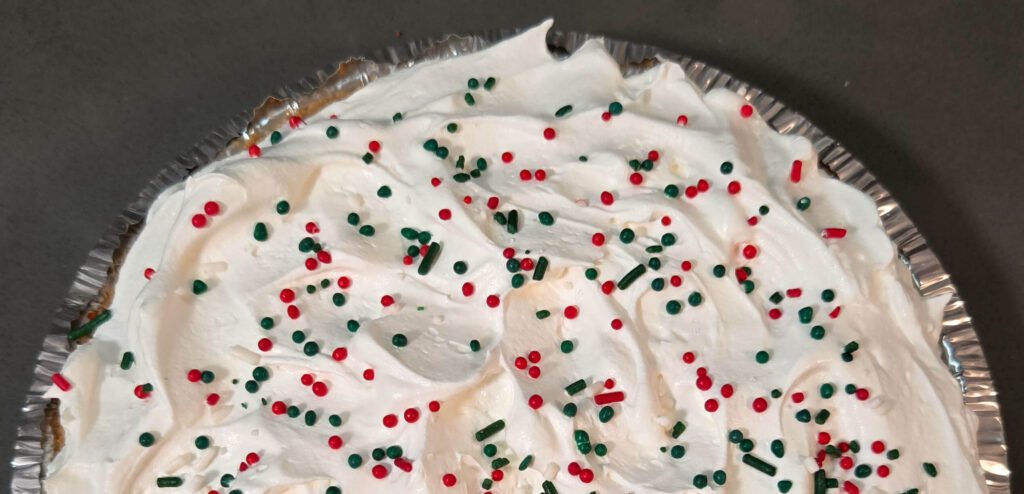
- Serve as is, or add toppings for extra flavor and texture. Try chocolate shavings, crushed peppermint candies, colorful sprinkles, or a drizzle of chocolate or caramel sauce—or mix and match your favorites.
One Comment
This is one of our favorite pies for Thanksgiving, but we always make it with boxed pudding. Can’t wait to try it from scratch!