

Salted Caramel Sauce
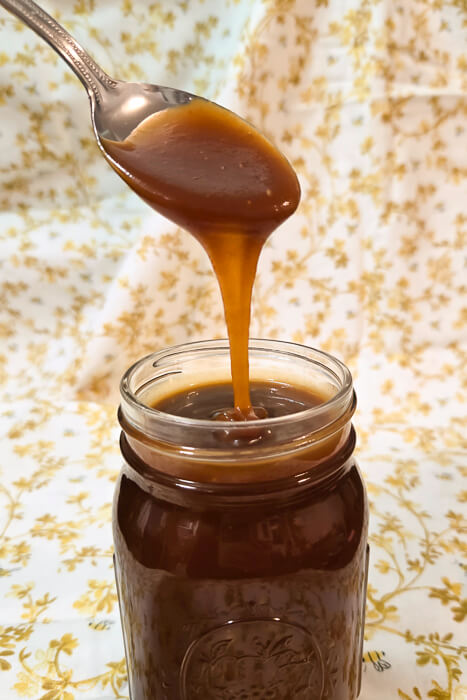
This homemade salted caramel sauce is rich, buttery, and perfectly balanced with a touch of salt. Drizzle it over pies, ice cream, or cakes. It’s smooth, glossy, and so much better than store-bought.
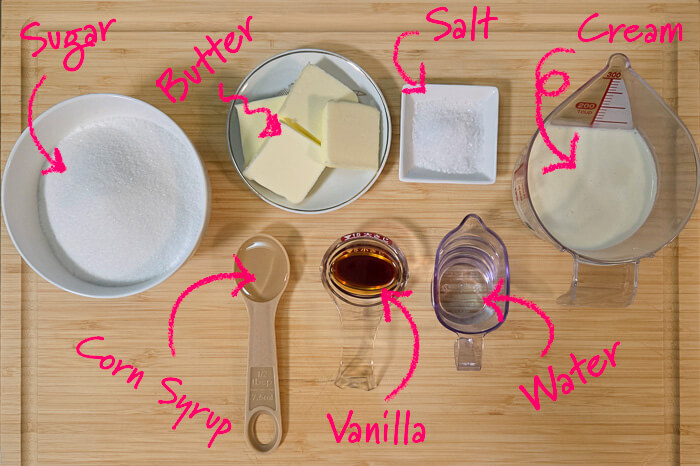
Ingredients
- 1 cup Granulated Sugar (200g)
- 2 tbsp Water (30mL)
- ½ tbsp Light Corn Syrup (8mL)
- 4 tbsp Unsalted Butter, cubed (½ stick)
- ½ cup Heavy Whipping Cream (120mL)
- ½ tbsp Vanilla Extract (8mL)
- 1 tsp Salt (5g)
Instructions
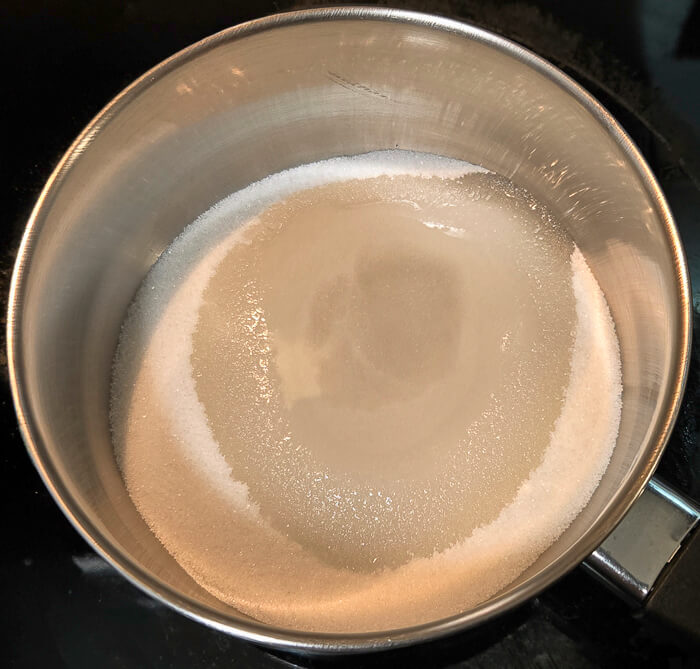
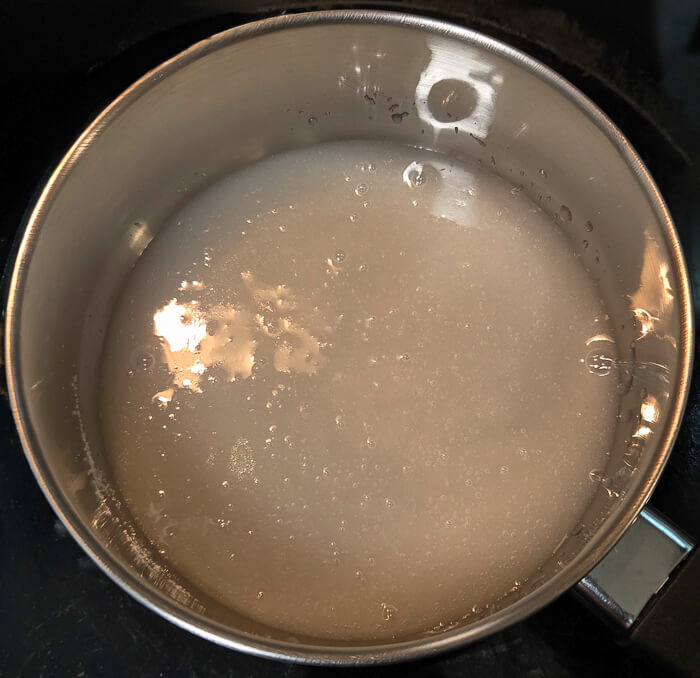
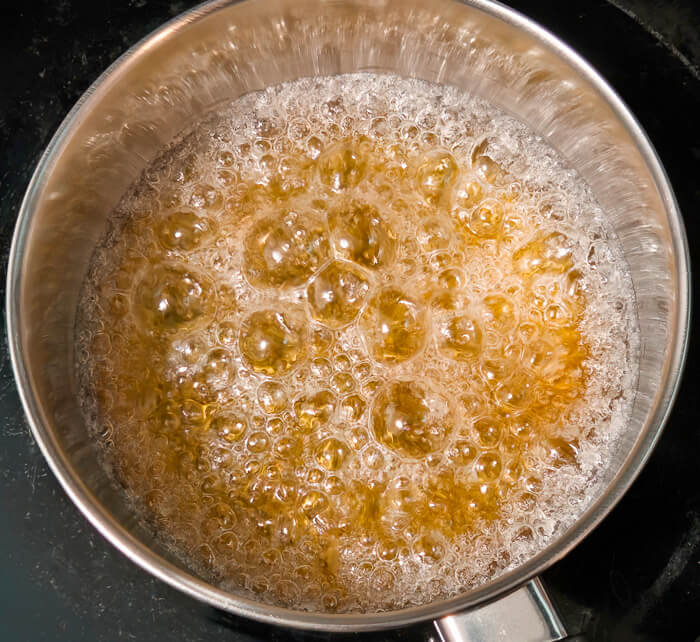
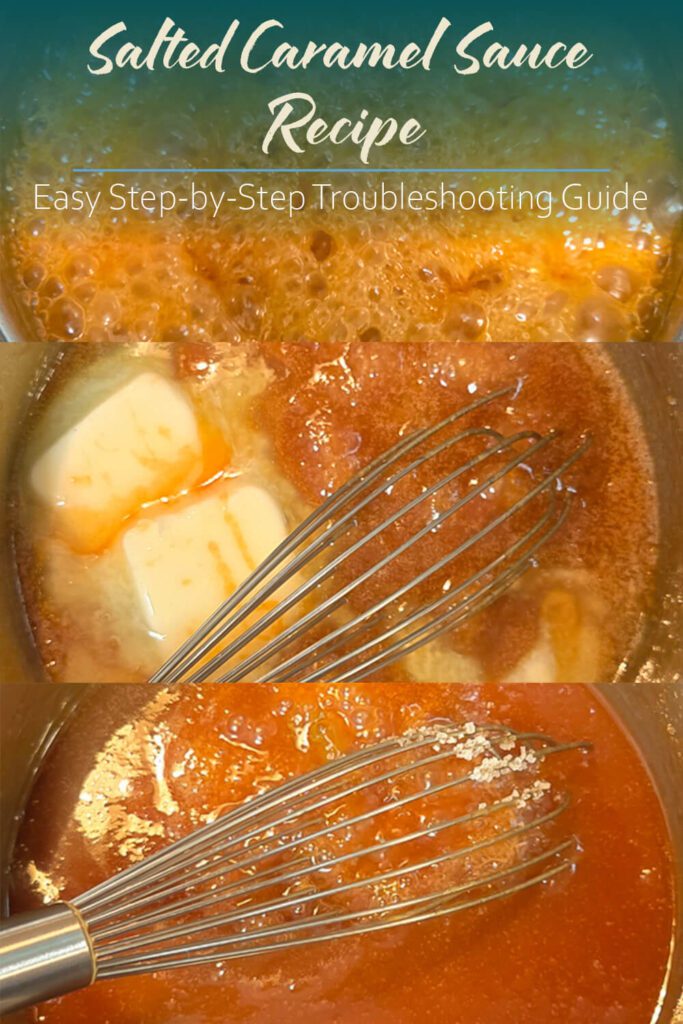
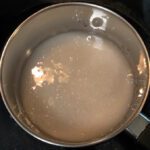
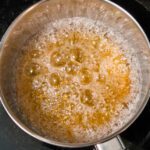
- In a pot over medium heat, combine water, sugar, and corn syrup. Whisk together once and then bring to a boil. Do not whisk it again until step 4.

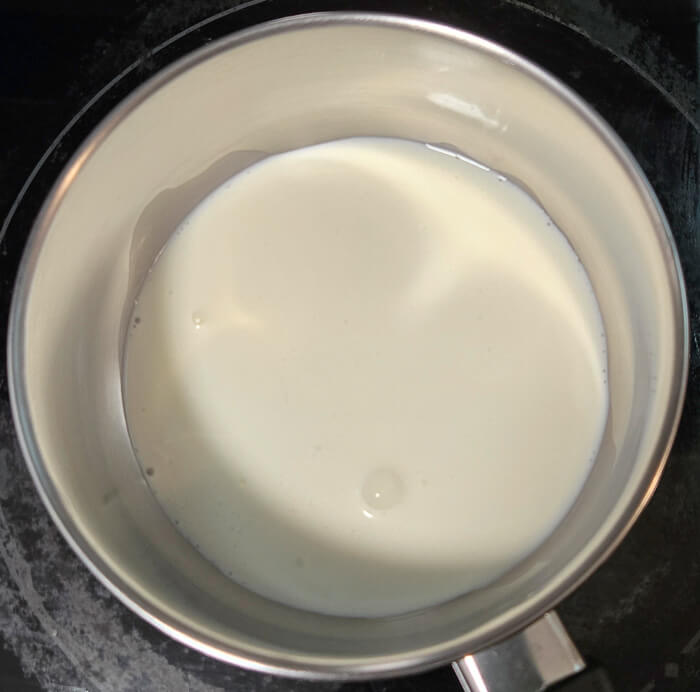
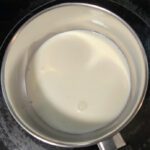
- In a microwave safe container or another pot, heat the cream until it is just below boiling temperature.
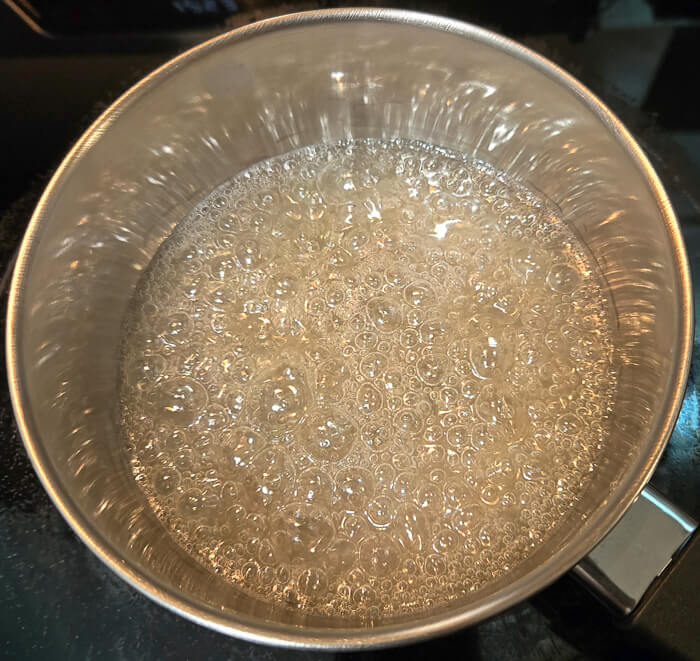
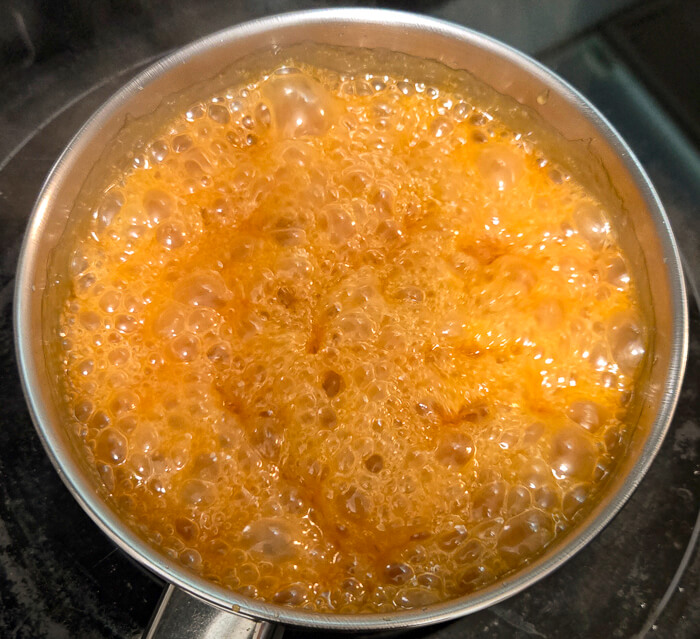
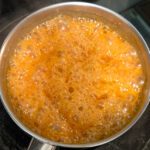
- Watch the sugar mixture closely. When it turns your desired level of golden brown, immediately remove it from the heat.
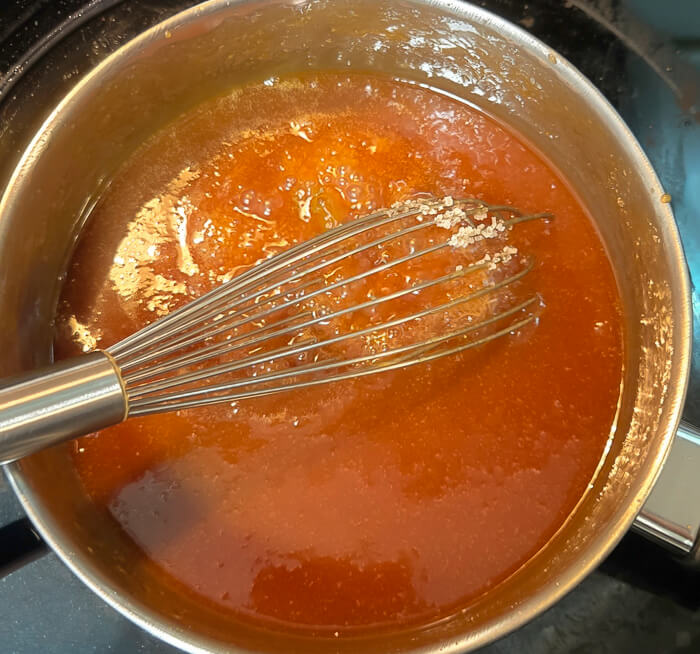
- Wearing gloves to avoid burns from splattering, pour the cream into the caramel, a couple tablespoons at a time.
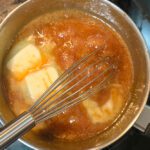
- Once all the cream has been added, whisk the mixture together.
- Whisk in the butter, salt, and vanilla until smooth.
Tried this recipe?Let us know how it was!

One Comment
Easiest recipe to make and so delicious. Thank you!