

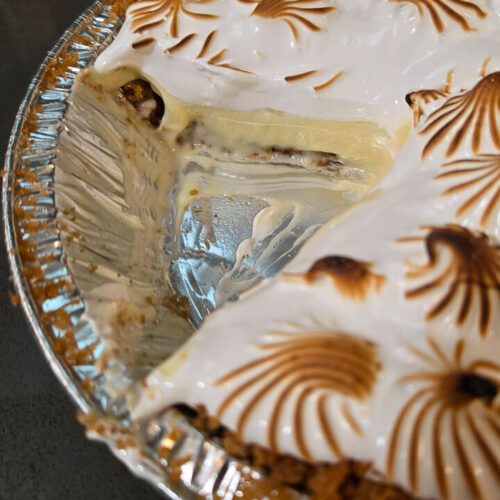
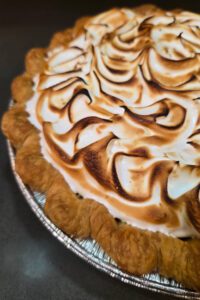
Flapper Pie
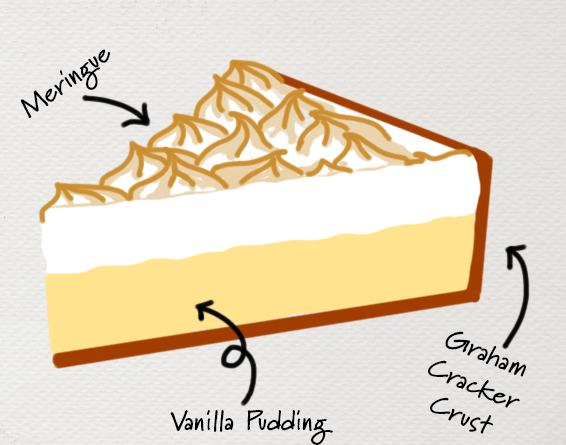
A classic Canadian flapper pie made with a simple vanilla cream filling, a graham cracker crust, and a toasted meringue topping.
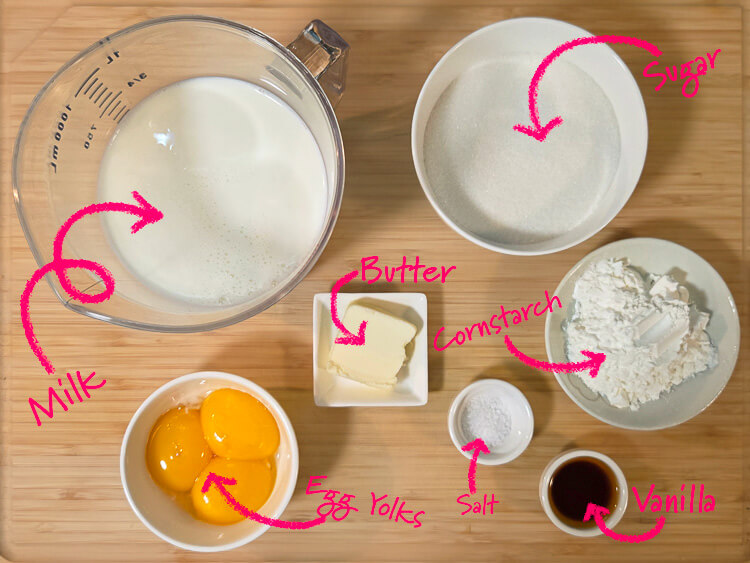
Ingredients
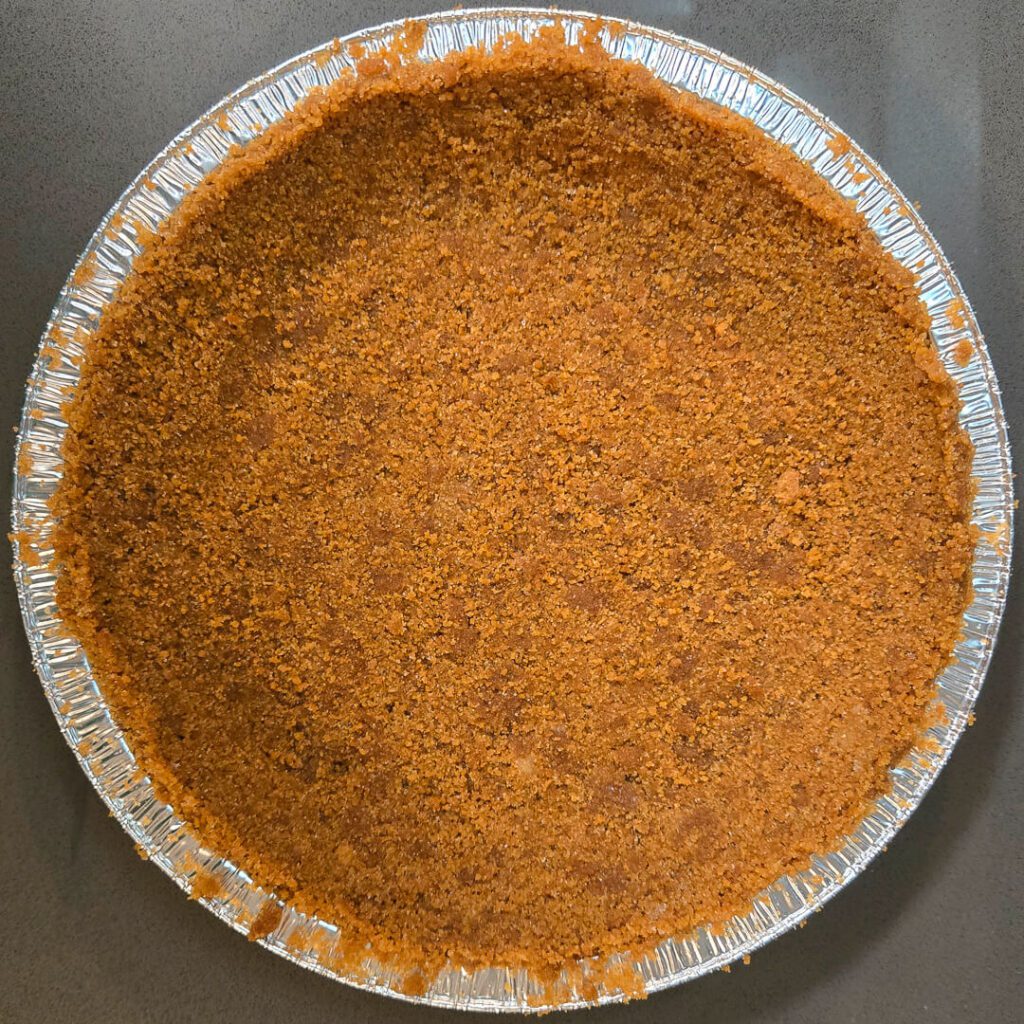
Crust
Vanilla Custard
- 2½ cups Whole Milk (595mL)
- ⅔ cup Granulated Sugar (135g)
- ¼ cup Cornstarch (32g)
- 3 Egg Yolks Save the whites for the meringue topping
- ¼ tsp Salt
- 1½ tsp Vanilla Extract
- 1 tbsp Unsalted Butter (14g)
Meringue Topping
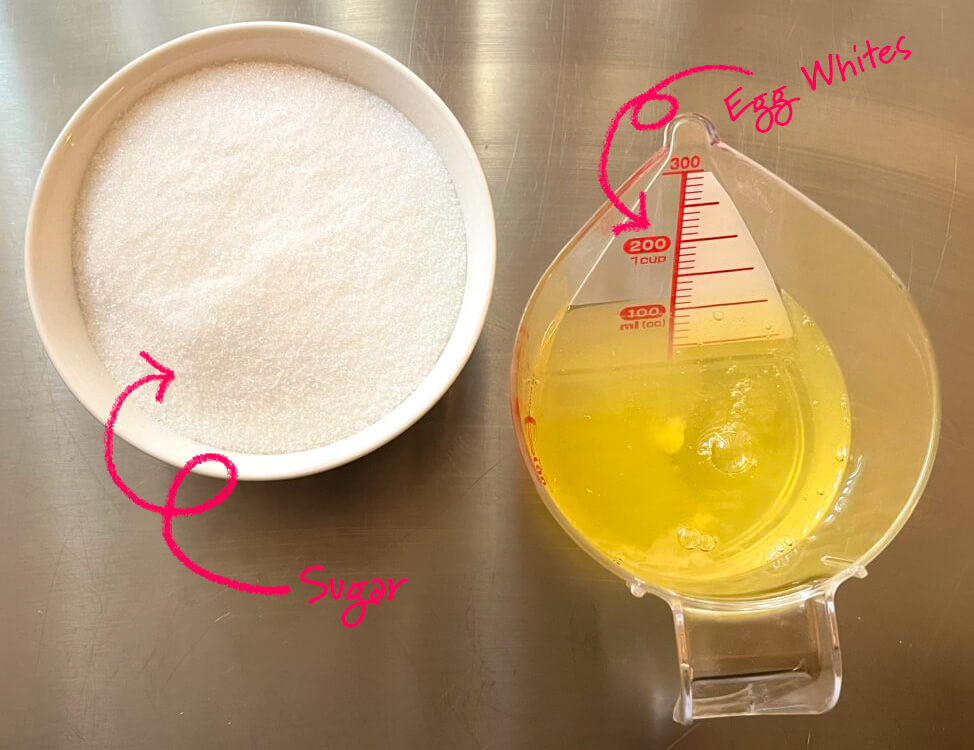
- 3 Egg Whites
- ¾ cup Granulated Sugar (150g)
Instructions
Make the Vanilla Custard
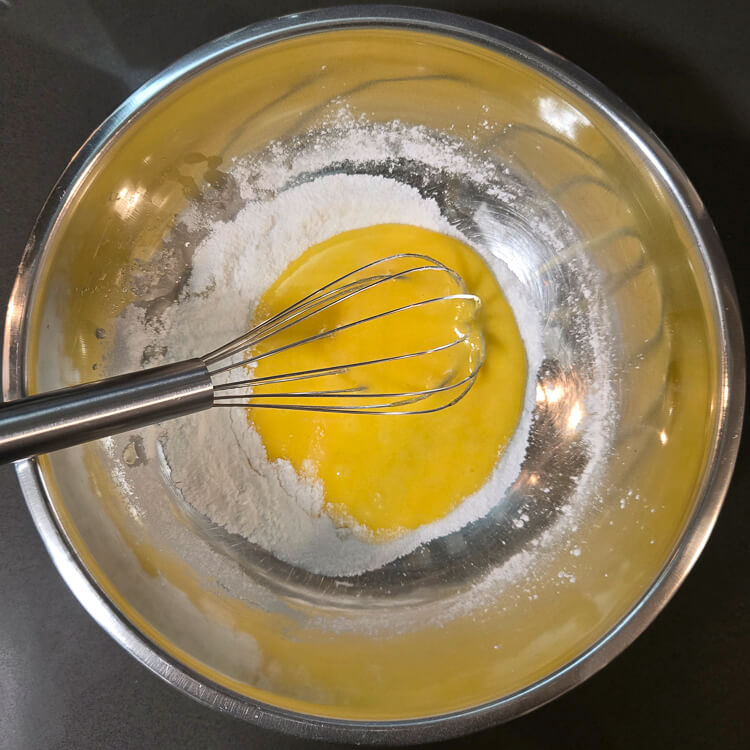
- In a large mixing bowl, whisk together the sugar, cornstarch, and salt.
- Add the egg yolks and whisk together with the dries from step 1 until the egg yolks are broken up. You do not need to fully mix everything together. Set aside.
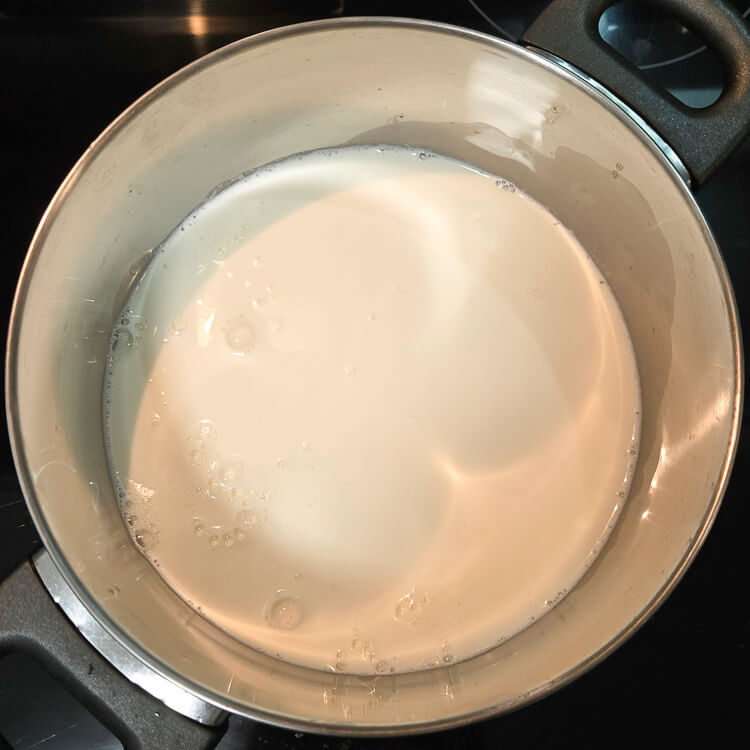
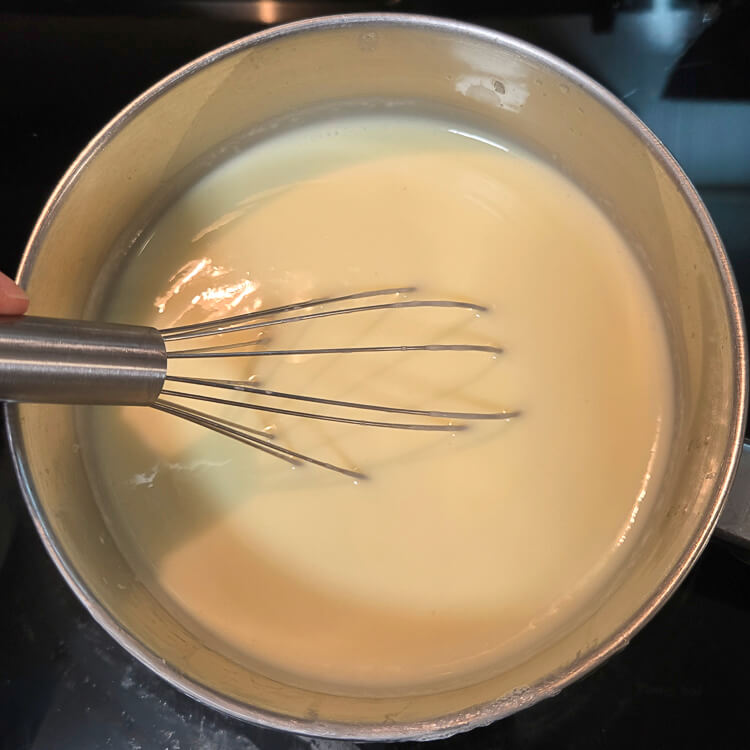
- In a medium pot over medium heat, bring the milk to just under a boil.
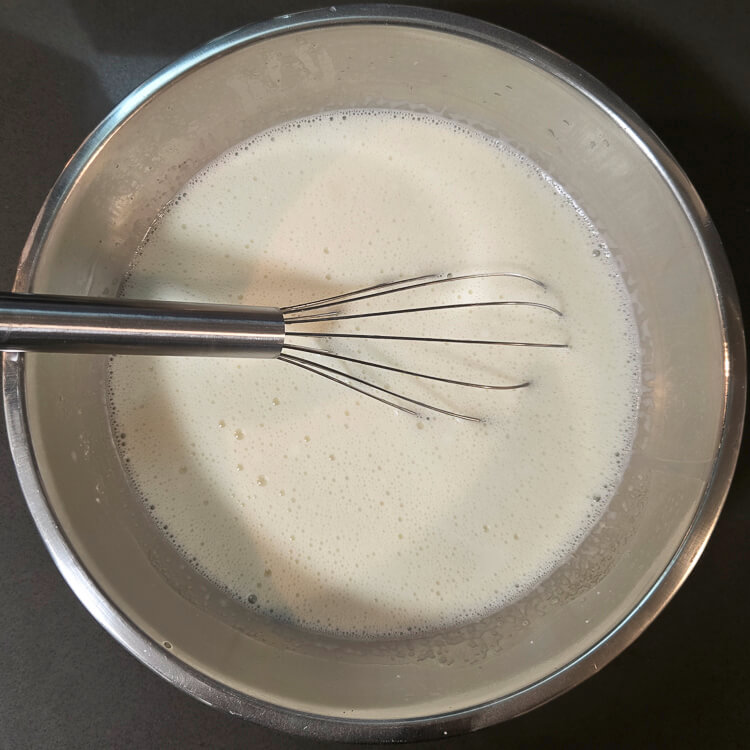
- Once the milk is hot and steaming, transfer the milk to a heatproof measuring cup. Very slowly pour it into the bowl from step two while whisking constantly and vigorously.
- When all of the milk has been added, pour the mixture back into the pot. Place it over low heat and whisk continuously until the pudding thickens and just begins to bubble.
- As soon as it reaches a boil, whisk vigorously for 30 to 60 seconds.
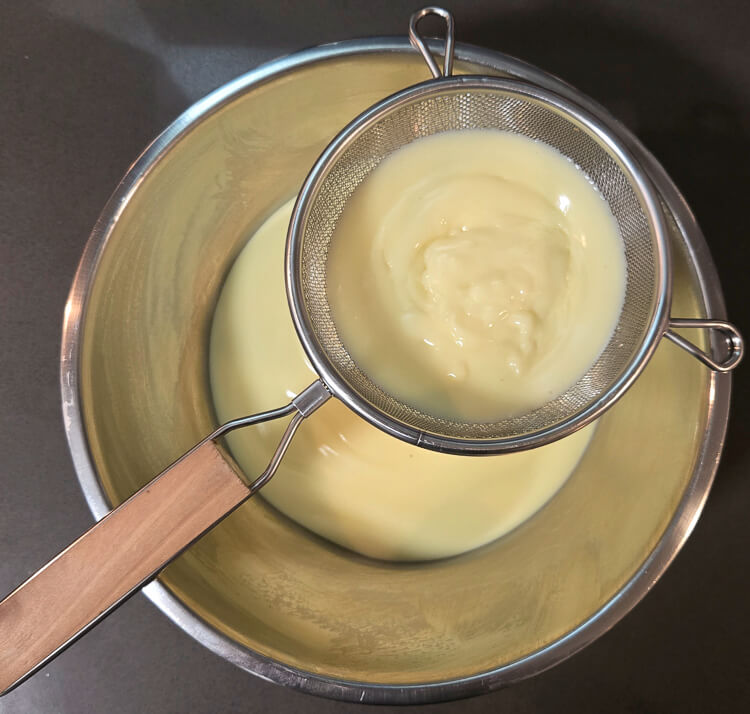
- Immediately strain the vanilla pudding through a fine-mesh sieve into a clean mixing bowl.
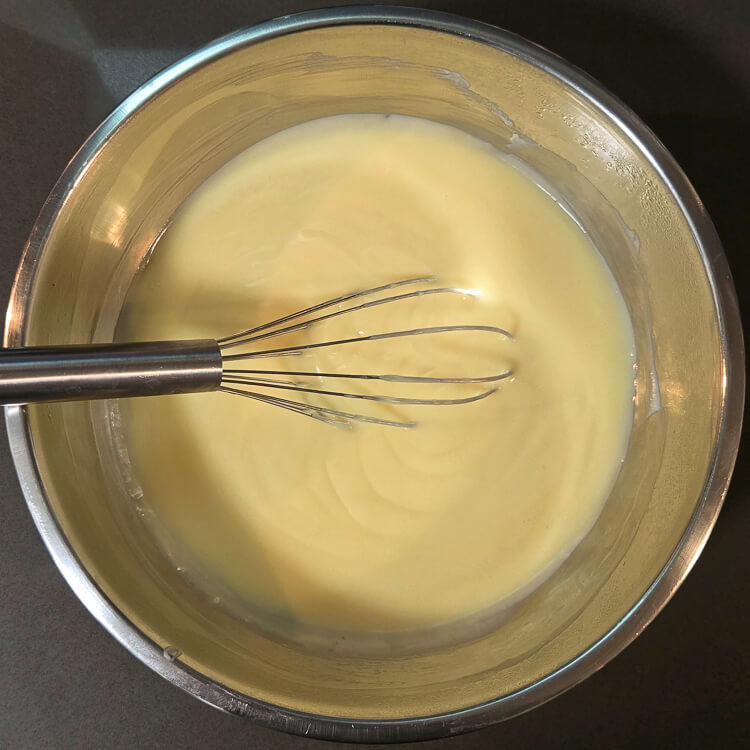
- Whisk in the butter and vanilla extract until smooth.
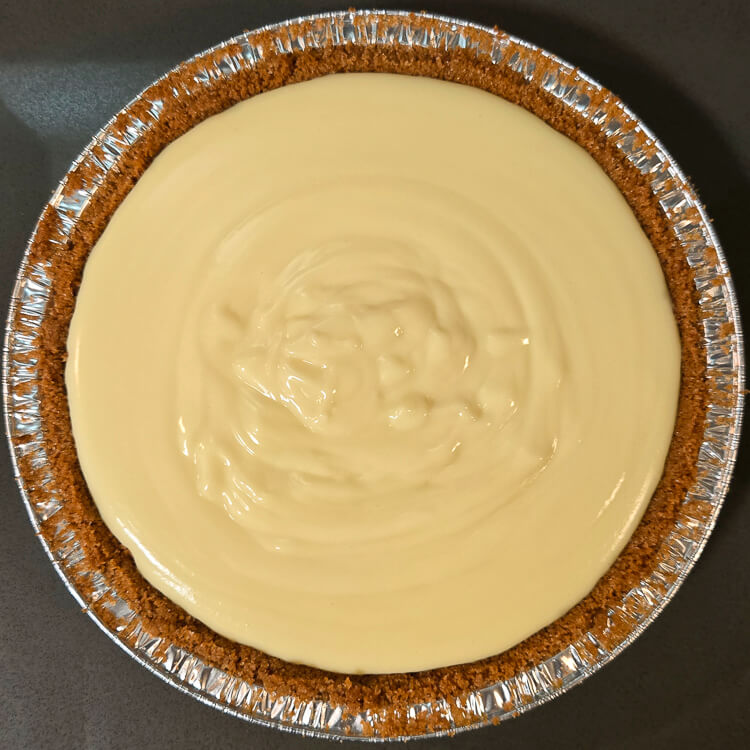
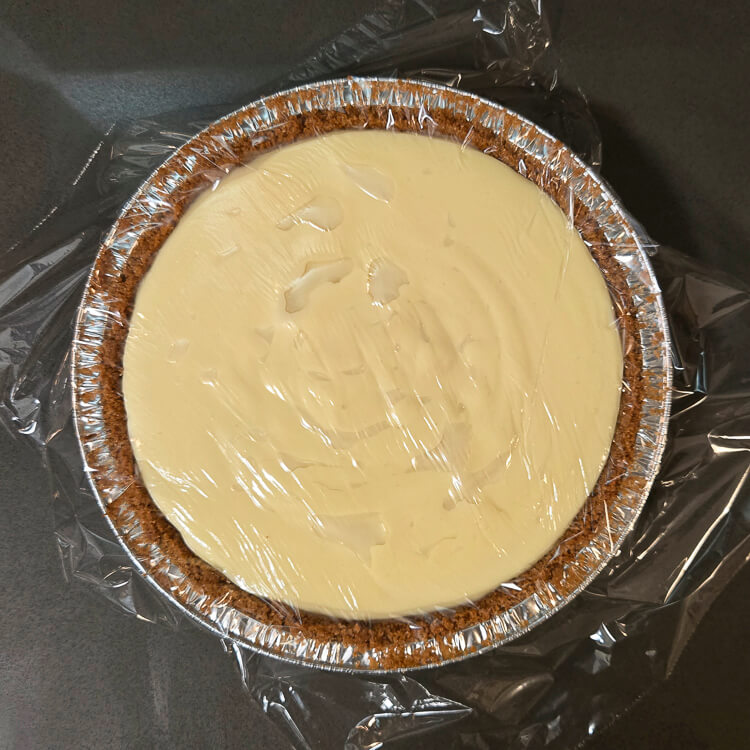
- Pour the pudding into your prepared graham cracker crust.
- Press a piece of plastic wrap directly against the surface to prevent a skin from forming.
- Chill the pie in your refrigerator for at least 3 hours so the pudding can fully set.
Make the Meringue Topping
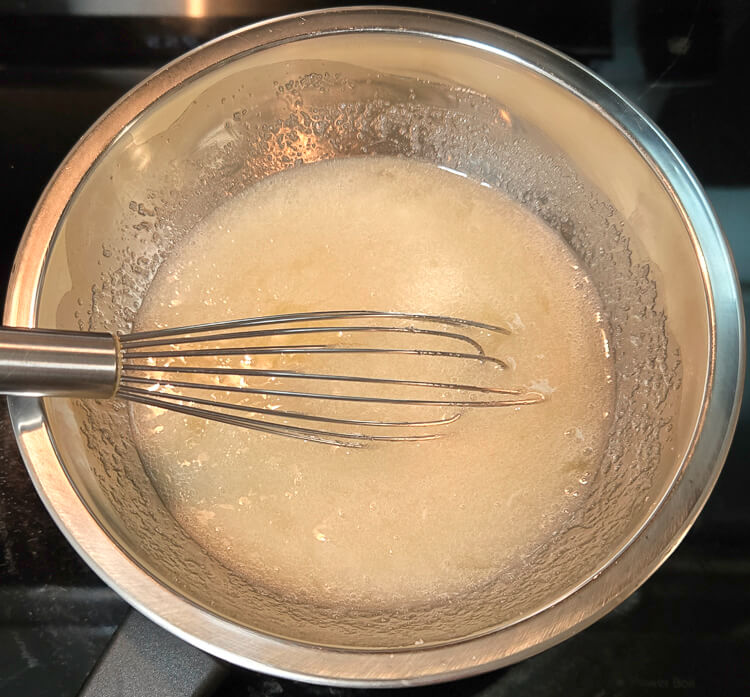
- In a mixing bowl set over a double boiler, whisk together the egg whites and sugar.
- Continue whisking the mixture slowly until a candy thermometer reads 160°F (70℃).
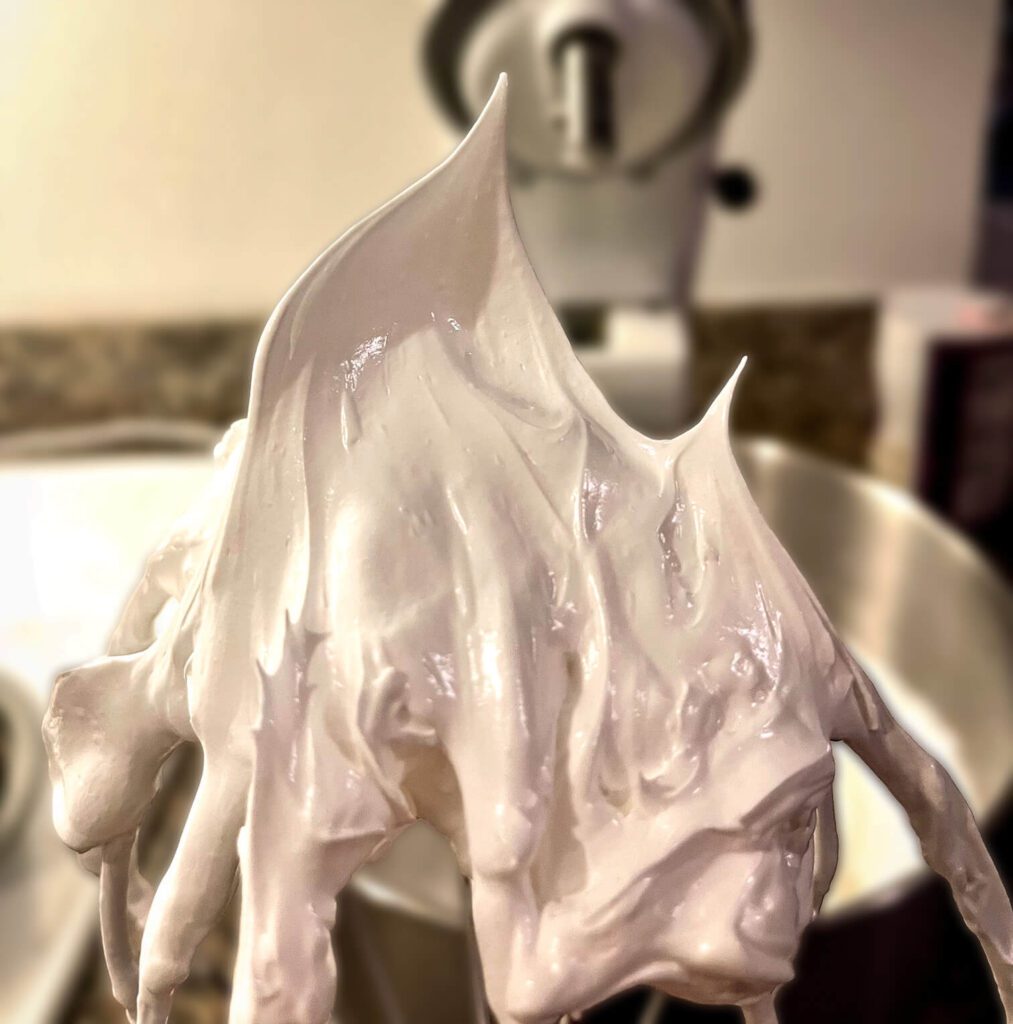
- Immediately remove the bowl from heat, and whip on high speed with a stand mixer until stiff peaks form.
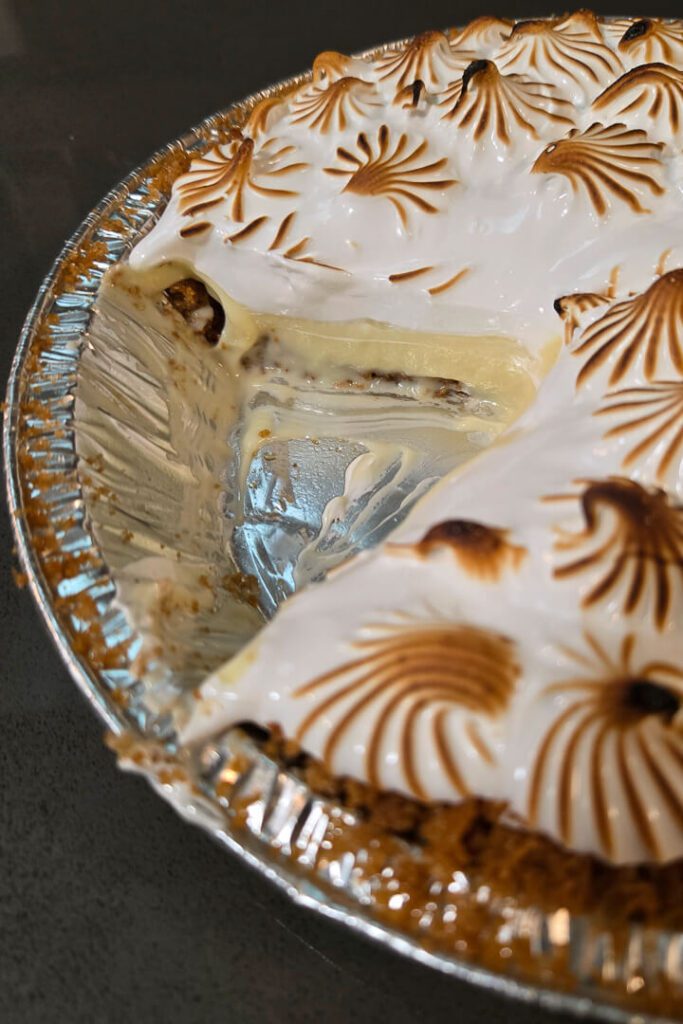
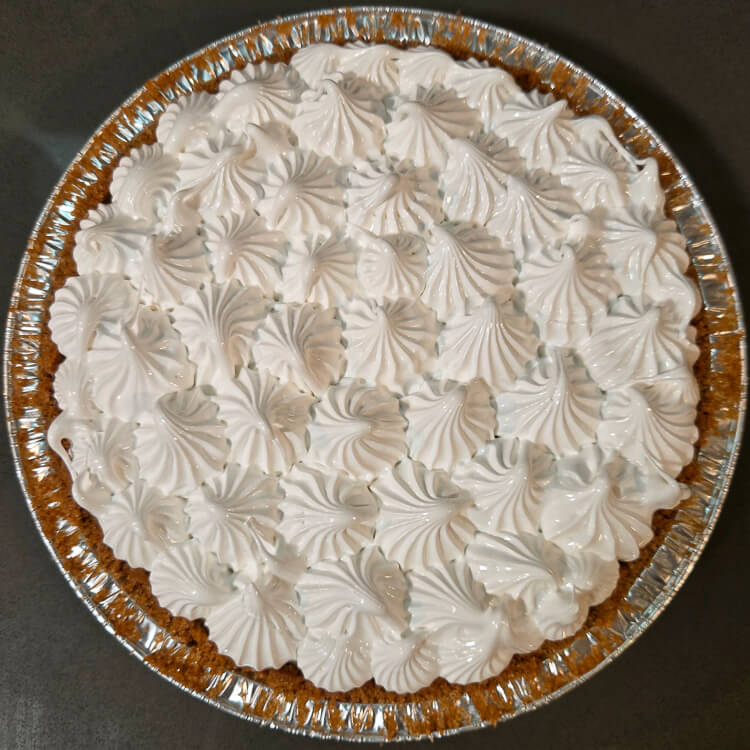
- Spread the meringue evenly over the chilled vanilla pudding, making sure to seal the edges where the meringue meets the crust.
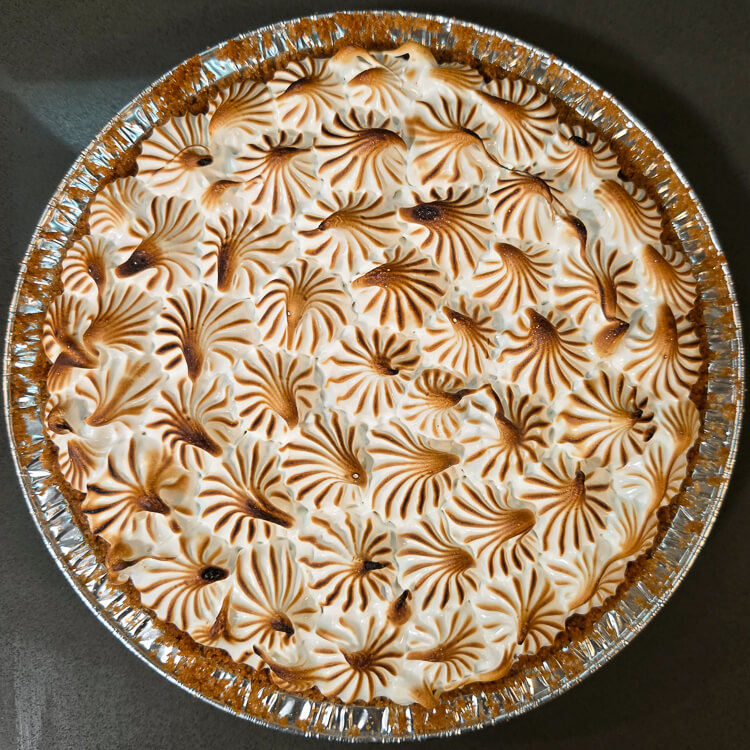
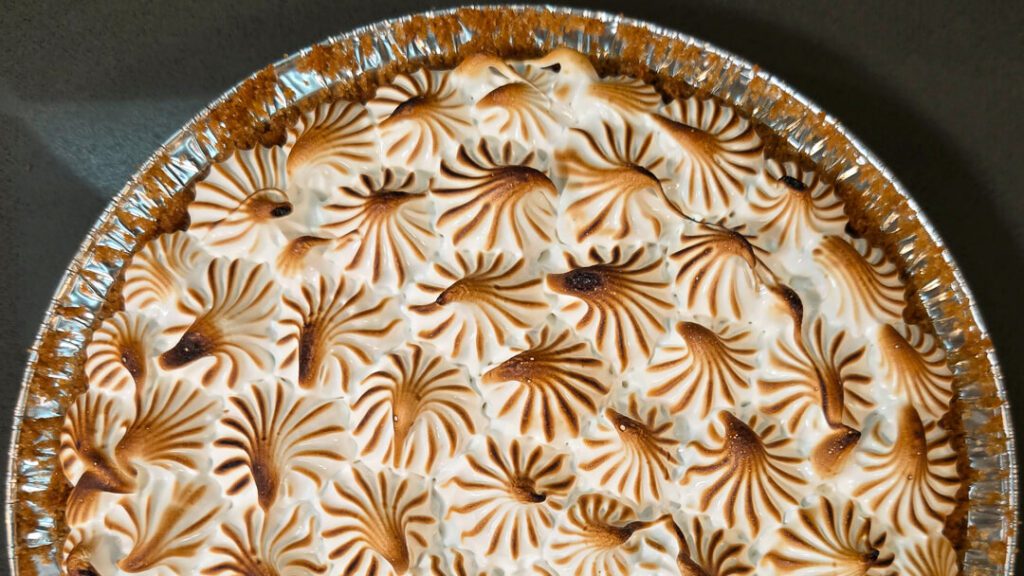
- Using a kitchen torch, brown the meringue until it is a golden brown. Alternatively, bake the pie at 350℉ (175℃) or put the pie under a broiler until the meringue becomes a golden brown color.
- Slice and serve!
Tried this recipe?Let us know how it was!


One Comment
This is such a beautiful deep dive, I love when recipes come with stories! Now I need to try making this delicious pie!