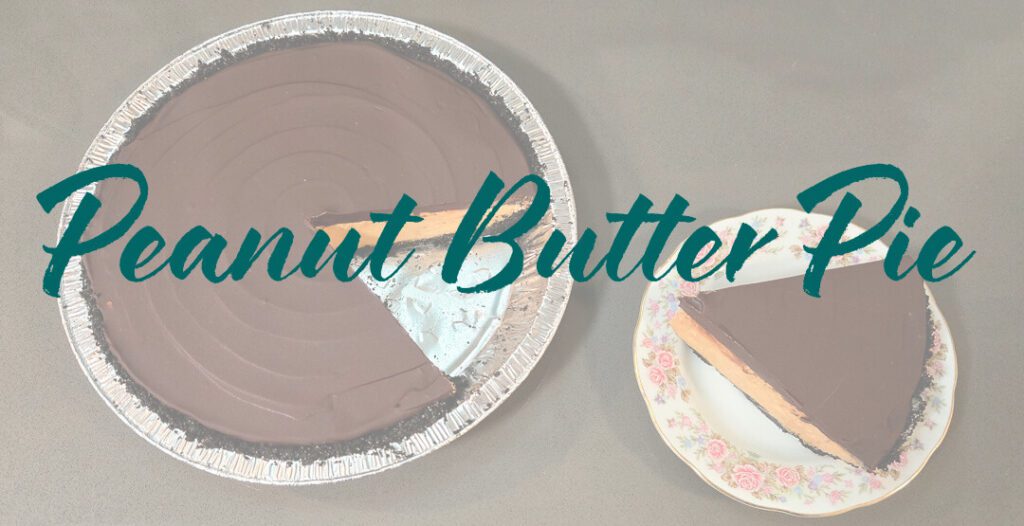


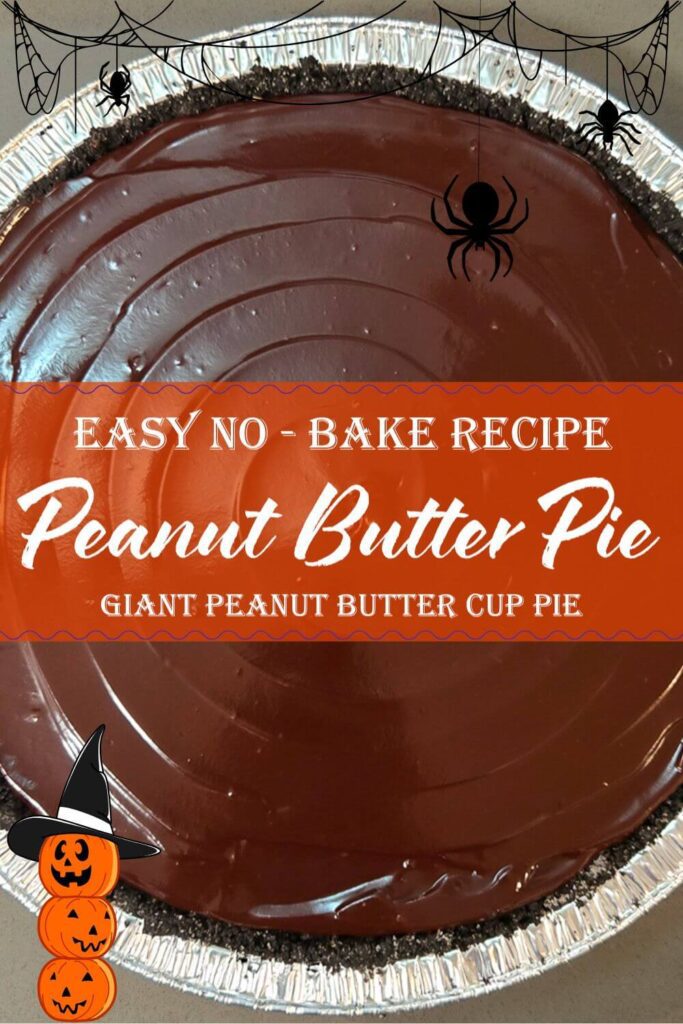

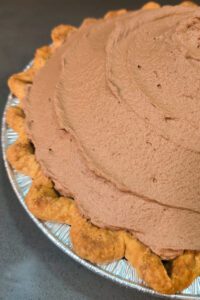
No-Bake Peanut Butter Pie with Chocolate Ganache Topping
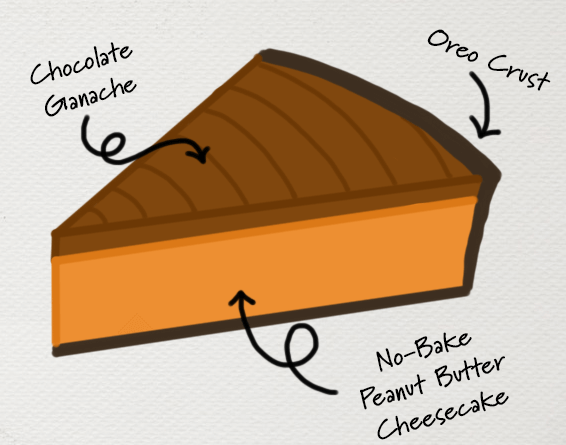
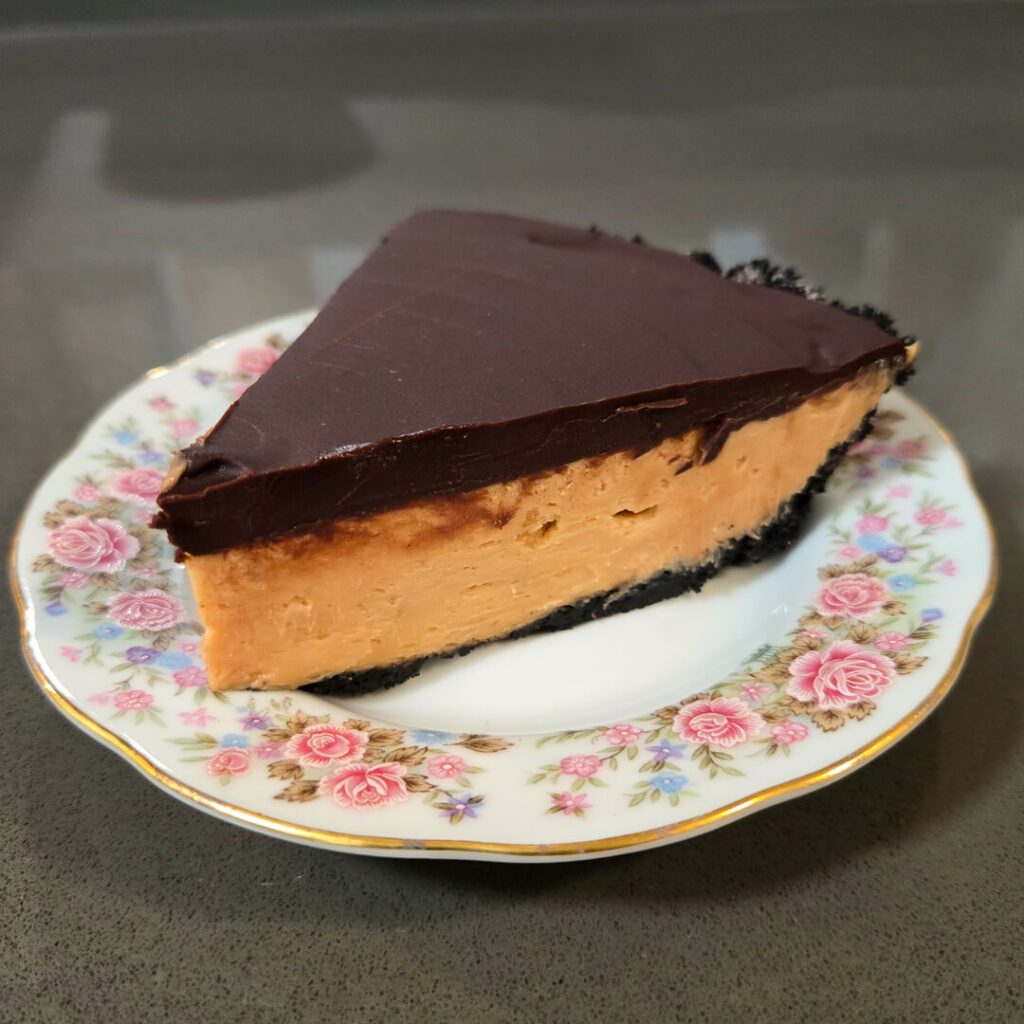
A rich and creamy no-bake peanut butter pie layered in an Oreo crust and topped with silky chocolate ganache. Perfect for chocolate and peanut butter lovers, this pie is great for beginner bakers.
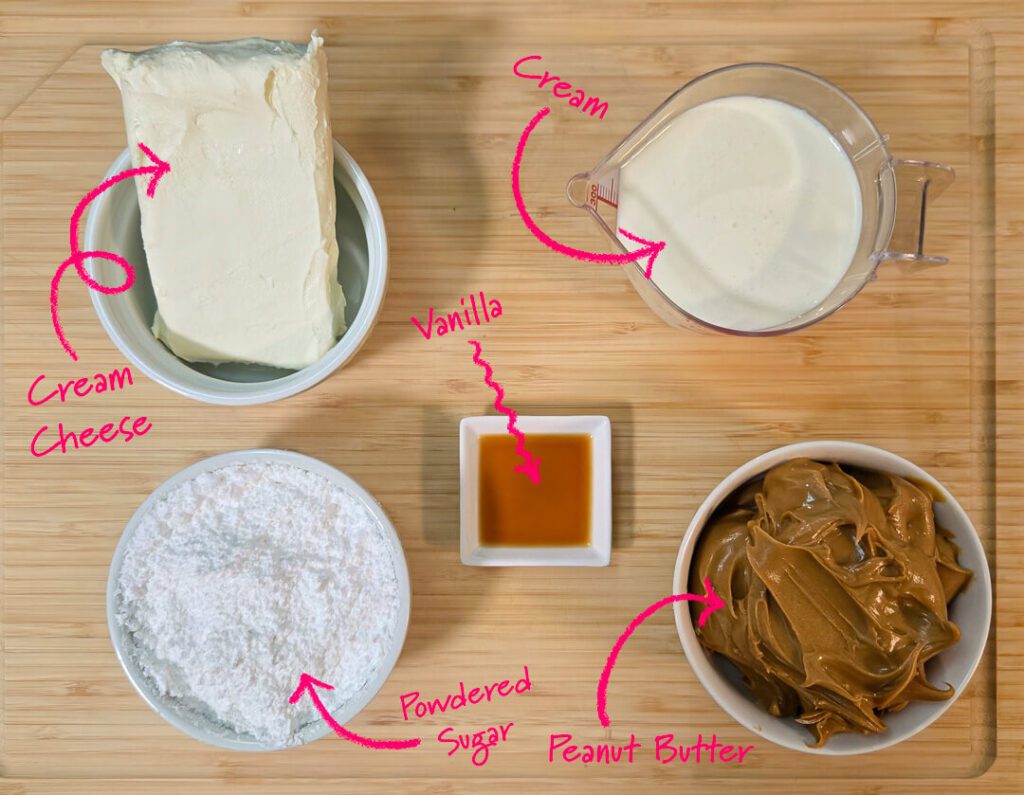
Ingredients
No-Bake Peanut Butter Pie
- 1 Oreo Pie Crust
- 1¼ cups Creamy Peanut Butter (440g)
- 1 cup Powdered Sugar, sifted (100g)
- 8 oz Cream Cheese, room temperature
- 1 cup Heavy Whipping Cream, cold (240mL)
- 1 tsp Vanilla Extract (5mL)
Dark Chocolate Ganache
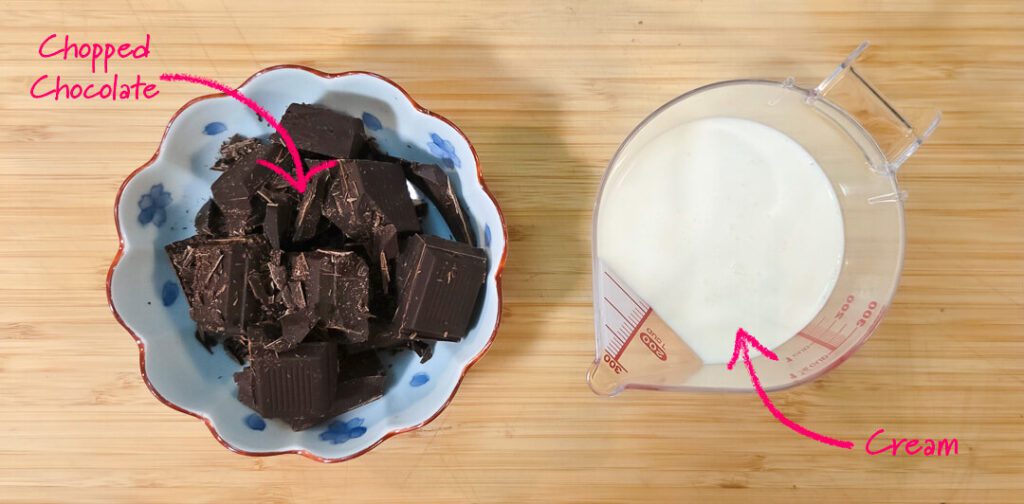
- 8 oz Bittersweet Chocolate, chopped
- ½ cup Heavy Whipping Cream
Instructions
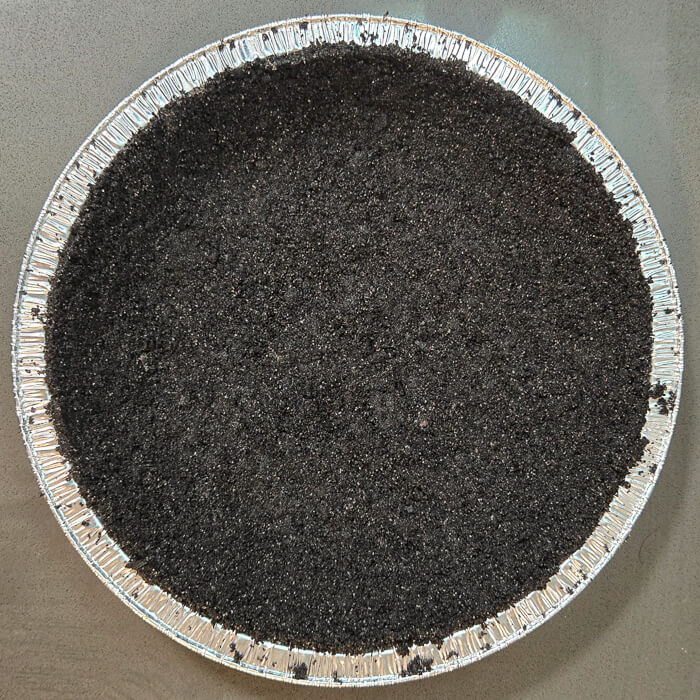
Prepare the Oreo Crumb Crust
- Before beginning to make this pie, prepare an Oreo crumb crust. Almost any other crumb crust of your choosing can be used as well. Instructions for an Oreo crust can be found here.
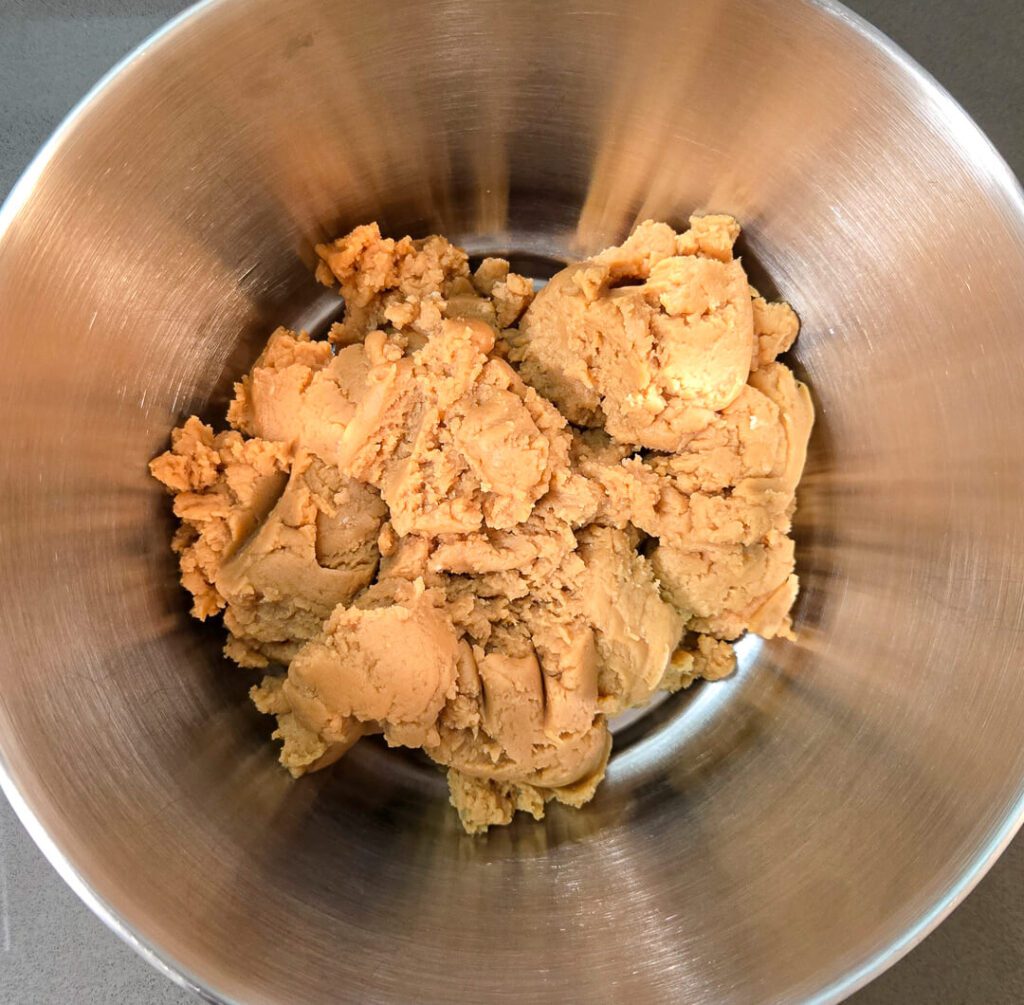
Make the Filling:
- In a stand mixer, fully combine the peanut butter, powdered sugar, cream cheese, and vanilla.
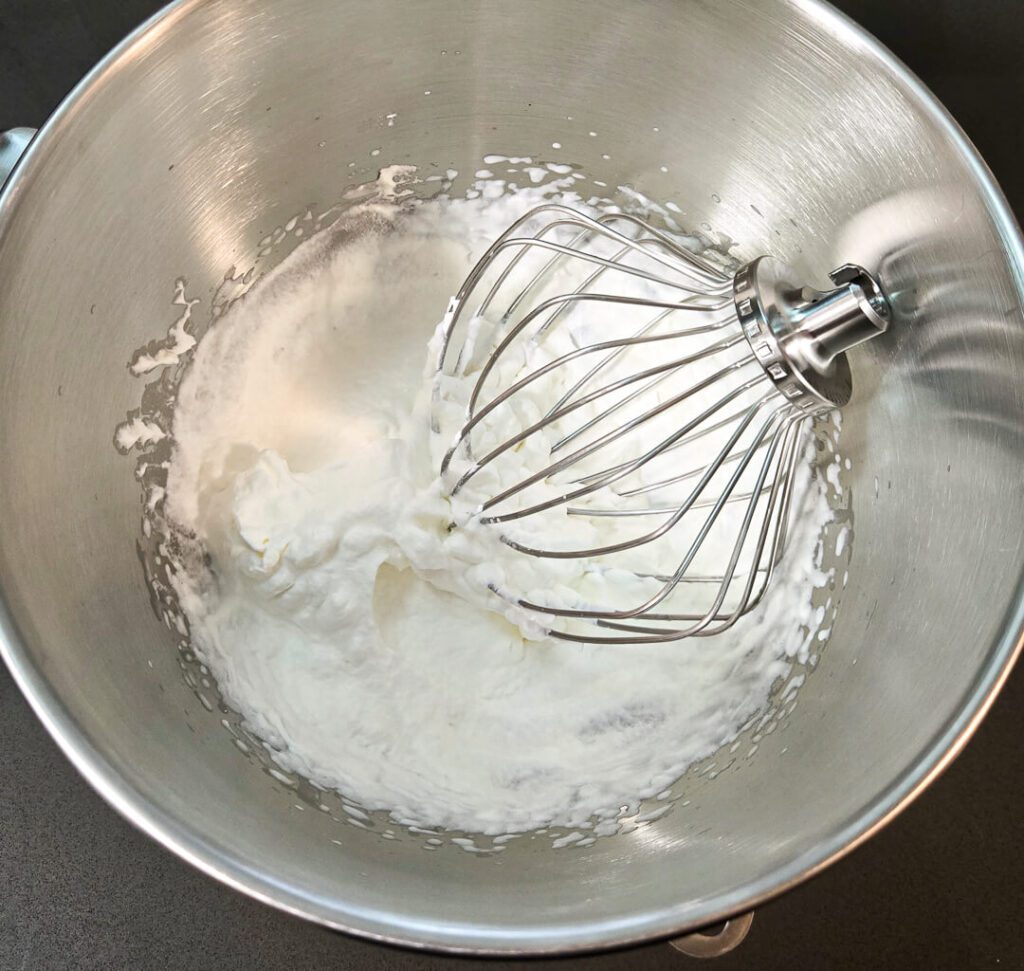
- In a clean mixing bowl, whip the cold heavy whipping cream to stiff peaks.
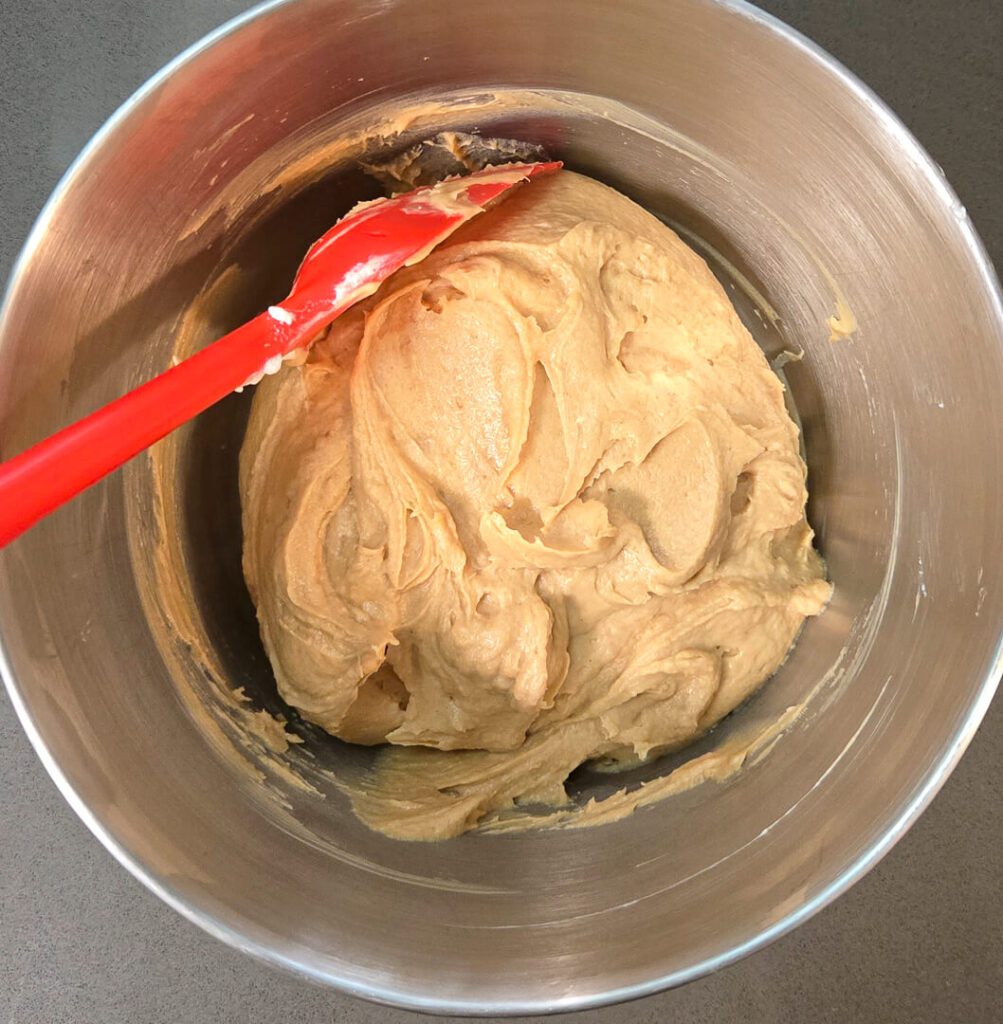
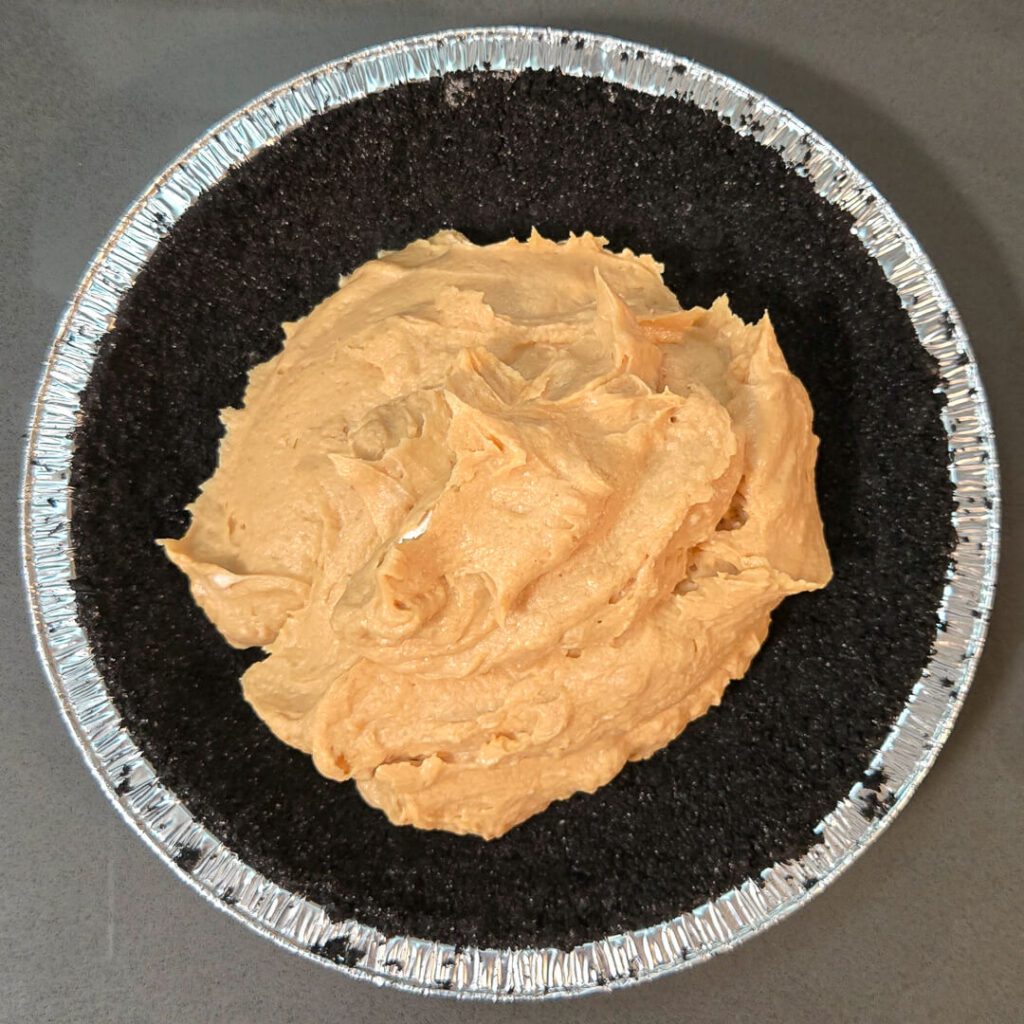
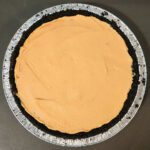
- Gently fold the whipped cream into the peanut butter mixture from step 1 until fully combined and no streaks of whipped cream or clumps of peanut butter remain.
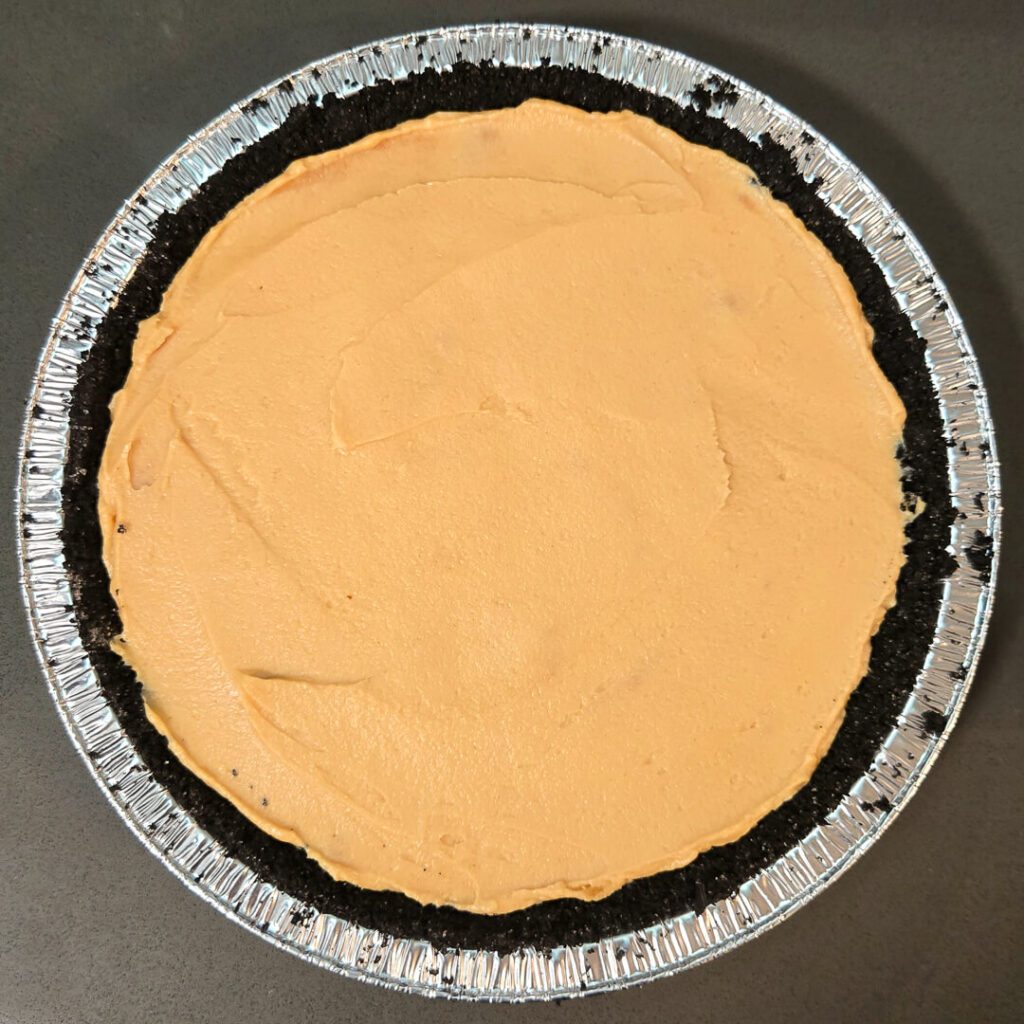
- Spread the filling in your prepared Oreo pie crust, leaving about ⅛" to ¼" (about ½cm) of room in the pie crust.

Make the Chocolate Ganache:
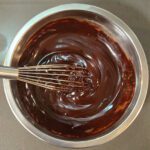
- Heat ½ cup of heavy whipping cream in a small pot until it is just under a boil. (See note)
- Pour the hot cream into the chopped chocolate while whisking until smooth.
- Let cool for a few minutes until the ganache is warm but not hot.
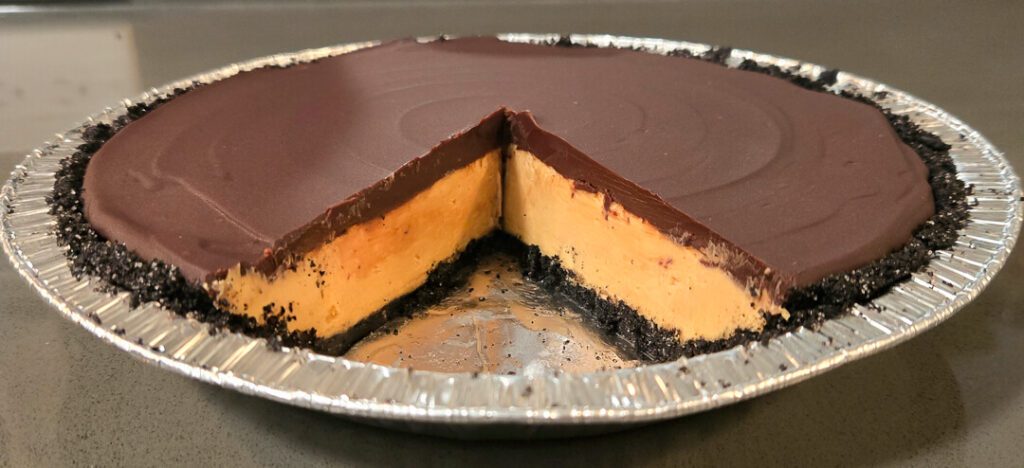
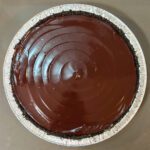
- Pour and spread the ganache over the top of your peanut butter filling, using an offset spatula or the back of a spoon to spread evenly.
- Refrigerate for 3-6 hours to allow the filling and ganache to set fully before serving.
Notes
Note: Do not pour boiling cream directly into the chocolate. This increases the risk of your ganache breaking and turning grainy. If you do break your ganache, whisk in 1 tablespoon of cold cream until it comes back together.
Tried this recipe?Let us know how it was!


4 Comments
Love the Halloween spiderweb idea! Such a clever way to turn a classic dessert into a festive centerpiece. Thanks for making no-bake baking feel so doable and delicious!
Love this recipe! It tasted just like a giant Reese’s (my absolute favorite). And it was so easy!
this no-bake peanut butter pie is INCREDIBLE! such a delicious treat.
This peanut butter pie is super good and so easy to make. A new favorite dessert recipe!