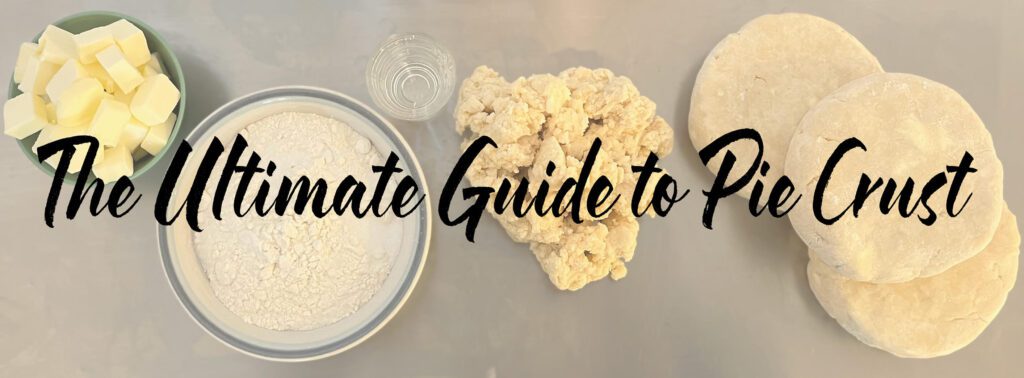


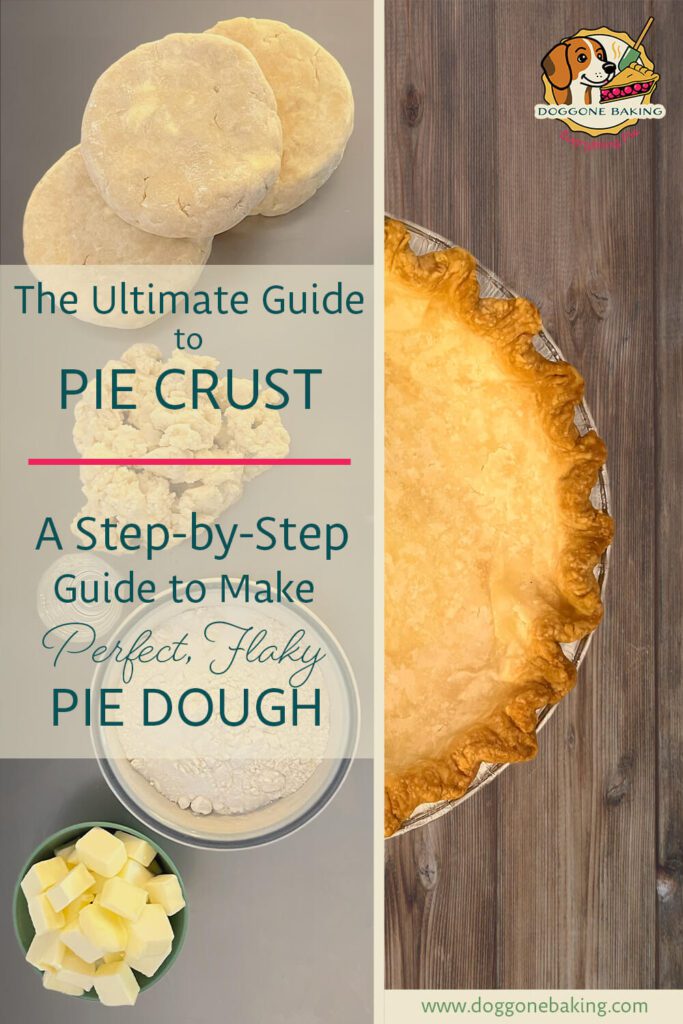
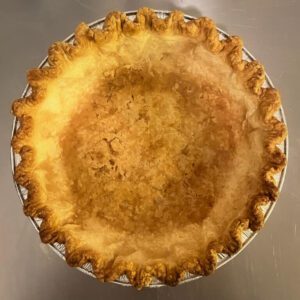
All-Butter Pie Crust
Classic all-butter pie dough that bakes up tender, flaky, and flavorful. A versatile pie dough recipe that is perfect for sweet or savory pies. Note that this recipe will make 2 plain pie shells (crimped, fluted, or plain), one decorative pie shell (with braids or cut-outs), or one regular double-crusted pie.
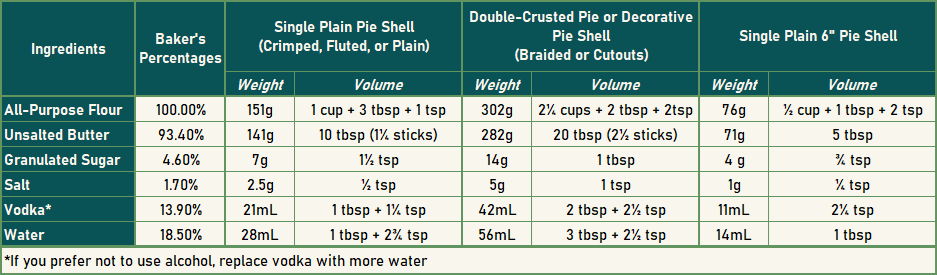
Ingredients
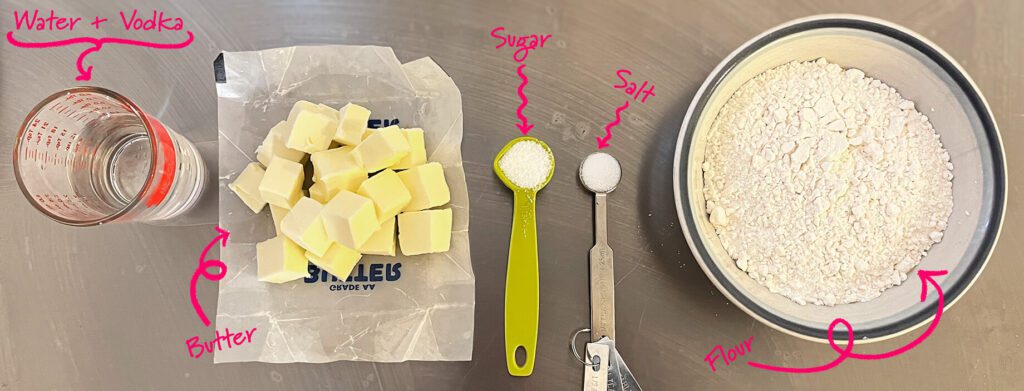
- 1¼ cups Unsalted Butter, cold (282g)
- 2½ Cups All-Purpose Flour (302g)
- 1 tbsp Granulated Sugar
- 1 tsp Salt
- 42 mL Vodka, cold (3 tbsp)
- 56 mL Water, cold (¼ cup)
Instructions
Prepare your ingredients
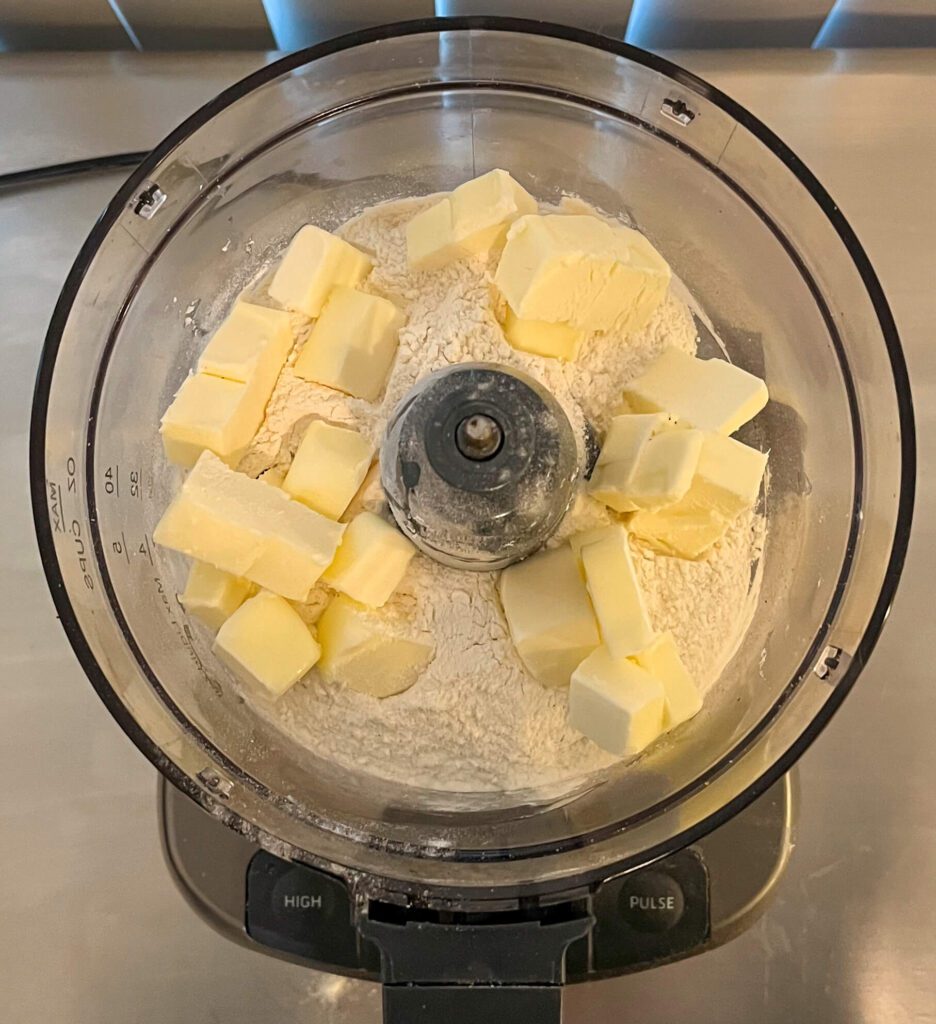
- Cube your butter into 1/2" pieces and return it to the fridge.
- Combine the vodka and water and return it to the fridge.
Mix the pie dough
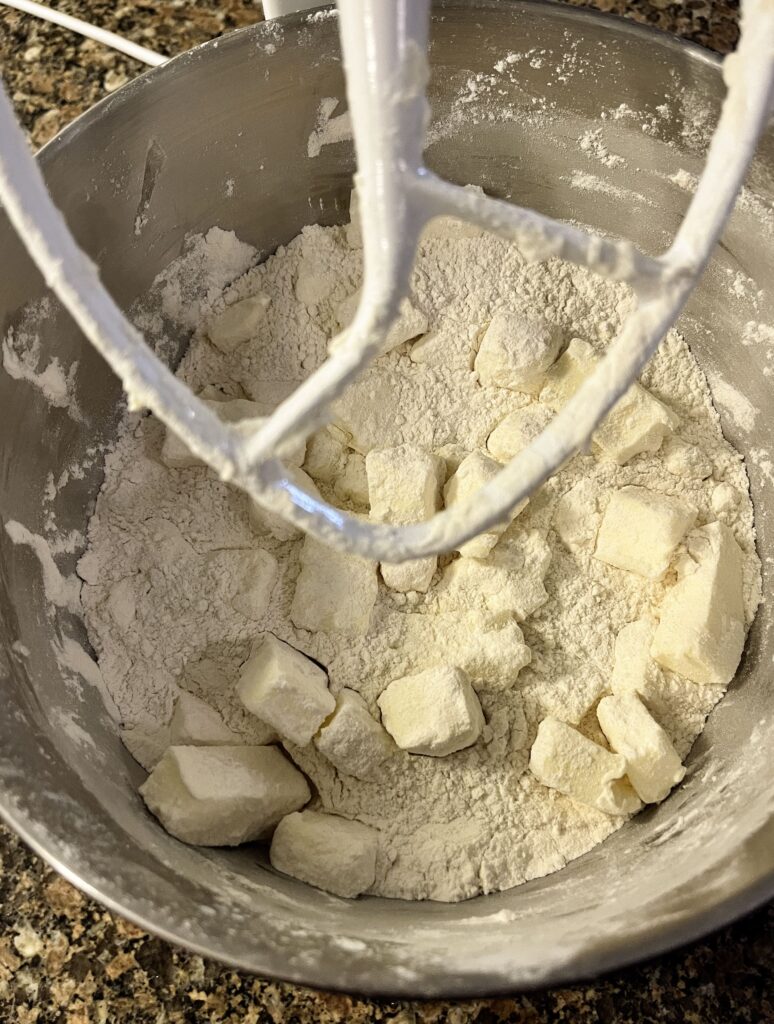
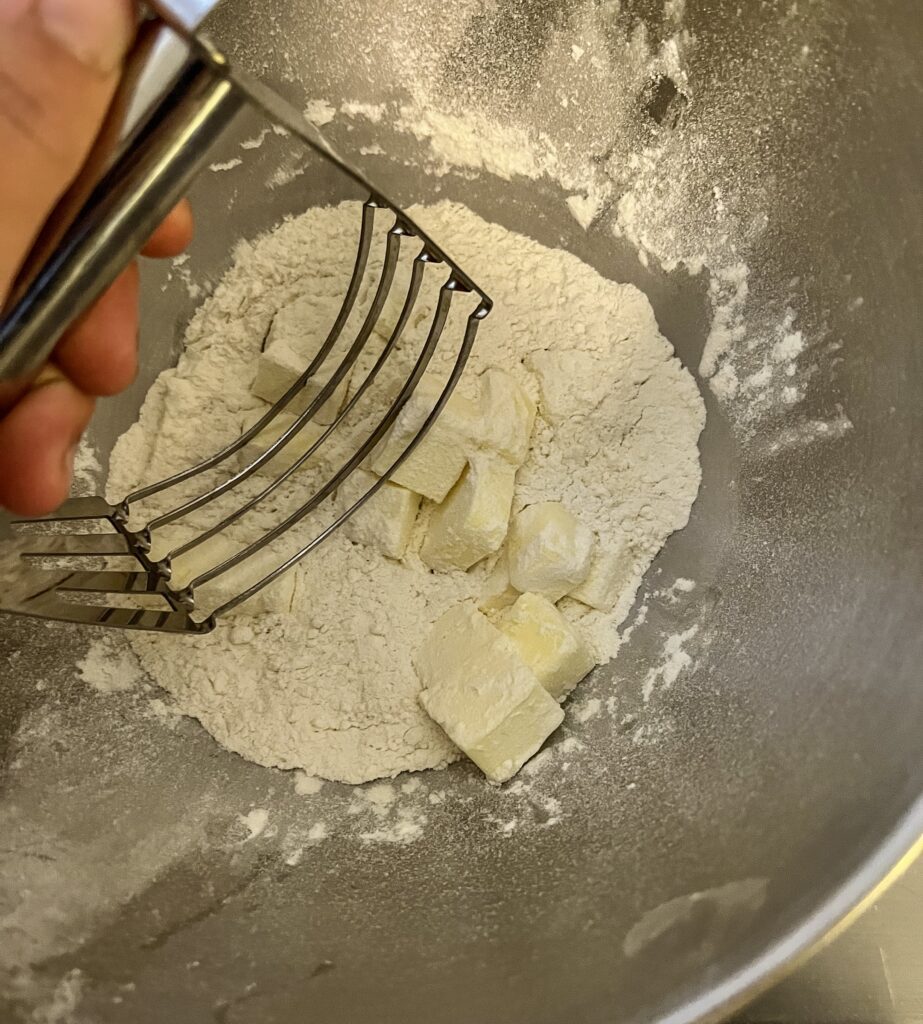
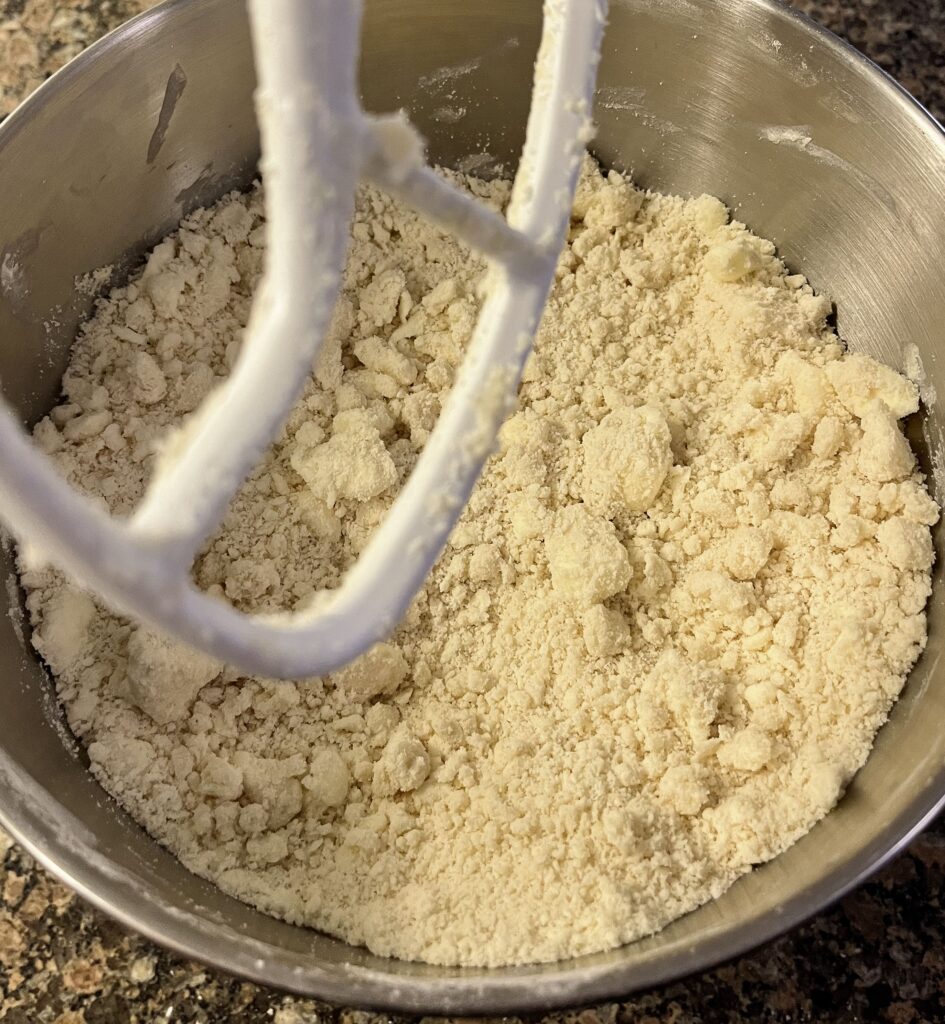
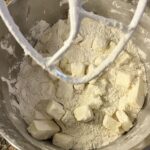
- In the bowl of your stand mixer with paddle attachment, combine the all-purpose flour, salt, and granulated sugar, and chilled, cubed butter.

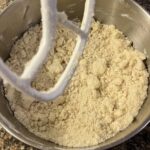
- Mix on low speed until the flour changes texture resembling coarse cornmeal.
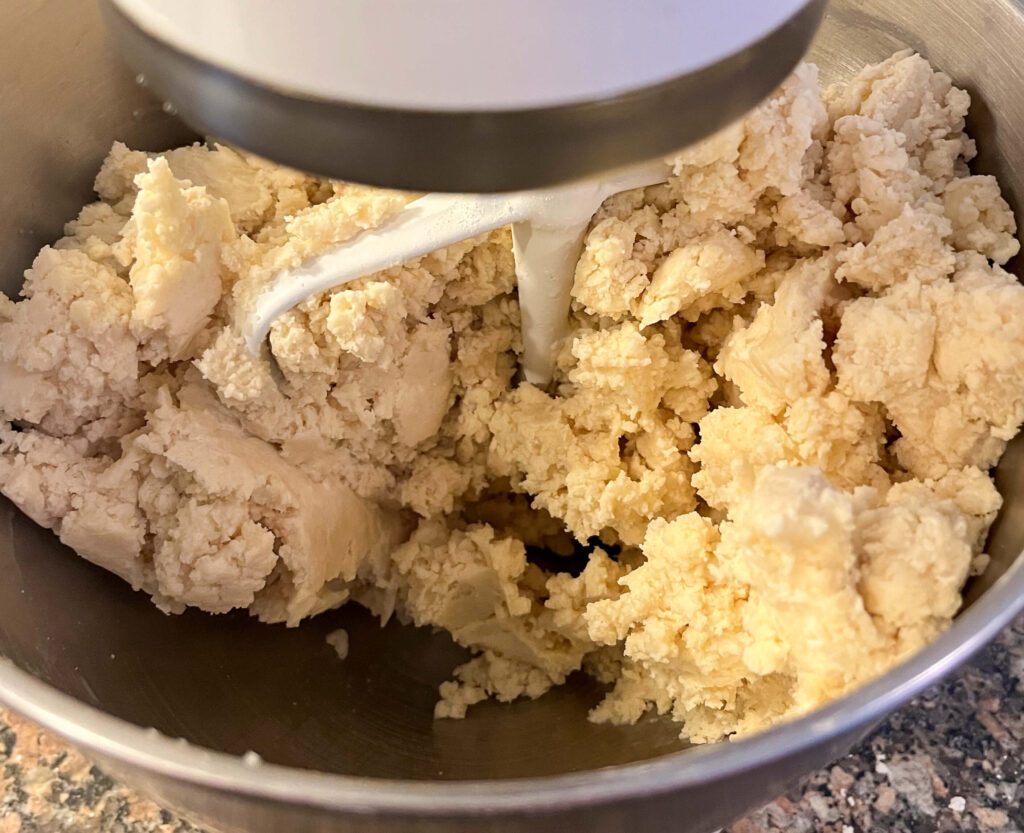
- With the mixer on low, slowly pour in about half of the chilled vodka and water mixture.
- Once the dough begins coming together on the paddle, stop the mixer, and toss all of the ingredients together quickly by hand.
- With the mixer on low, continue adding the remaining liquid in small increments with the mixer on low speed. Stop frequently to pinch the dough. When enough liquid has been added, it should hold together and feel slightly tacky, but not sticky or wet.
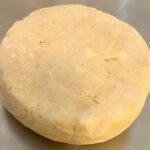
- Mix on low for a few more seconds until the dough comes together, forming large clumps.
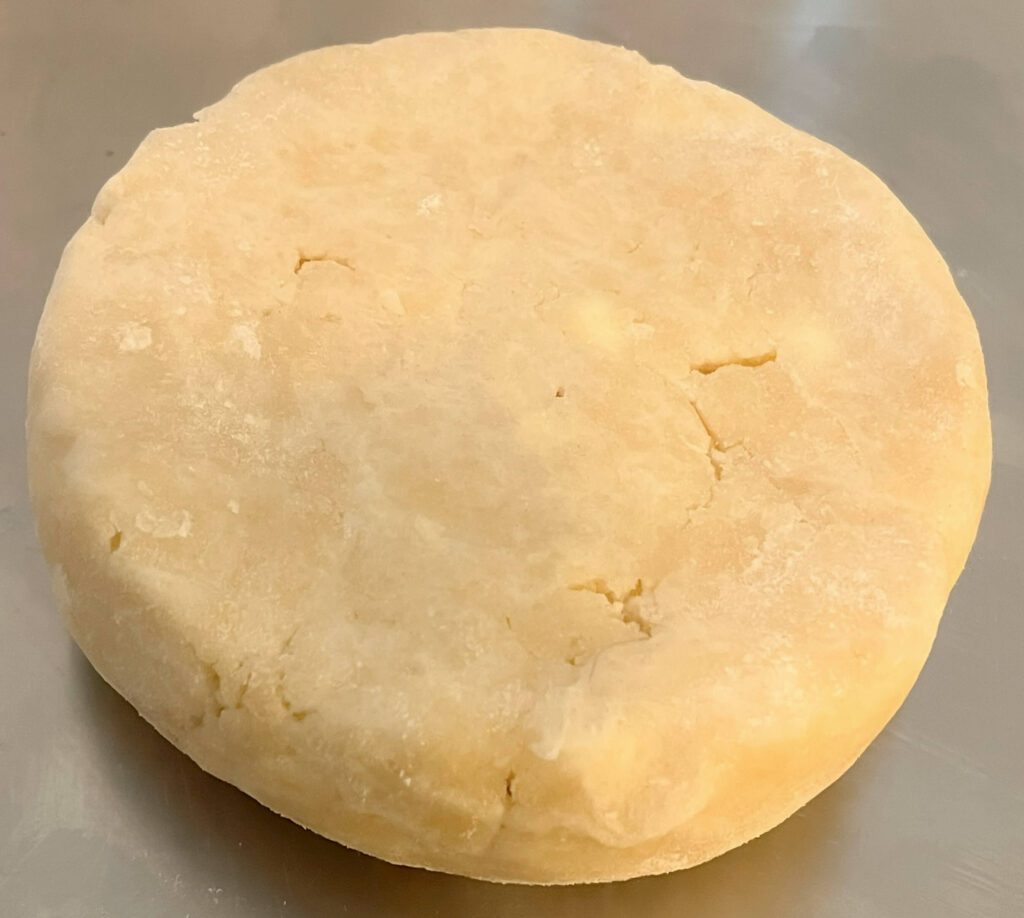
- Turn the dough out onto a clean surface and shape into a flat disc about 1-2" thick.
- Wrap in plastic and chill in the refrigerator for at least 1 hour before rolling or shaping.

Form your pie crusts (See recipe notes)
- Remove the chilled dough from the refrigerator.
- Lightly flour your work surface and both sides of the dough.
- Roll the dough into two large circles, about 2-3mm thick.
- Transfer the rolled dough to a flat surface (such as a baking sheet) and let it rest in the refrigerator for 20-30 minutes.
- Prepare your pie tins, and form your pie crusts.
- Freeze the formed pie crusts for at least 30 minutes before baking.
Blind bake (if necessary - see recipe notes).
- Preheat your oven to 350℉ (175℃).
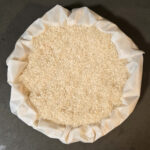
- Line your frozen pie shell with parchment paper and fill with your preferred weights.
- Bake for 25-35 minutes for a light pre-bake, 40-45 minutes for a dark pre-bake, and about 1 hour for a fully baked crust.
- Remove from the oven and let the crust cool slightly before removing the parchment and weights. Fill as directed in your pie recipe.
Notes
This recipe goes over all the steps necessary from mixing your pie dough, to forming pie crusts, to blind-baking empty pie shells.
To see more detailed information on rolling and forming your pie dough, please see Part 2: How to Form a Pie Crust.
To see more detailed information on how and why to blind-bake empty pie shells, please see Part 3: How to Blind Bake a Pie Crust.
Tried this recipe?Let us know how it was!